I absolutely love having lots of party pics to look back on after a special celebration. The problem is that when you’re hosting a party, it can sometimes be hard to enjoy the moment and capture all of the photos at the same time. Hiring a professional photographer for every event can get pricey, so I decided to create a simple and beautiful DIY Party Photo QR Code sign that allows guests to upload all of their photos and videos into one folder to enjoy later.
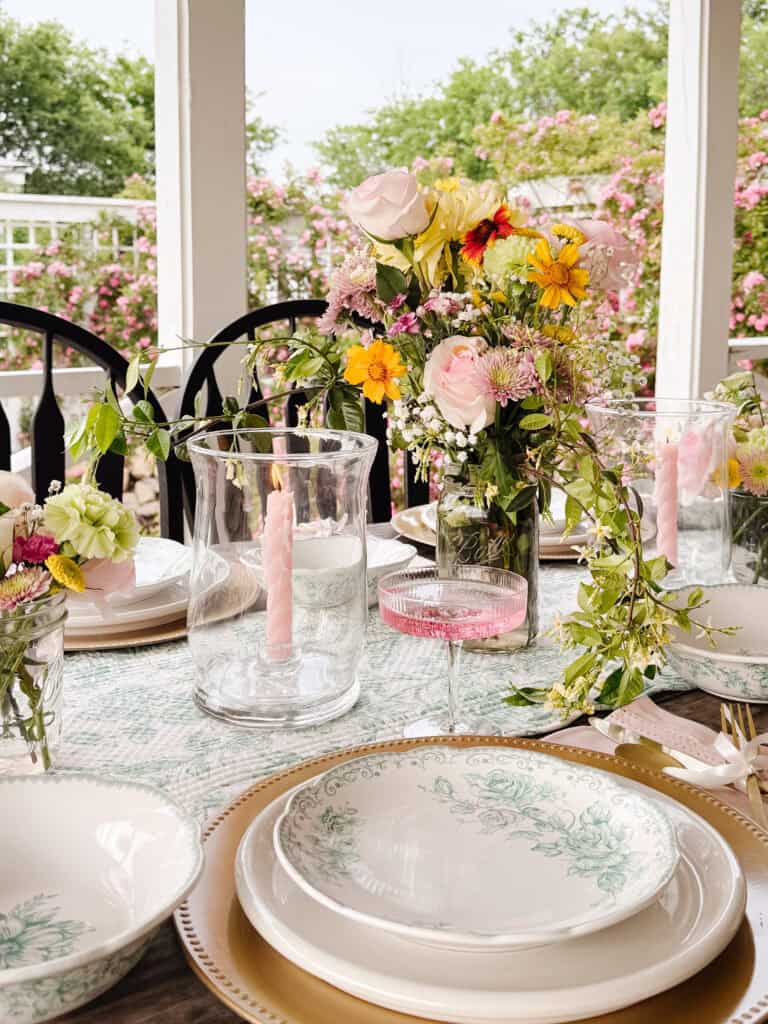
This easy project was perfect for my mom’s tea party birthday celebration, but these qr code signs are also wonderful for weddings, rehearsal dinners, baby showers, bridal showers, destination wedding weekends, family holidays, graduation parties, and so many other gatherings. Guests can upload wedding photos, candid shots, special moments, guestbook messages, and even video messages for a truly meaningful keepsake.
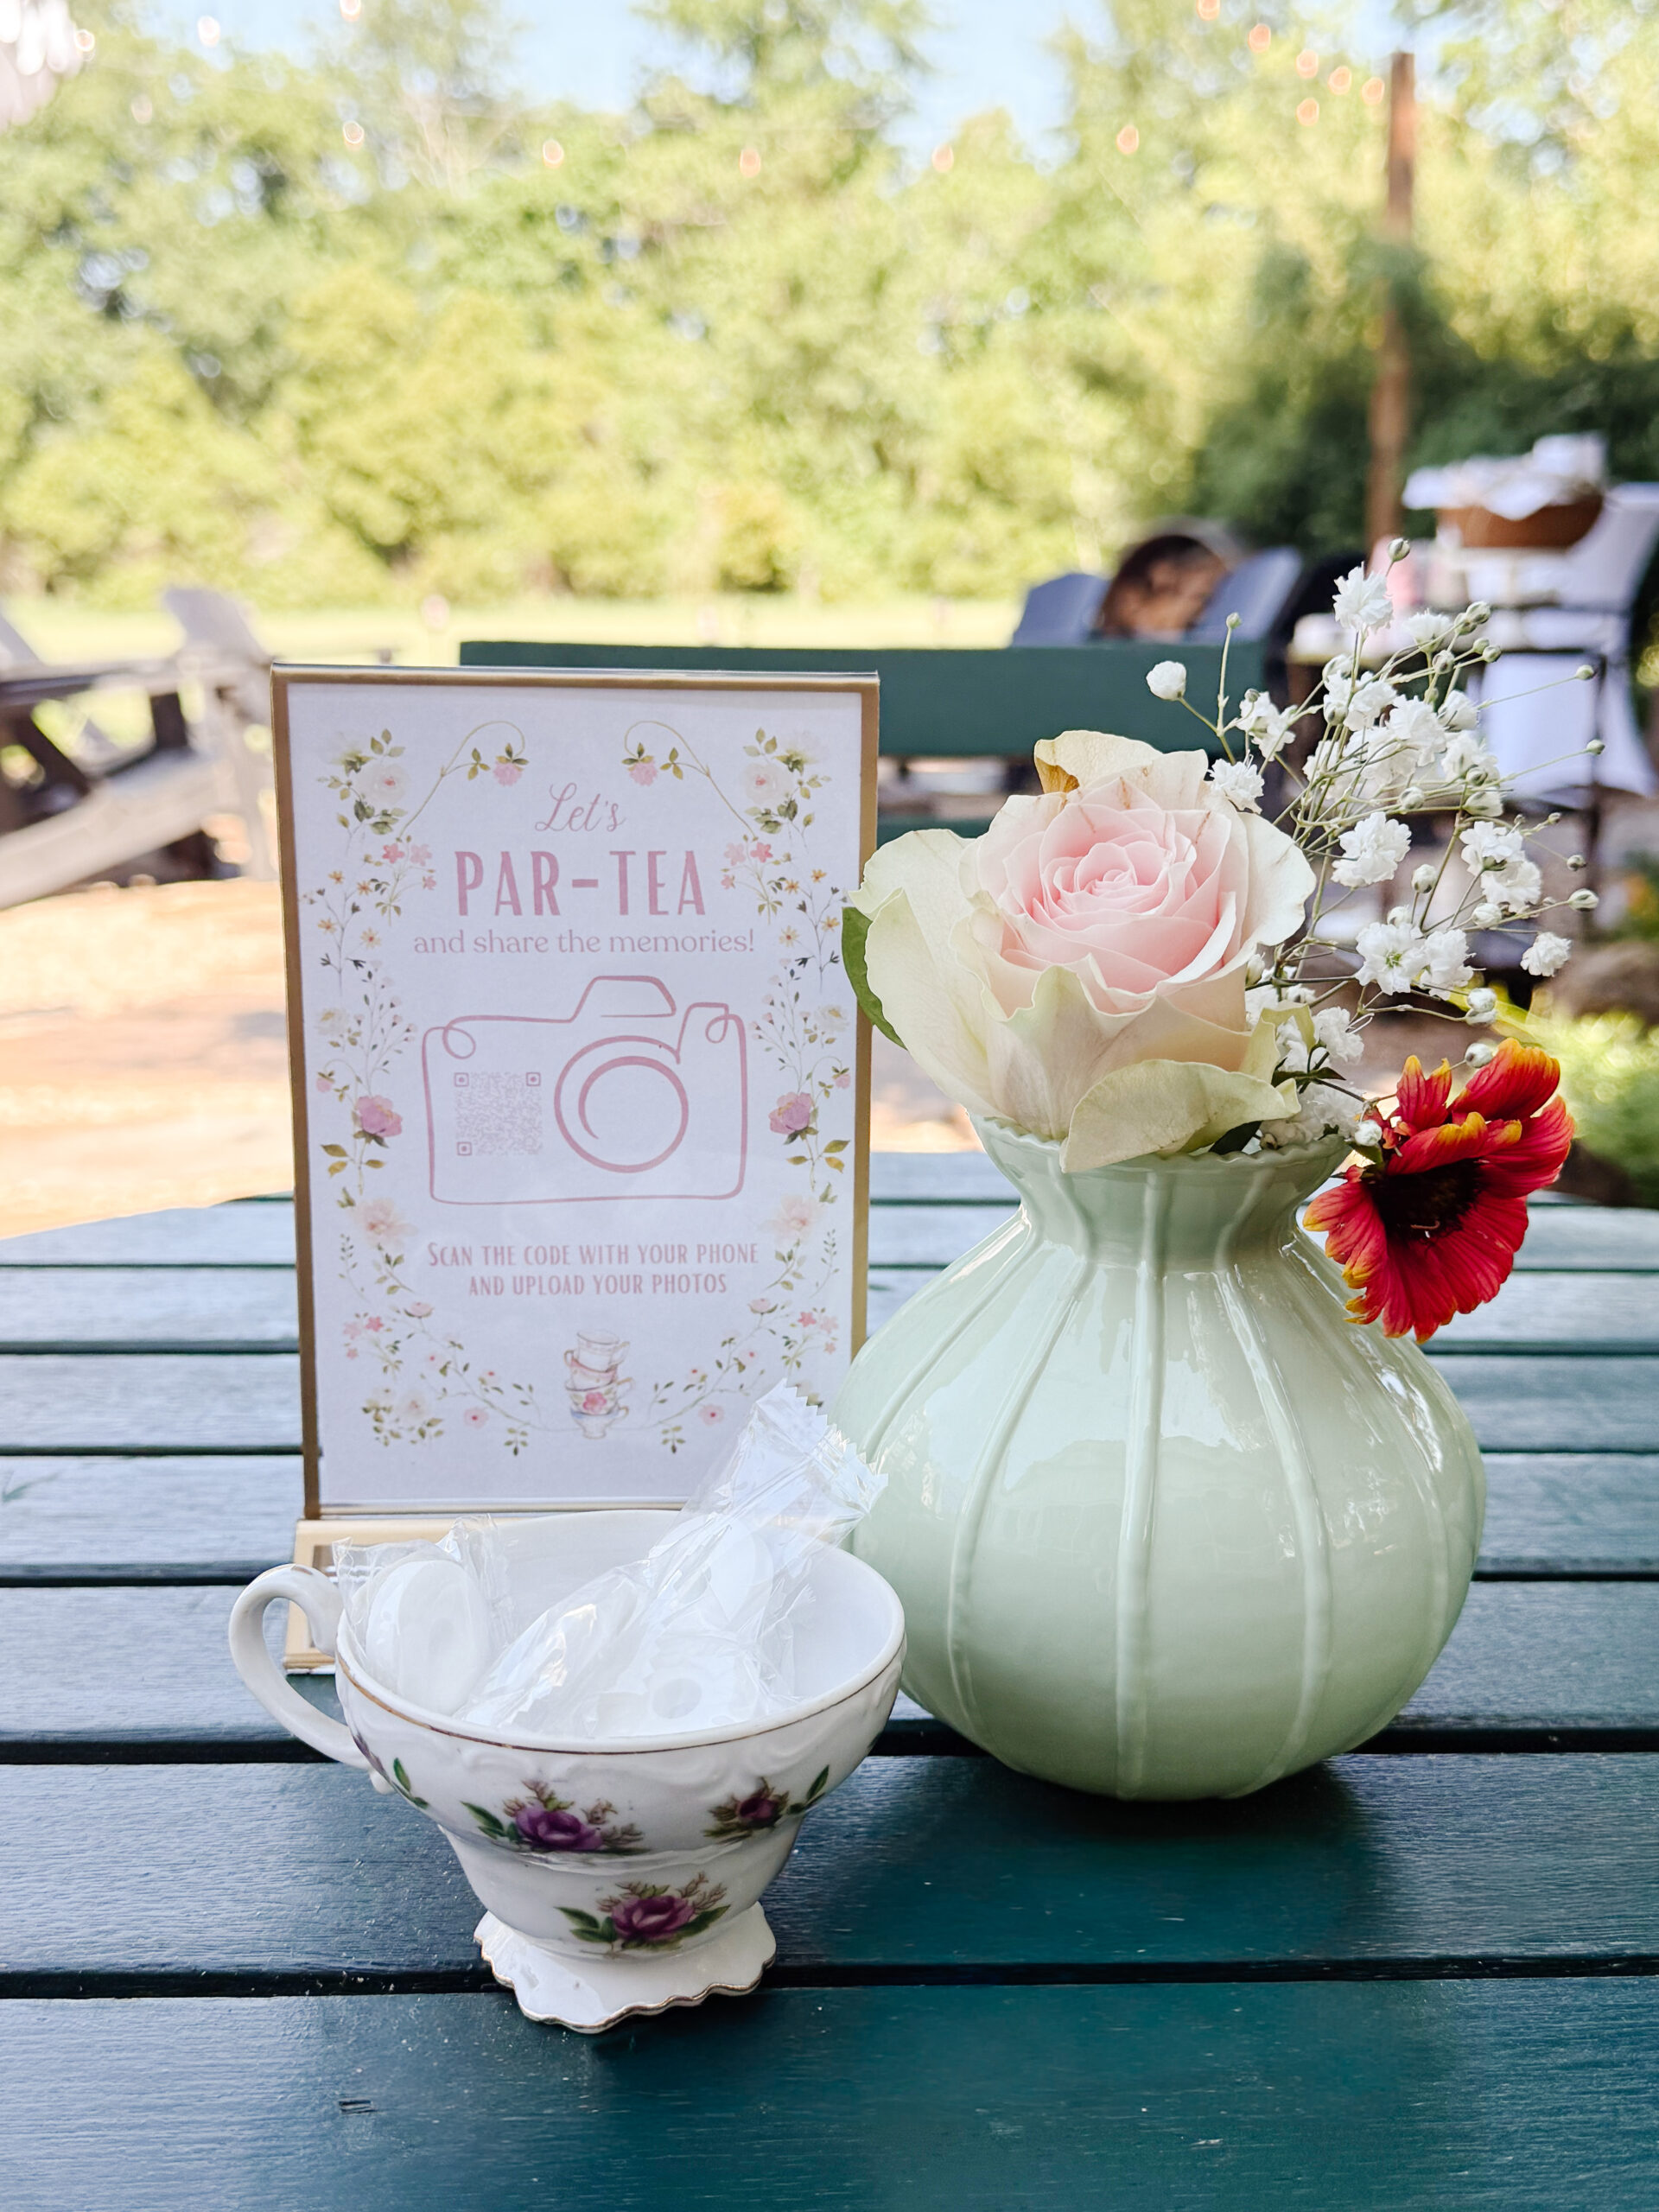
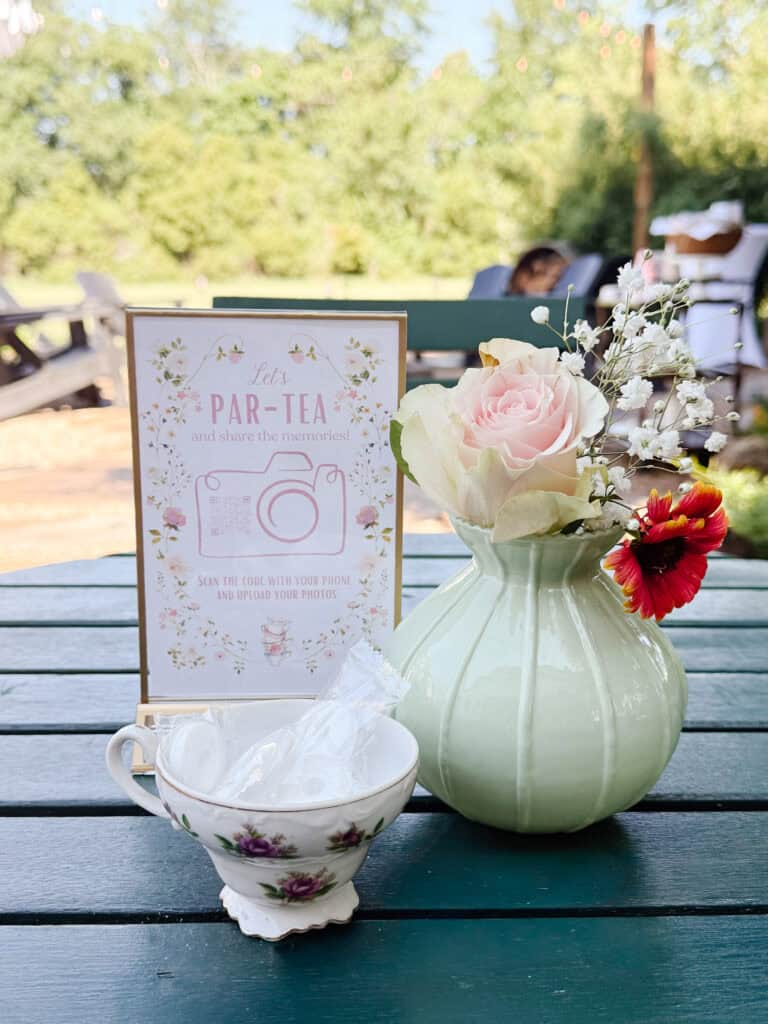
Today, I’m sharing all of the details about how I created this easy and elegant tea party photo share sign using a few simple steps. This is one of the easiest ways to create a stunning digital album full of wedding memories, event photo uploads, and high quality photos from your big day.
Supplies
QR code generator like QR Tiger or Canva
Design software such as Canva or Photoshop
Cloud storage like Google Drive or Dropbox
Cardstock or paper
Printer
Frames
Scissors
Phone camera for testing the QR code
Why You’ll Love These DIY Party Photo QR Code Signs
These QR code displays are one of the best ways to gather wedding pictures, candid shots, and uploaded images from your guests in one convenient place. Instead of asking everyone to text photos individually or post on social media, guests can simply do a simple scan with their phone camera and instantly upload their own photos into a private gallery or shared album.
This is also a great idea for wedding planners, rehearsal dinners, birthday parties, and even digital guestbooks. You can collect voice recordings, video guestbook clips, voice messages, and fun behind the scenes moments all in one private digital album.
One of my favorite cool features is that there is no app download required. Guests simply open the QR code in their web browser and upload photos directly from their camera roll. It is such an easy way to preserve happy tears, wedding day moments, and all of the best photos from your event.
Step by Step Instructions
Tips
Test the QR code several times before your event begins
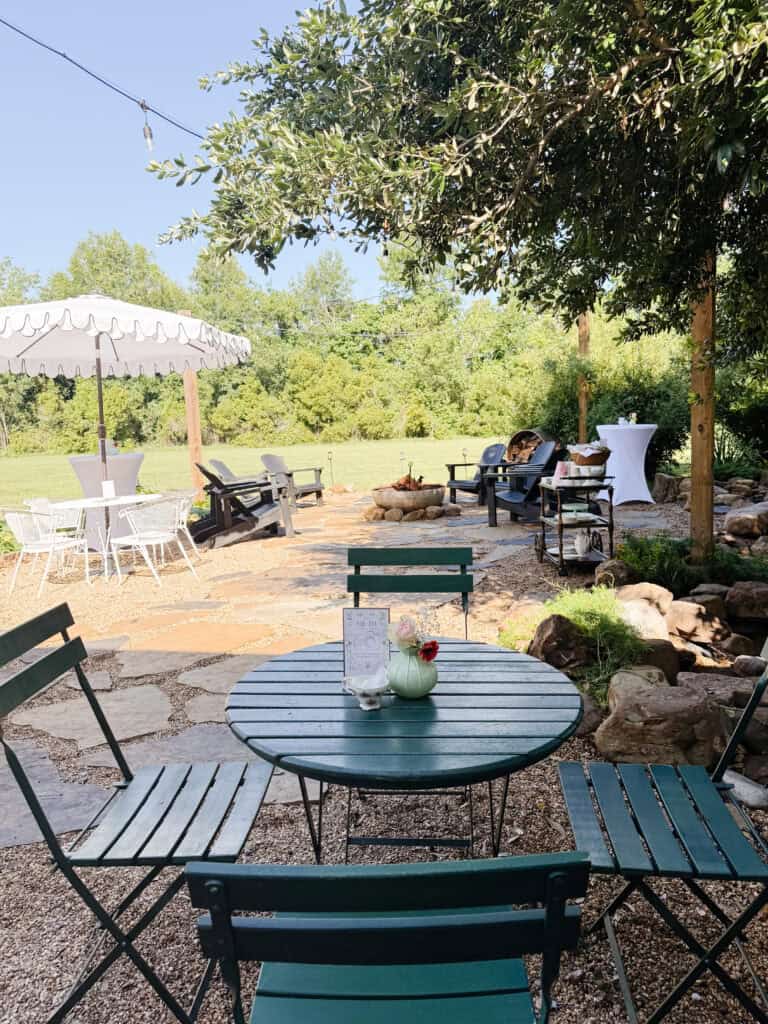
Print multiple qr code signs and place them throughout your venue
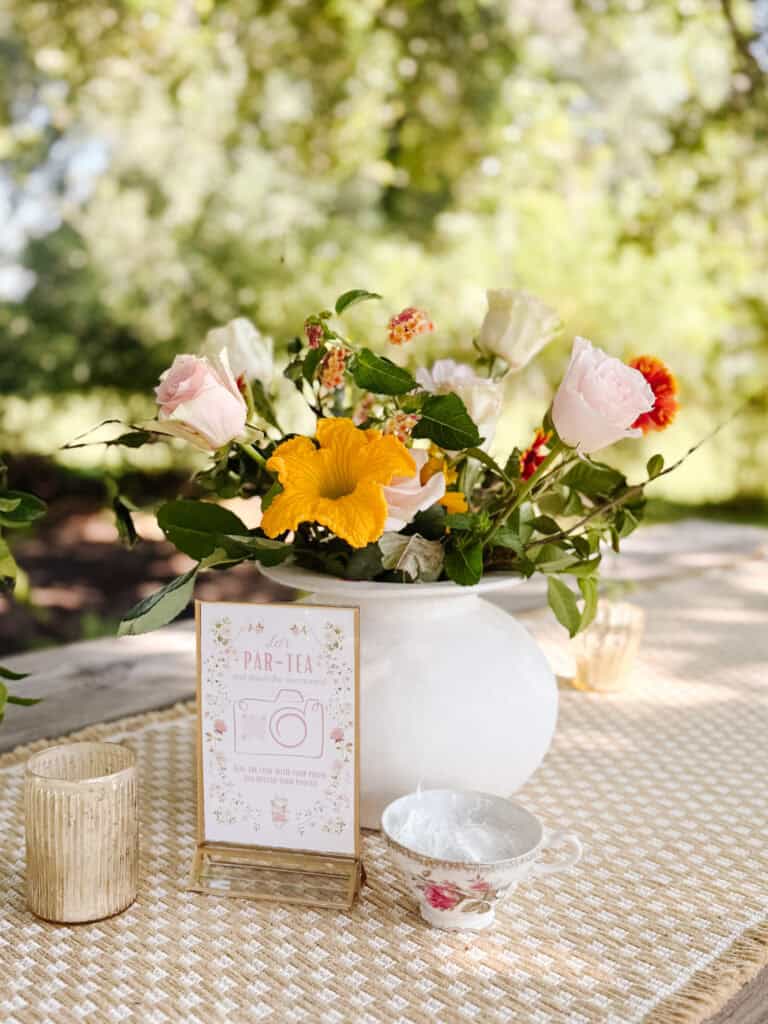
Use a frame that coordinates with your décor style
Keep the wording simple and easy to understand
Create a private digital album for added privacy
Encourage guests to upload both photos and video guestbook clips
Use Canva templates for a quick and polished design
Add the QR code to your event page or wedding website as well
Frequently Asked Questions
Do guests need to download an app?
No. Guests can use their phone camera to scan the QR code directly from their web browser without an app download.
Is Dropbox or Google Drive better?
Both are wonderful options. Google Drive is great for creating a shared album while Dropbox File Requests are excellent because guests can upload photos without creating an account.
Can guests upload videos too?
Yes. Guests can upload voice recordings, video messages, and videos from the event in addition to photos.
Can I use this for weddings?
Absolutely. These wedding qr code signs are perfect for collecting wedding photos, wedding memories, and candid shots from guests throughout the wedding day.
What size should I print the sign?
A 5×7 or 8×10 frame works beautifully for tablescapes and event décor.
I hope this tutorial inspires you to create your own DIY Party Photo QR Code sign for your next celebration. This project is simple, affordable, and such a fun way to preserve memories from your special moments for years to come.
If you create this project, I would absolutely love to see it. Be sure to follow along on social media @returninggrace and tag me or leave a comment sharing how you used your DIY Party Photo QR Code signs for your event!

Meet Stephanie
Hi, I’m Stephanie—a lifelong creative, homebody at heart, and the hands behind Returning Grace. I believe home should feel like your favorite place, and I’m passionate about helping you create spaces filled with warmth, character, and charm. From simple DIYs and seasonal crafts to cozy recipes and vintage-inspired decor, I share approachable ideas to make your home feel beautifully lived in. I love thrifting, styling old finds in fresh ways, and documenting our home remodeling adventures along the way.
I’m honored to have served as the 2024 American Farmhouse Style Brand Ambassador and to share my love for cottage farmhouse living with a community that values creativity, comfort, and meaningful design.