The easiest way to change out decor for the seasons is with art. A simple switch of a print can completely transform a space, and it’s one of my favorite ways to refresh my home without investing in expensive new pieces. I’ve been using this DIY vintage wall art hack for years to refresh my living room gallery wall. It’s one of my favorite budget wall art ideas because it gives the authentic look of vintage wall art without the extra cost. And, I love it so much that it inspired me to open my online digital art shop!
In just a few easy steps, you can create beautiful artwork that looks like it came straight from an antique store or estate sale—all for under $20. The best part is that these vintage art prints can be saved and reused season after season without taking up much storage space. This makes it a fantastic way to get an authentic look for your home décor without the extra cost or hassle of storing bulky seasonal decorations. With a little creativity, even a blank wall can be transformed into a gallery wall filled with vintage-inspired charm.
This easy DIY method works beautifully with thrift store frames, flea market finds, or even new frames you want to give a vintage feel. Whether you’re styling a living room gallery wall, adding an ornate frame with a faux oil painting effect, or creating a gorgeous piece for your dining room, this hack delivers high-end results on a budget.

Supplies for Your DIY Vintage Wall Art Hack
Shop for supplies

To create this vintage wall art look, you’ll only need a few simple supplies. Most of these items can be found around your home, at antique stores, or even at your local big-box store.

Step-by-Step DIY Vintage Wall Art Tutorial
01
Find a Digital Art Print
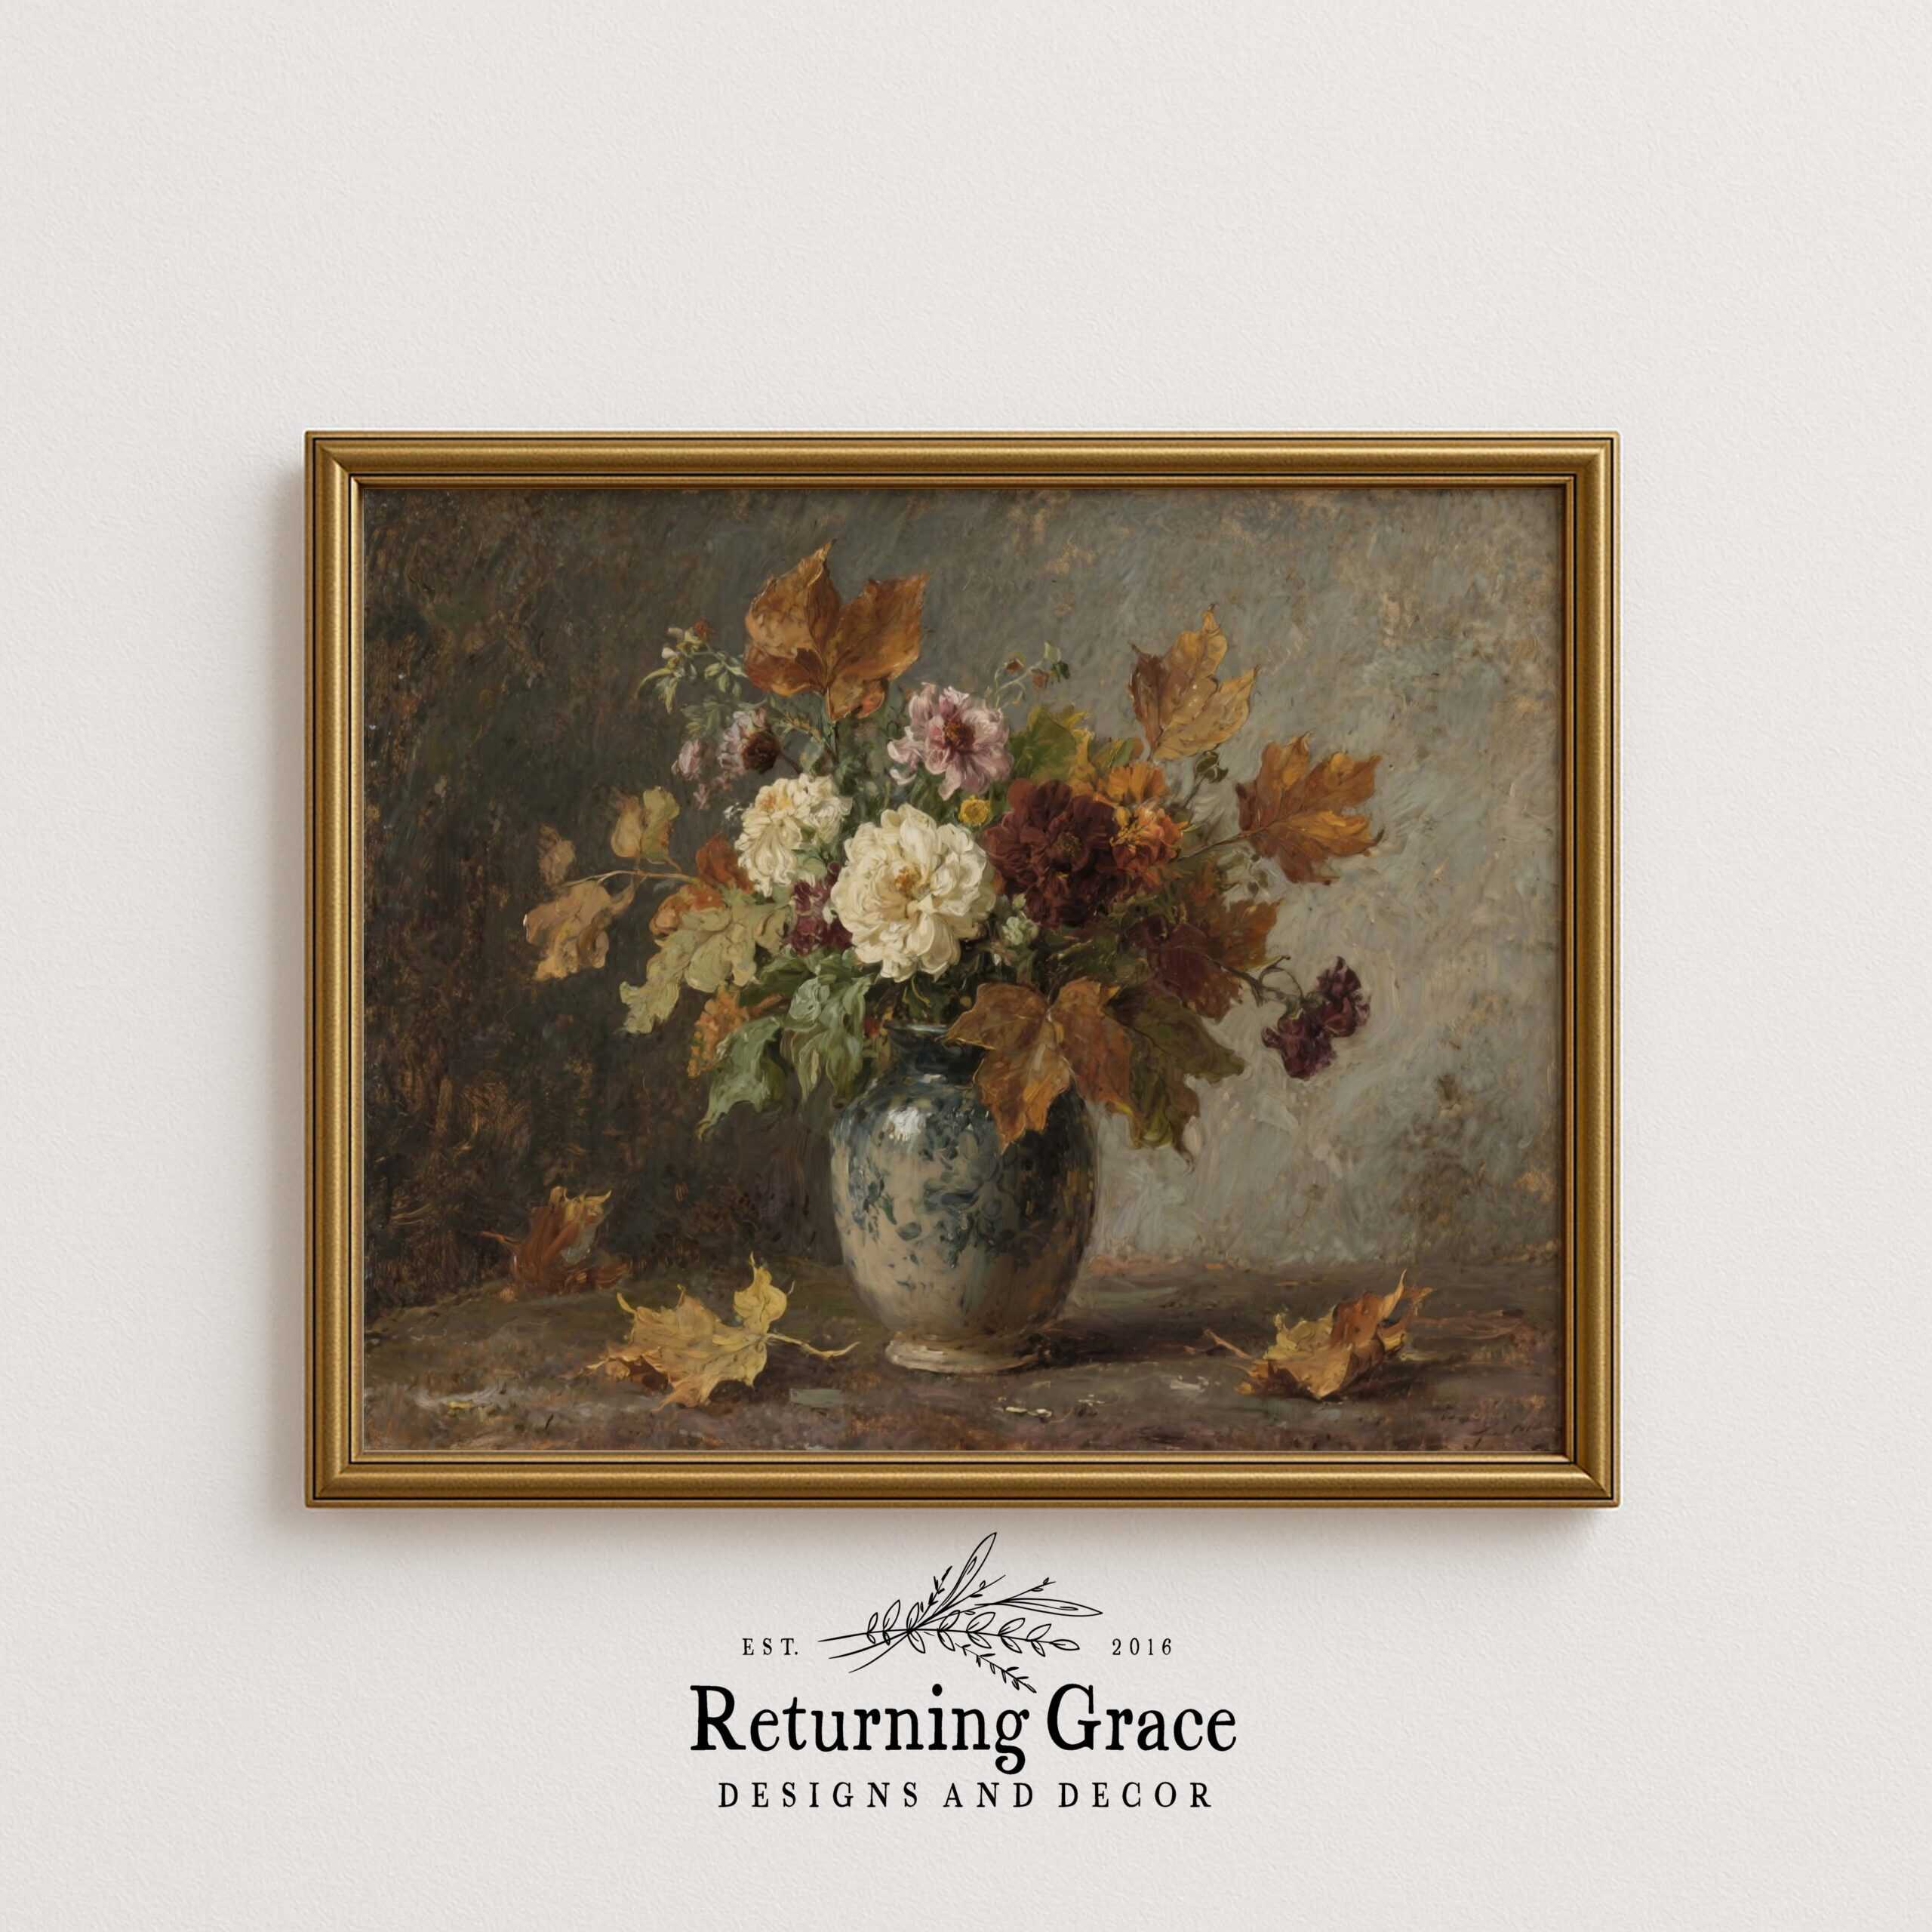
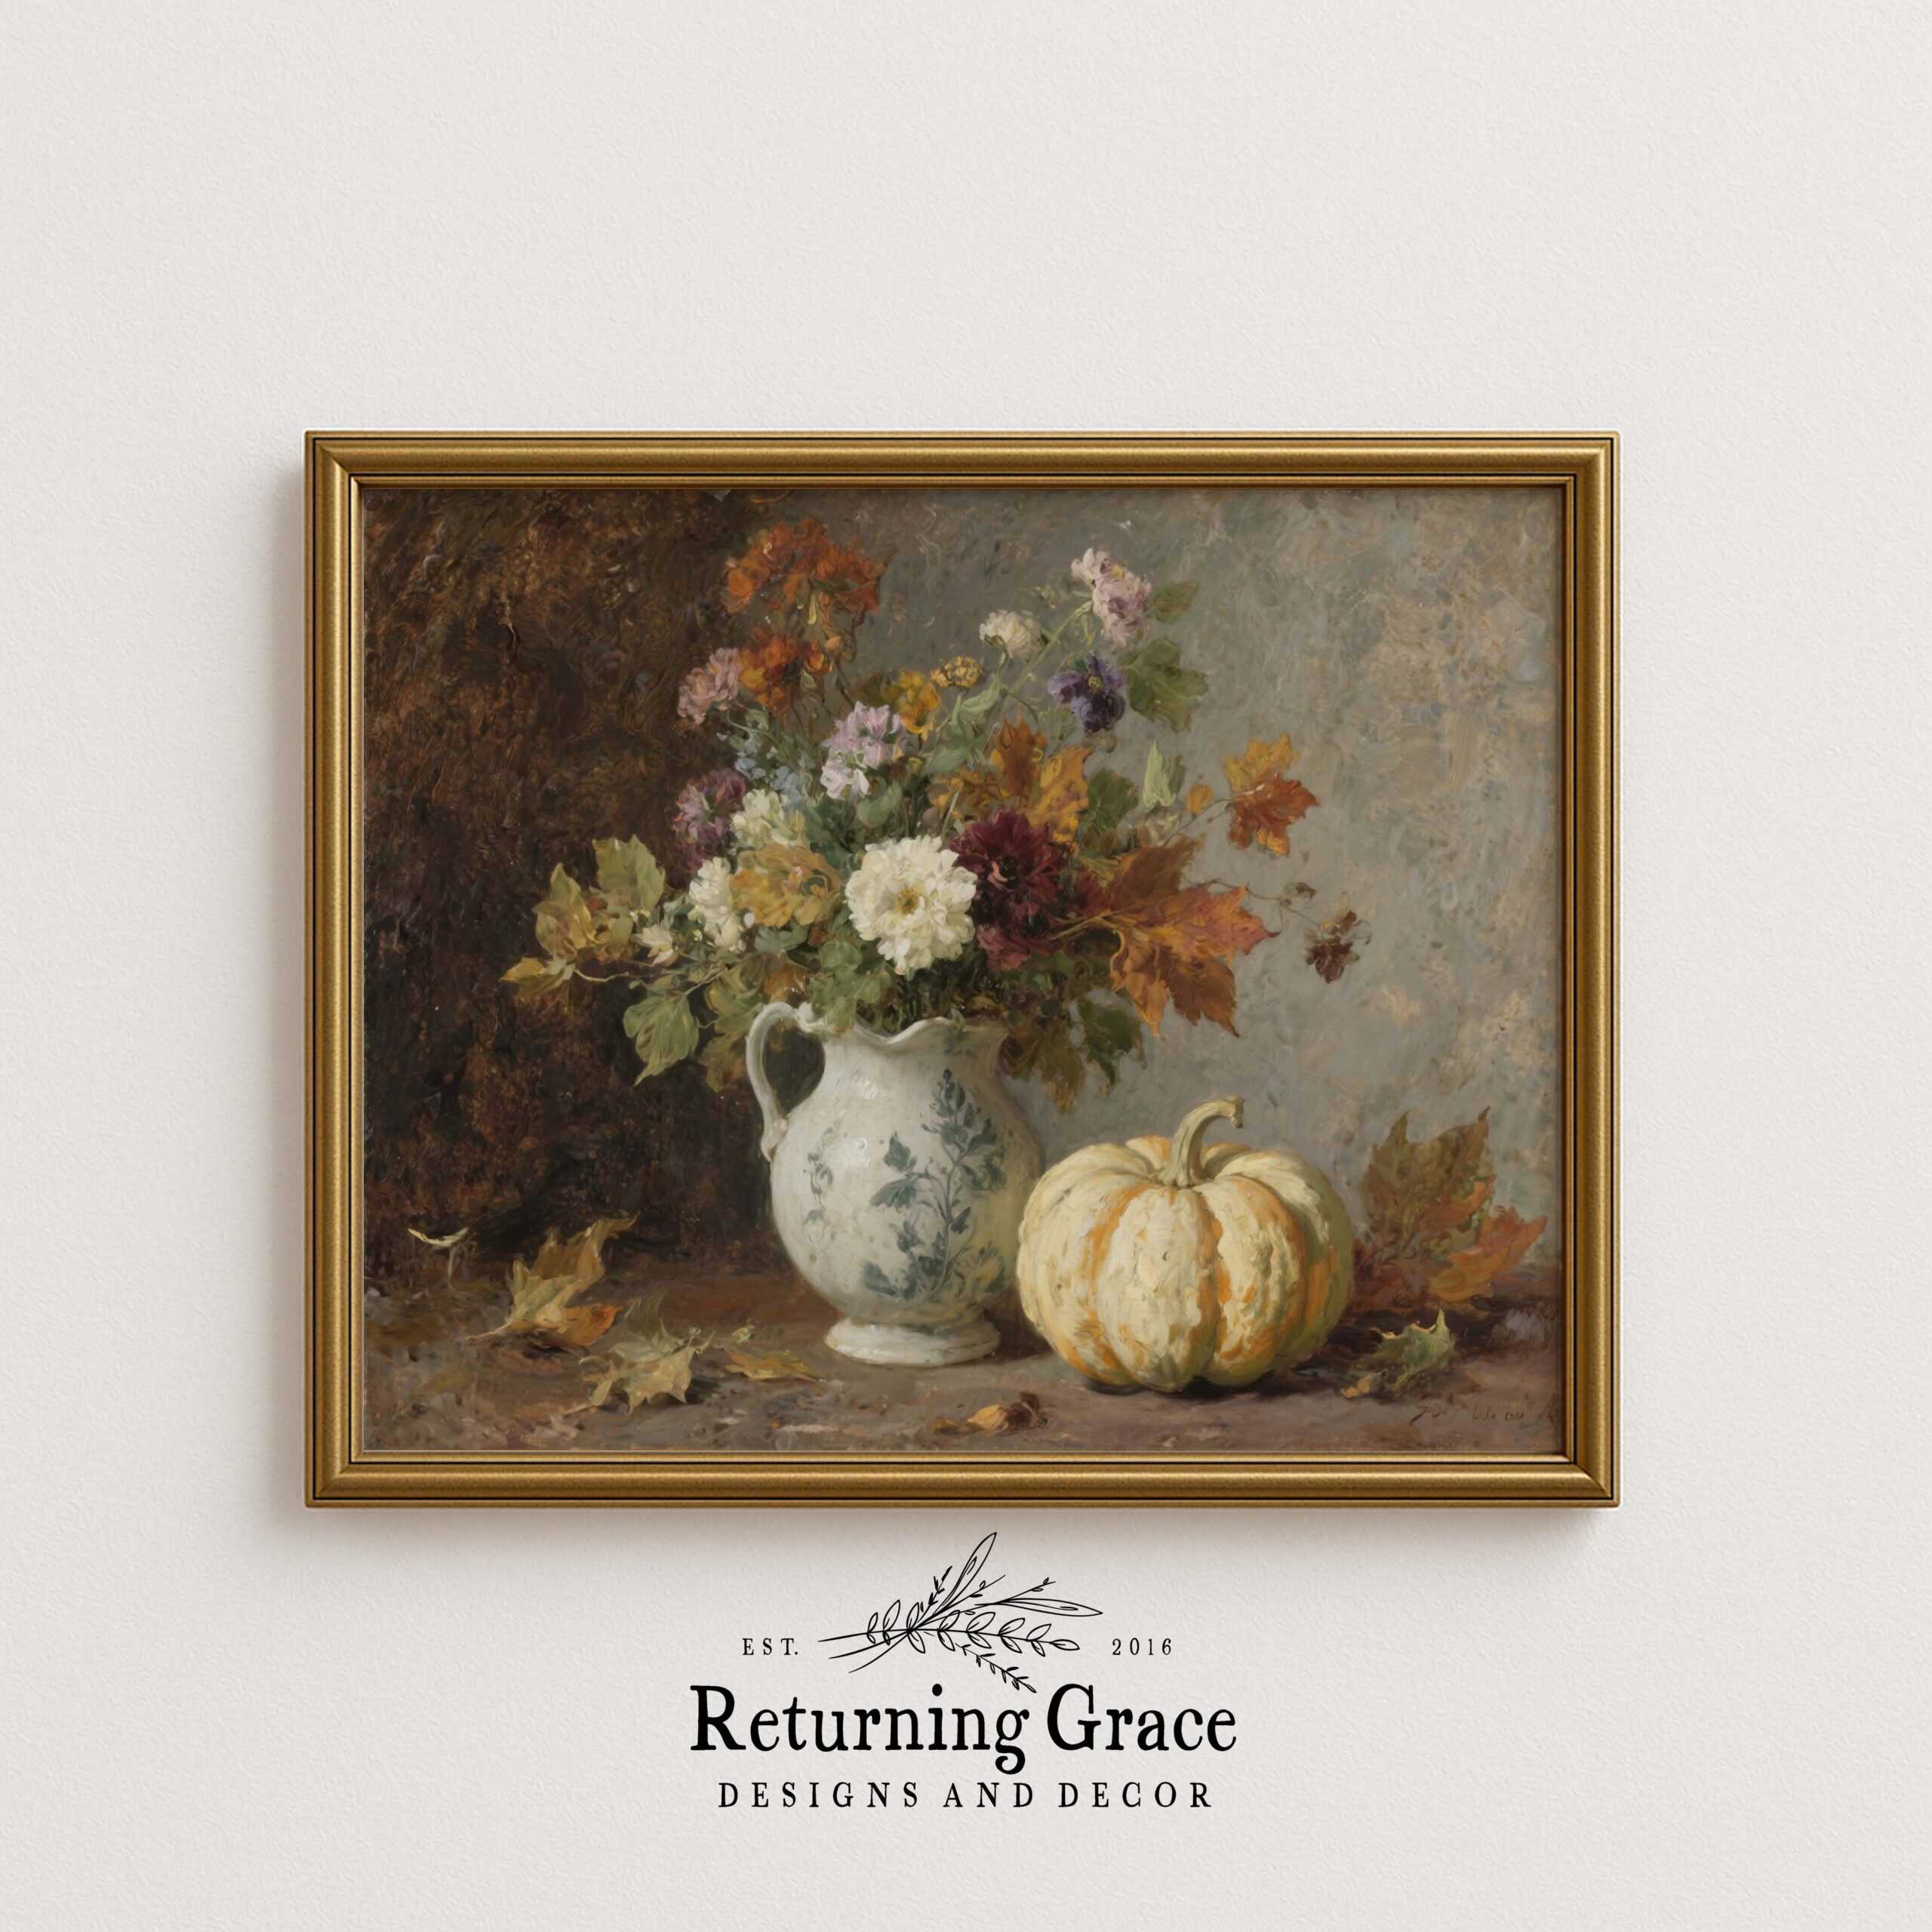
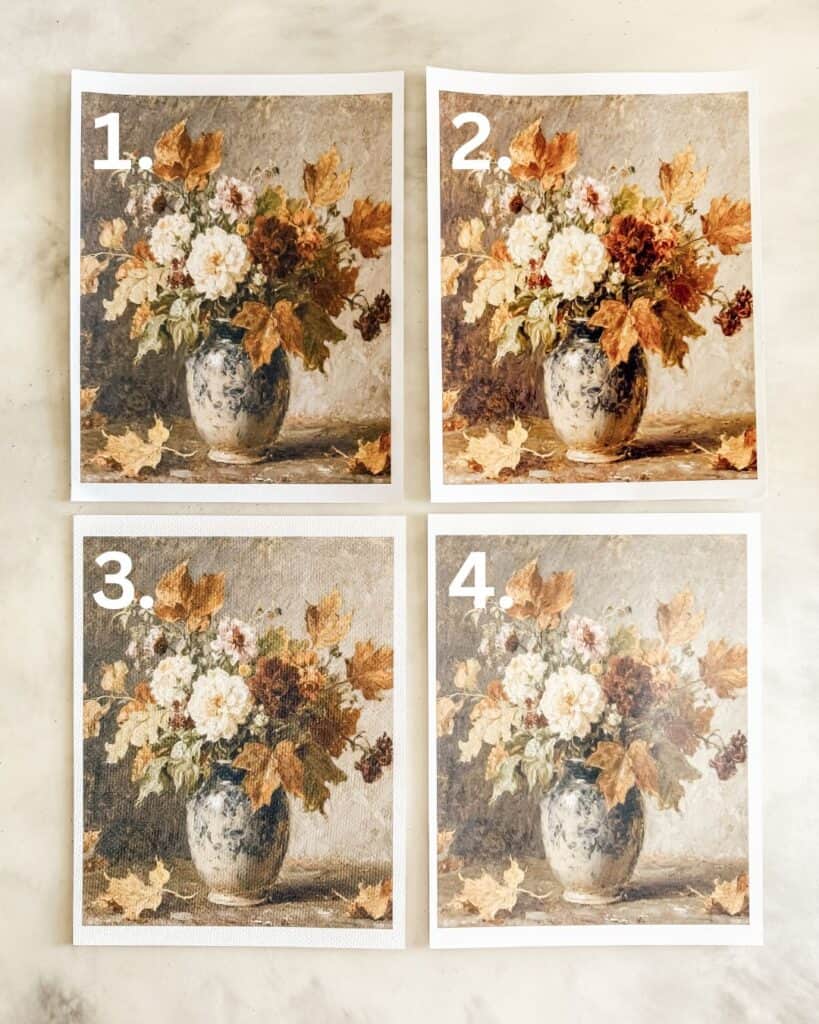
The first step is choosing a digital file that speaks to your personal style. There are countless sources for digital downloads online, but I’d love for you to take a look at my online digital art shop. Each purchase includes an instant download with multiple sizes, from small prints to larger sizes up to 24×36 inches, making it easy to print exactly what you need without additional cost.

Coupon Code
As a thank-you, you can use Coupon Code BLOG25 for 25% off your order. Once you’ve decided on your vintage art print, download the file and save it to your computer or phone.

My Digital Art Shop is Open!
Shop curated vintage-inspired printable art and TV art for every season. Instantly download, print and style your home in minutes!
Shop the Art Featured in this Post

02
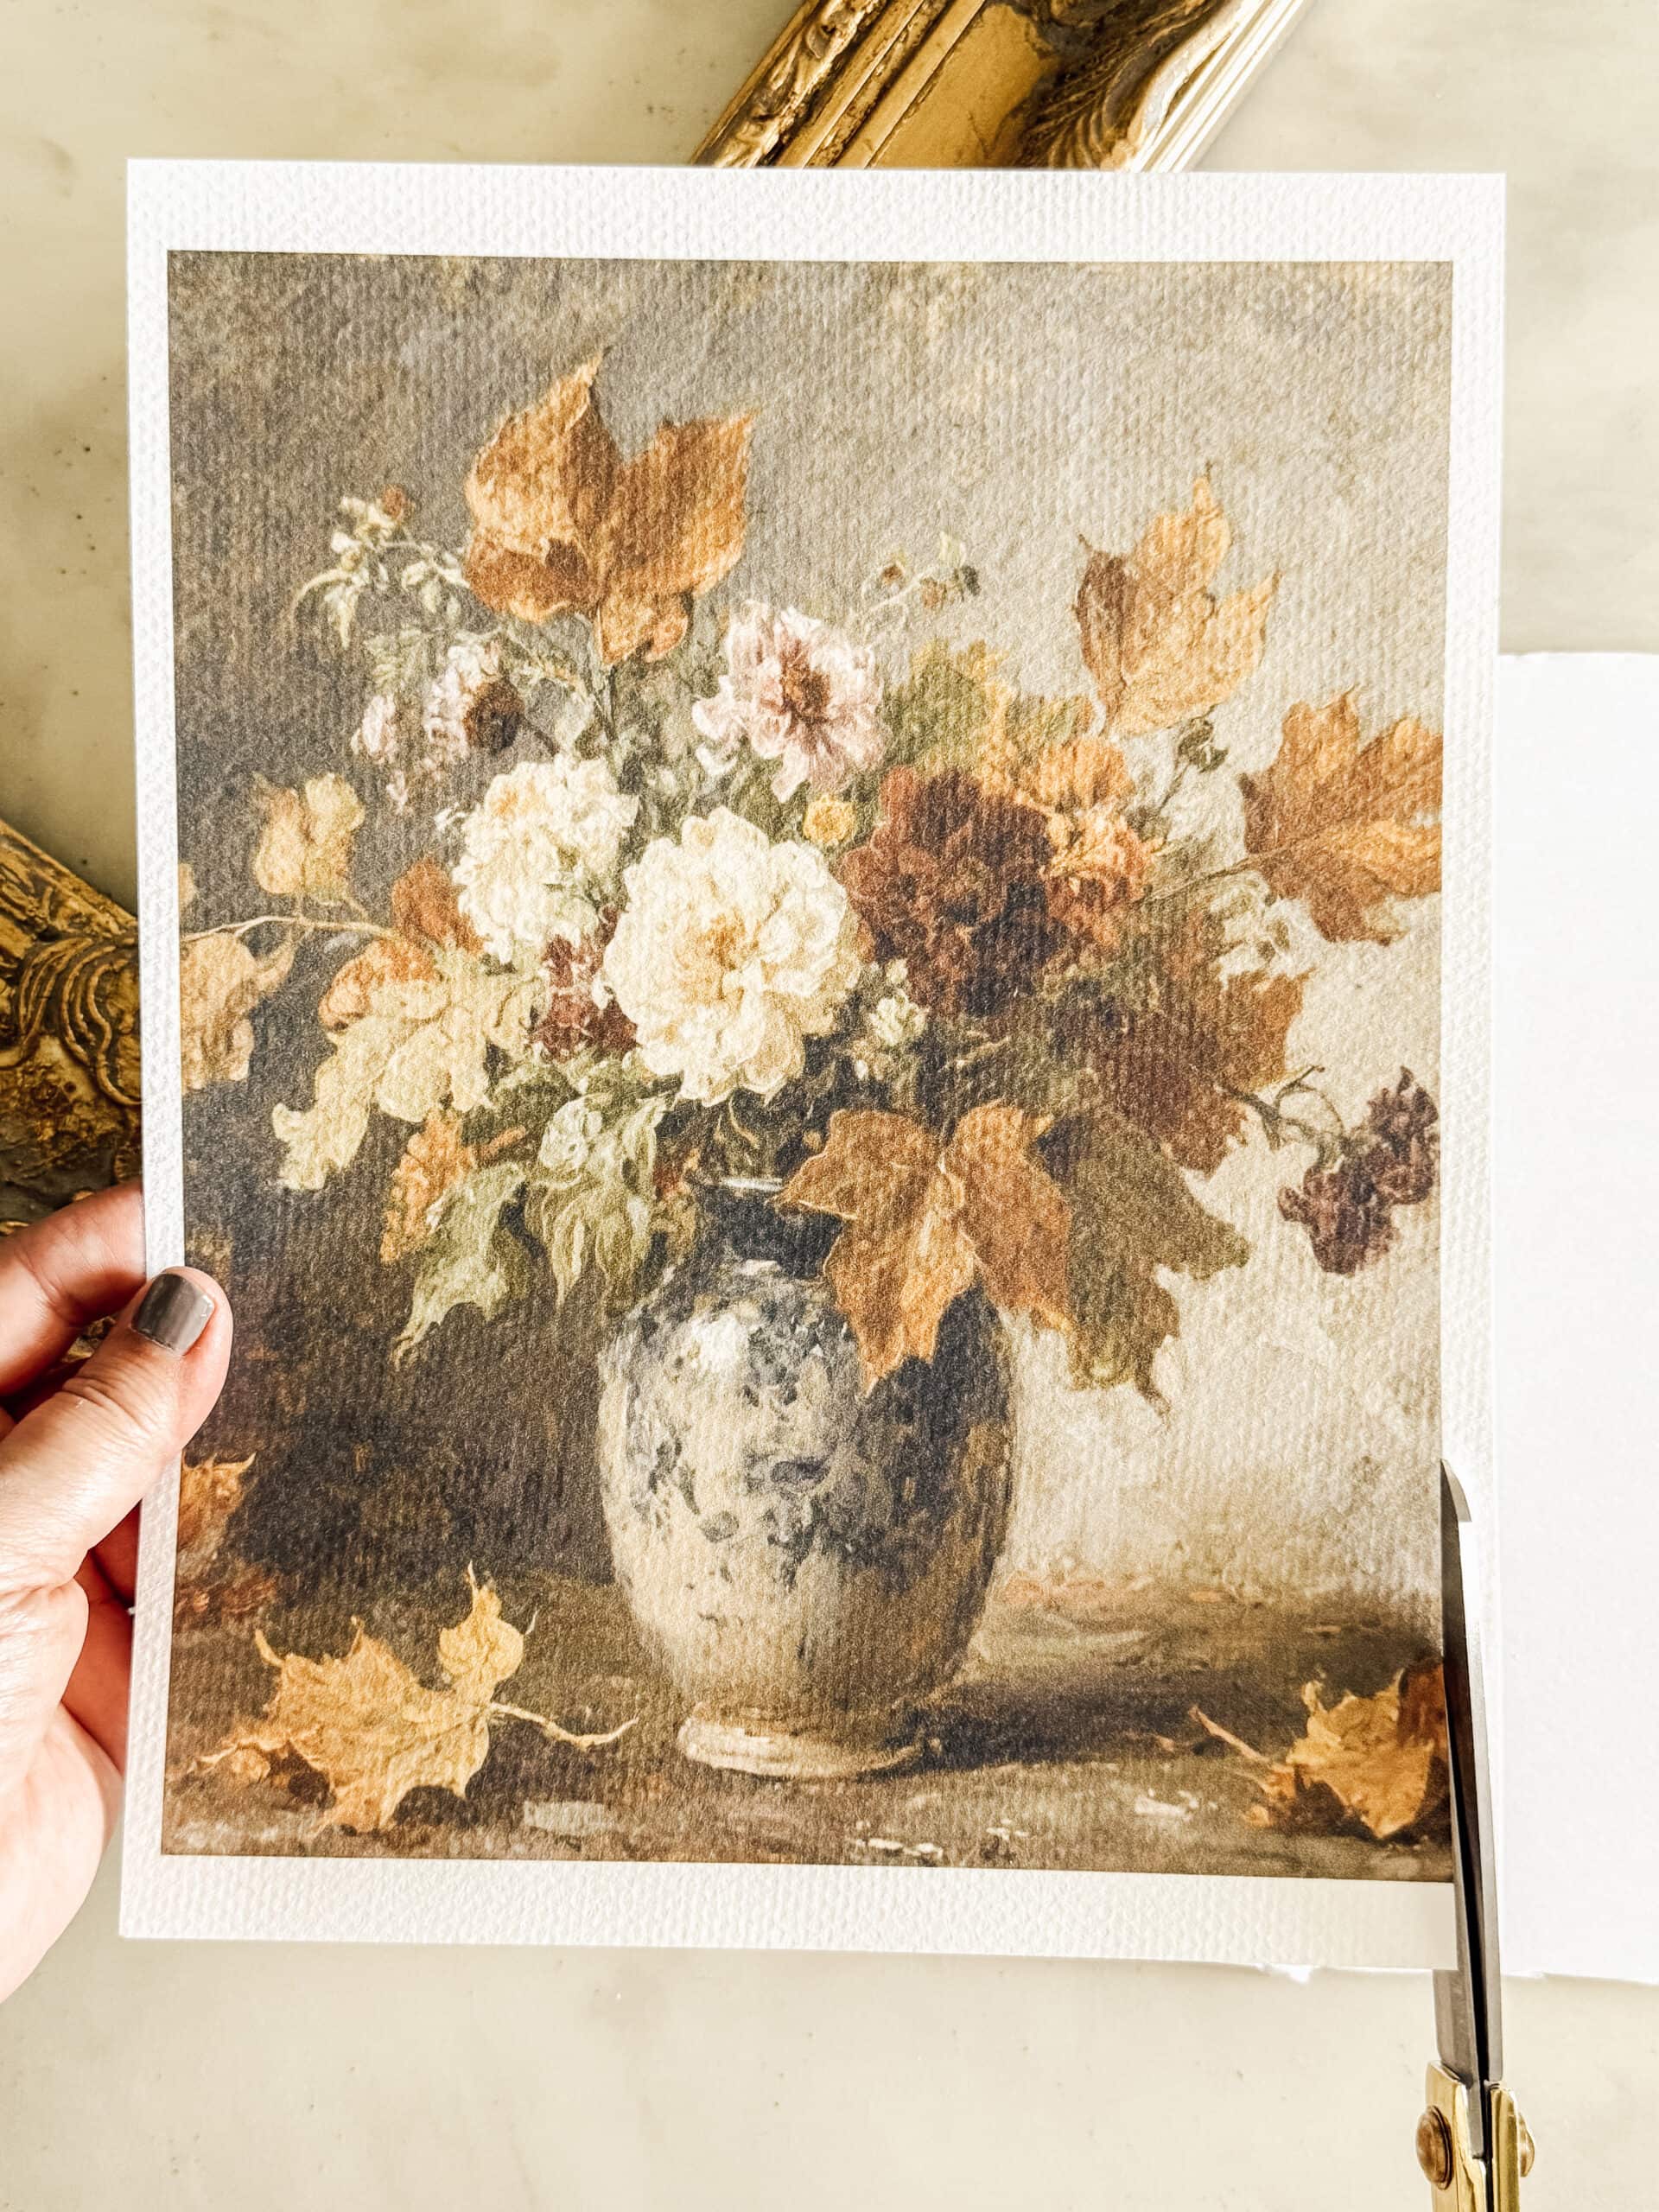
Print Your Image
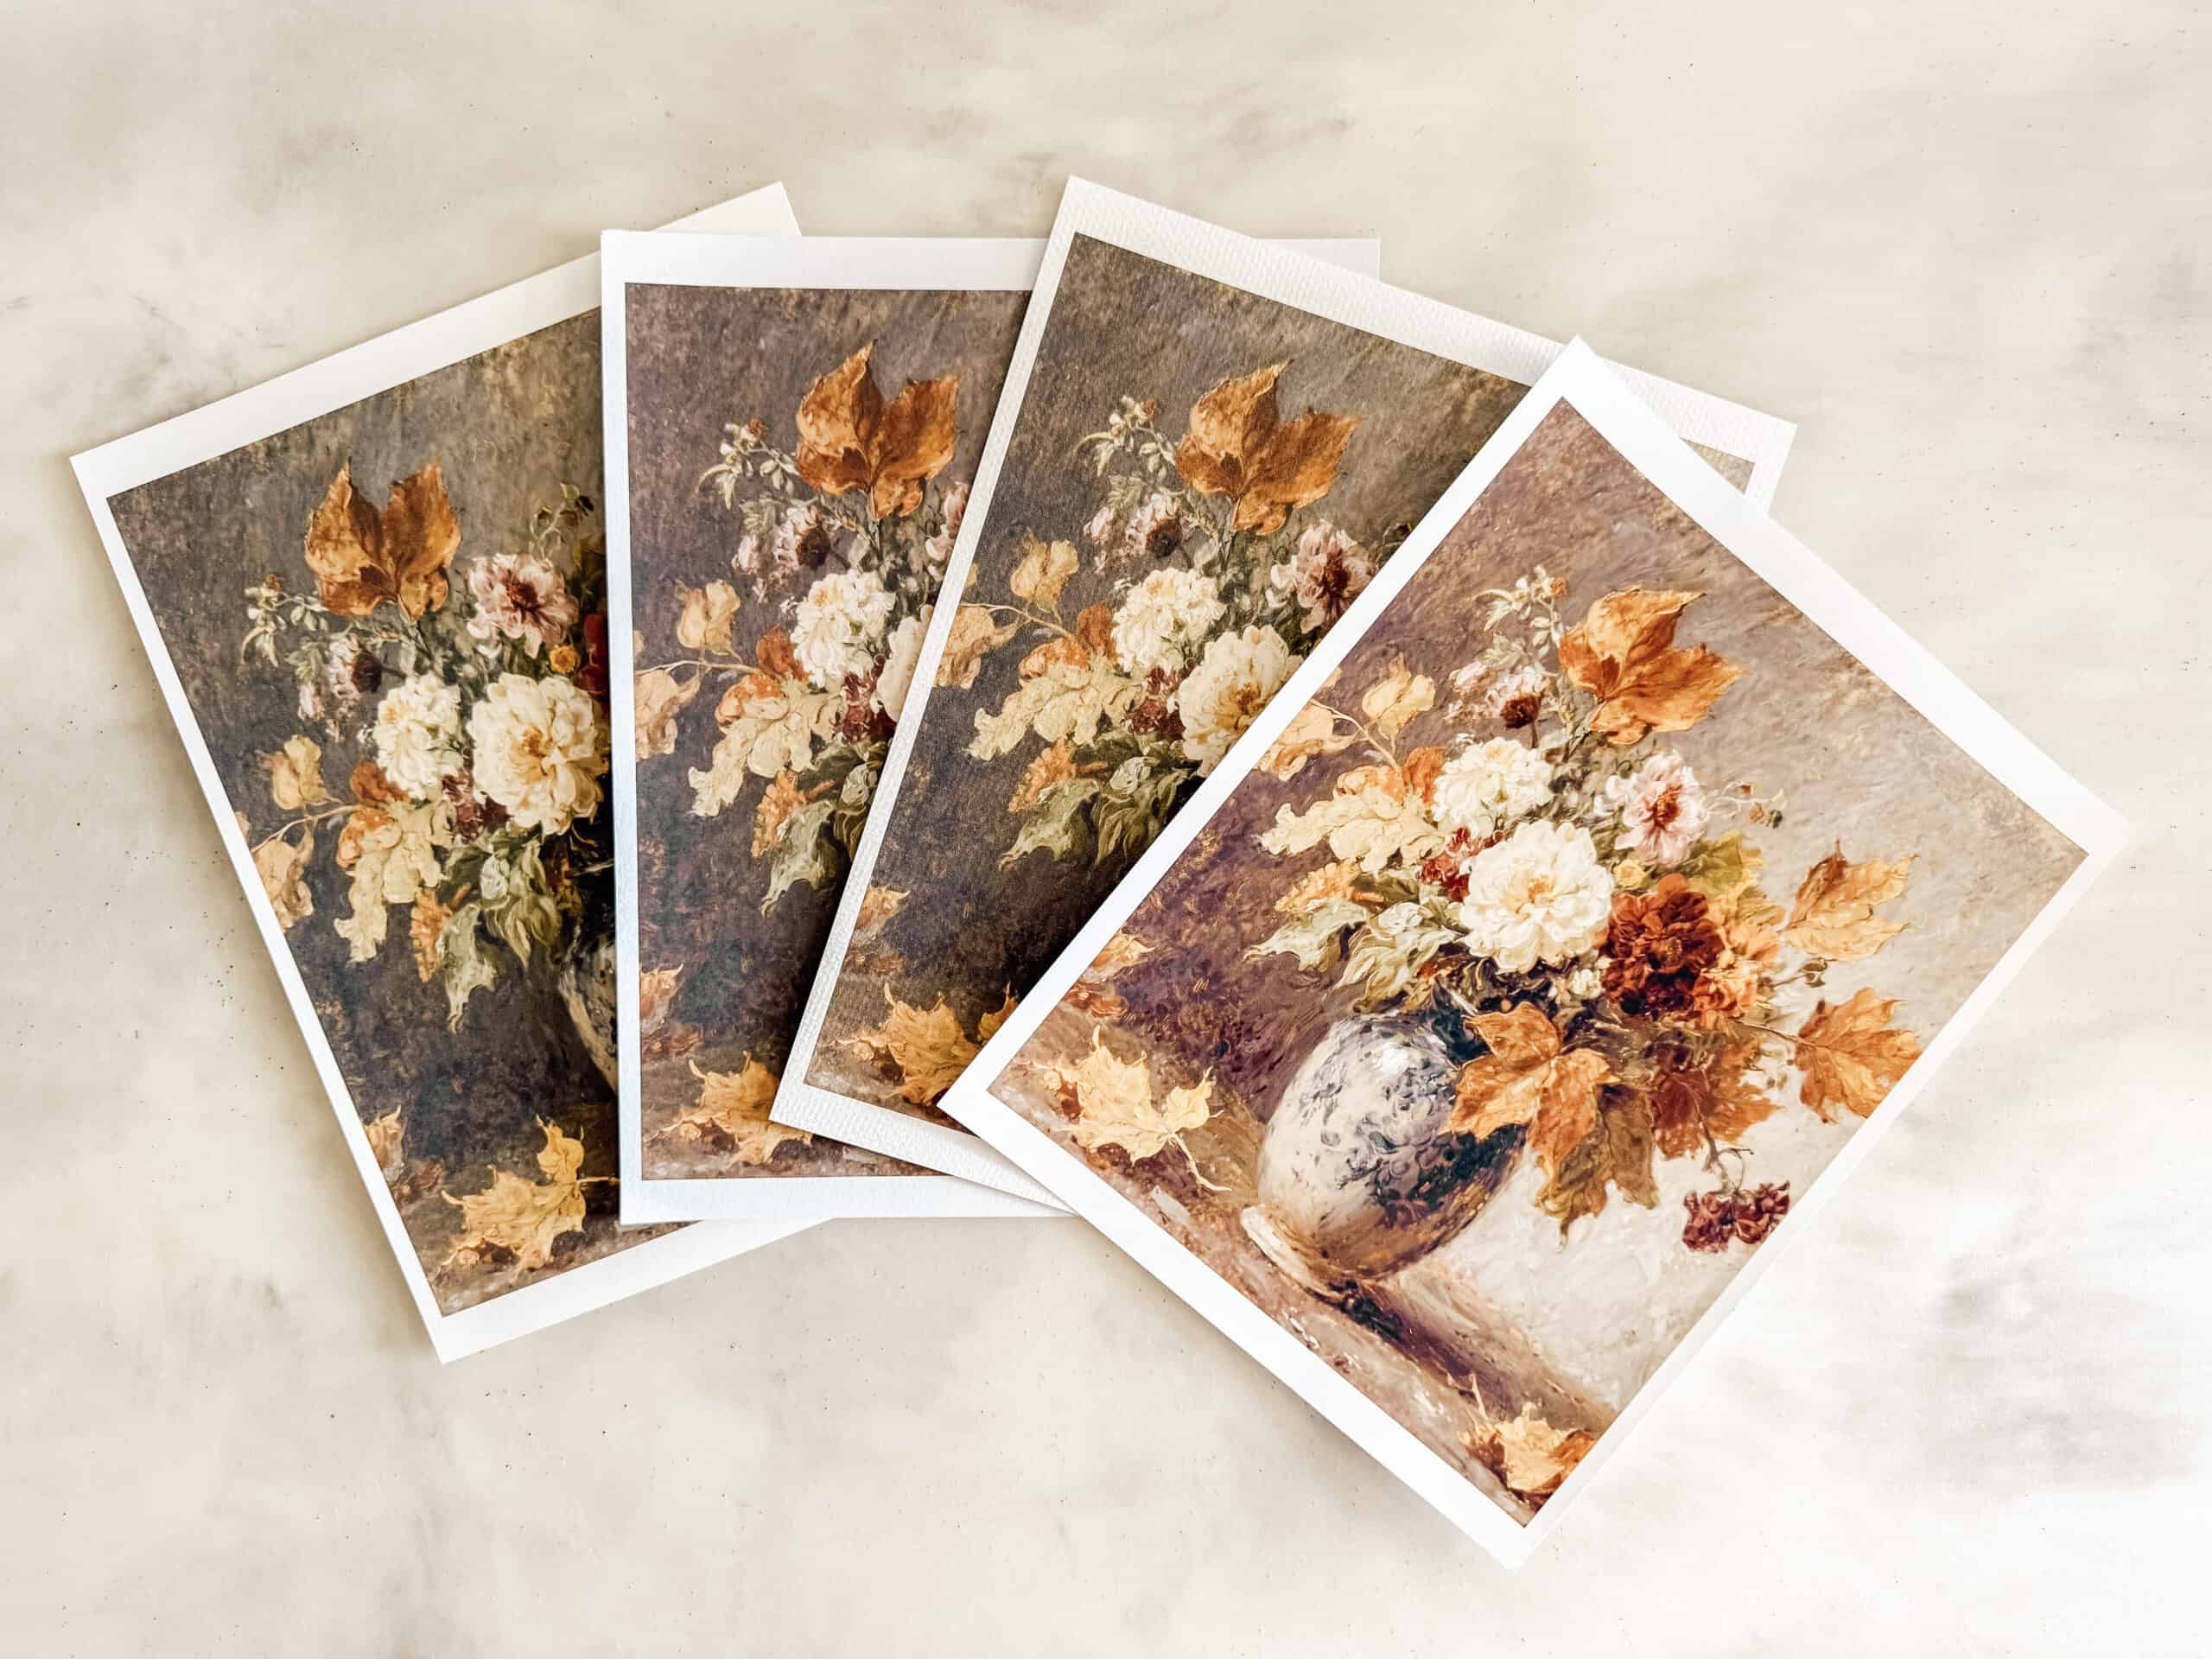
Printing at home works beautifully for sizes up to 8×10.
Which Paper is Best?
A standard printer with regular paper is a great alternative if you want something quick, but for a more authentic look, try these options:
- Matte Photo Paper – Has a matte finish and heavier weight than printer paper. The colors are deep, giving a vintage feel.
- Epson Ultra Premium Presentation Paper – A fantastic way to get bright, sharp colors with a professional finish. It’s also double-sided, so you can use the back of the sheets for other DIY picture frame projects.
- Strathmore Inkjet Texture Paper – My top choice! The texture makes digital art look like faux oil paintings or canvas prints. It’s acid-free to prevent fading, so your beautiful art will last. Shipping can take longer for this paper, so plan ahead.
- Acid-Free Cardstock – Affordable and reliable with a medium weight. Colors are slightly muted, but it’s still a great option.
True Vintage Look
The texture of this paper is truly the perfect vintage feel—it gives your digital print the authentic look of aged art!

For larger sizes, print shops or Walgreens’ Adhesive Poster option is a budget-friendly tip. These posters have a gorgeous matte finish and a weight that makes them look like vintage pieces. Upload your digital file directly through the app and you’ll have your new art in no time. Always check for coupons to keep this project affordable!


03
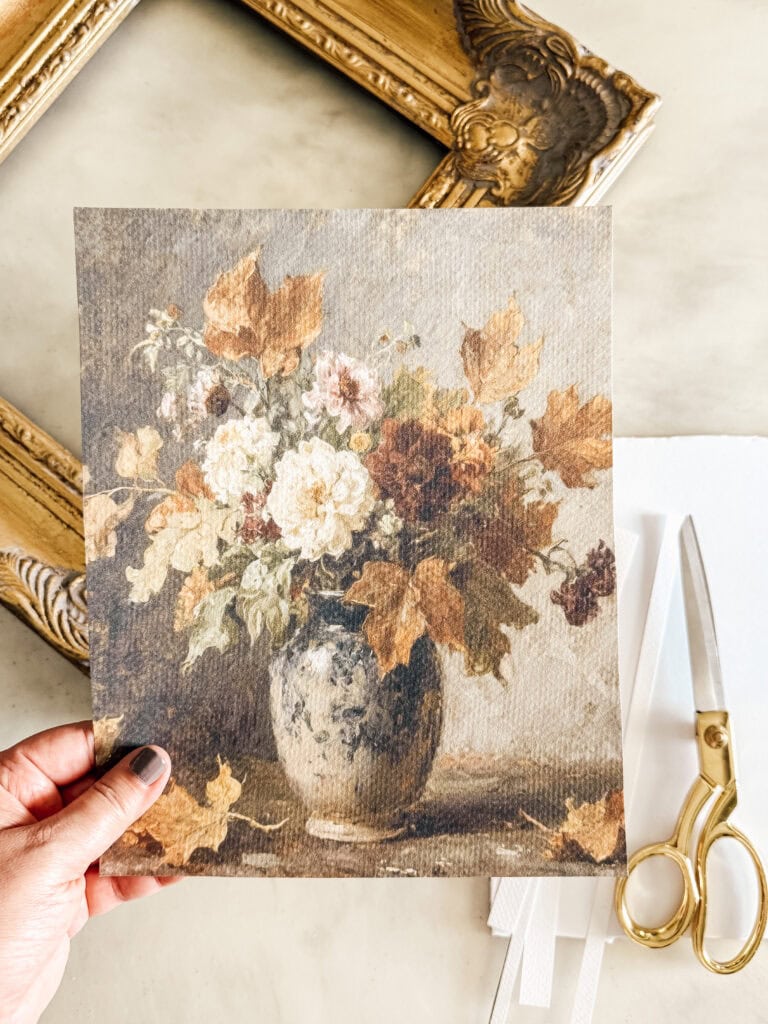
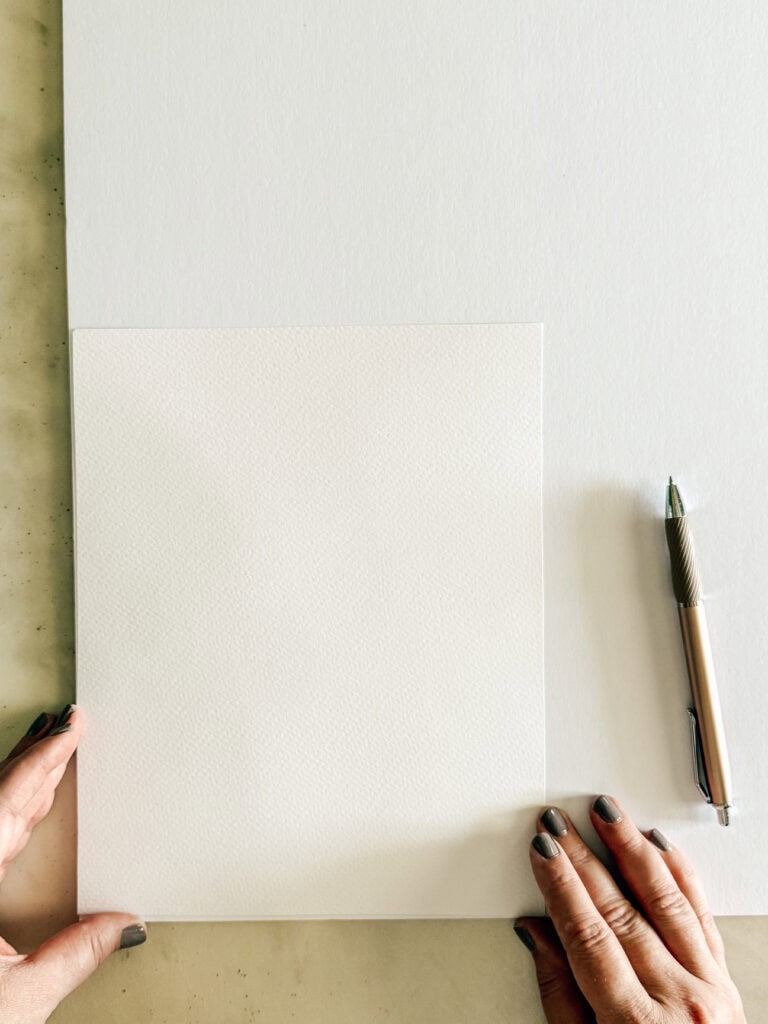
Cut Out the Image
Once your print is ready, use sharp scissors for a clean edge.
04
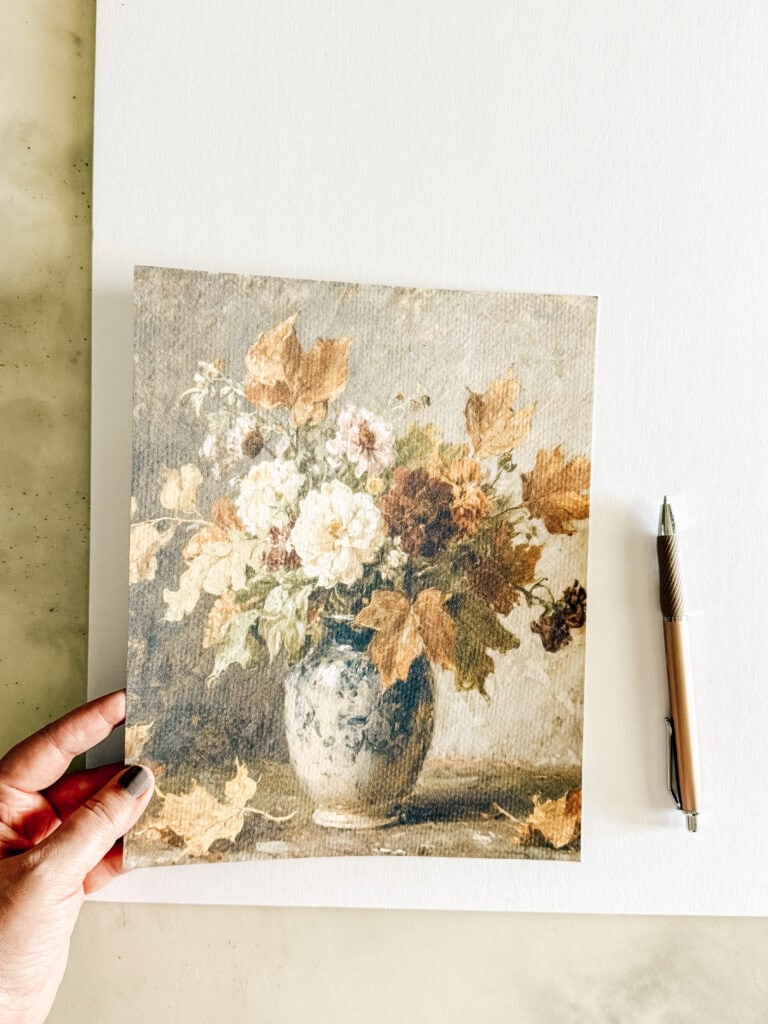
Trace onto Foam Poster Board
Flip the print over and trace it onto your foam board with a pencil or pen. I like to flip the print over to avoid any pencil or pen marks on the printed side of the image. Lining the image along the edge of the board saves space for smaller projects later.


05
Cut the Foam Board
Use a razor knife to cut along the traced lines. This step ensures the art has a sturdy backing, giving it that high-end look.

06
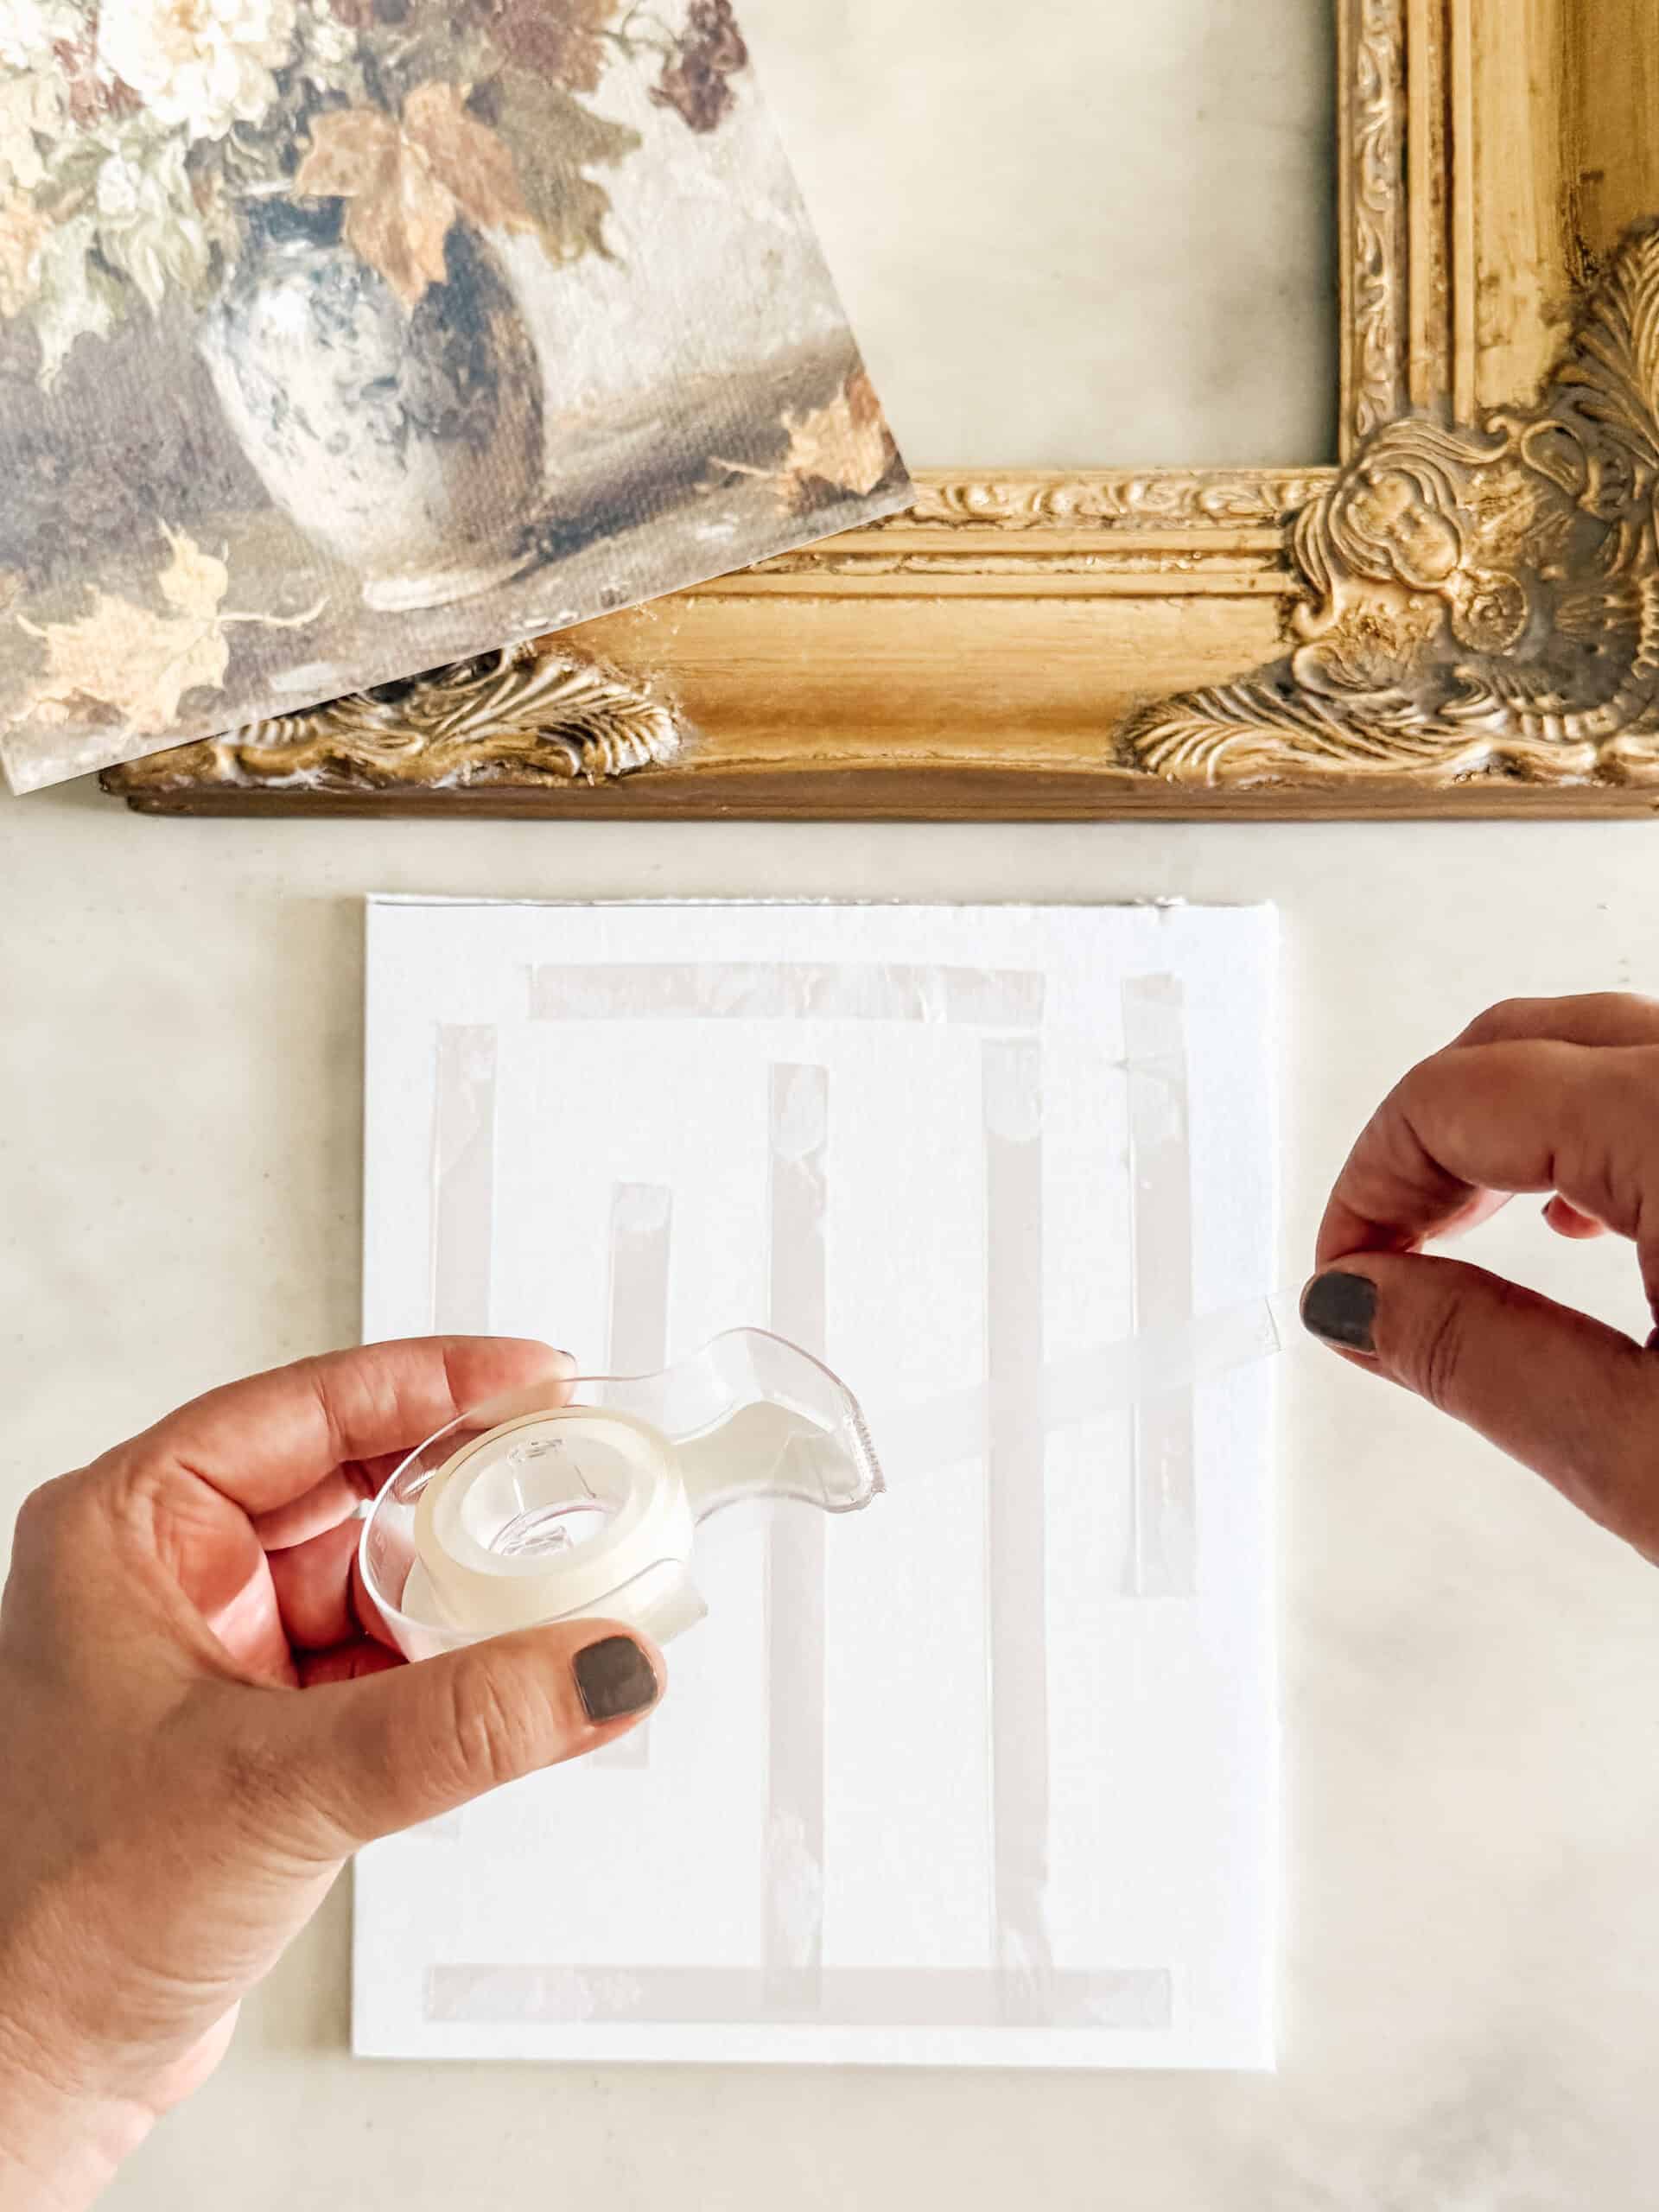
Add Double-Sided Tape
Secure double stick tape around the edges of the foam board. For larger prints (16×20 or more), indoor mounting tape is a great option for extra strength.
07
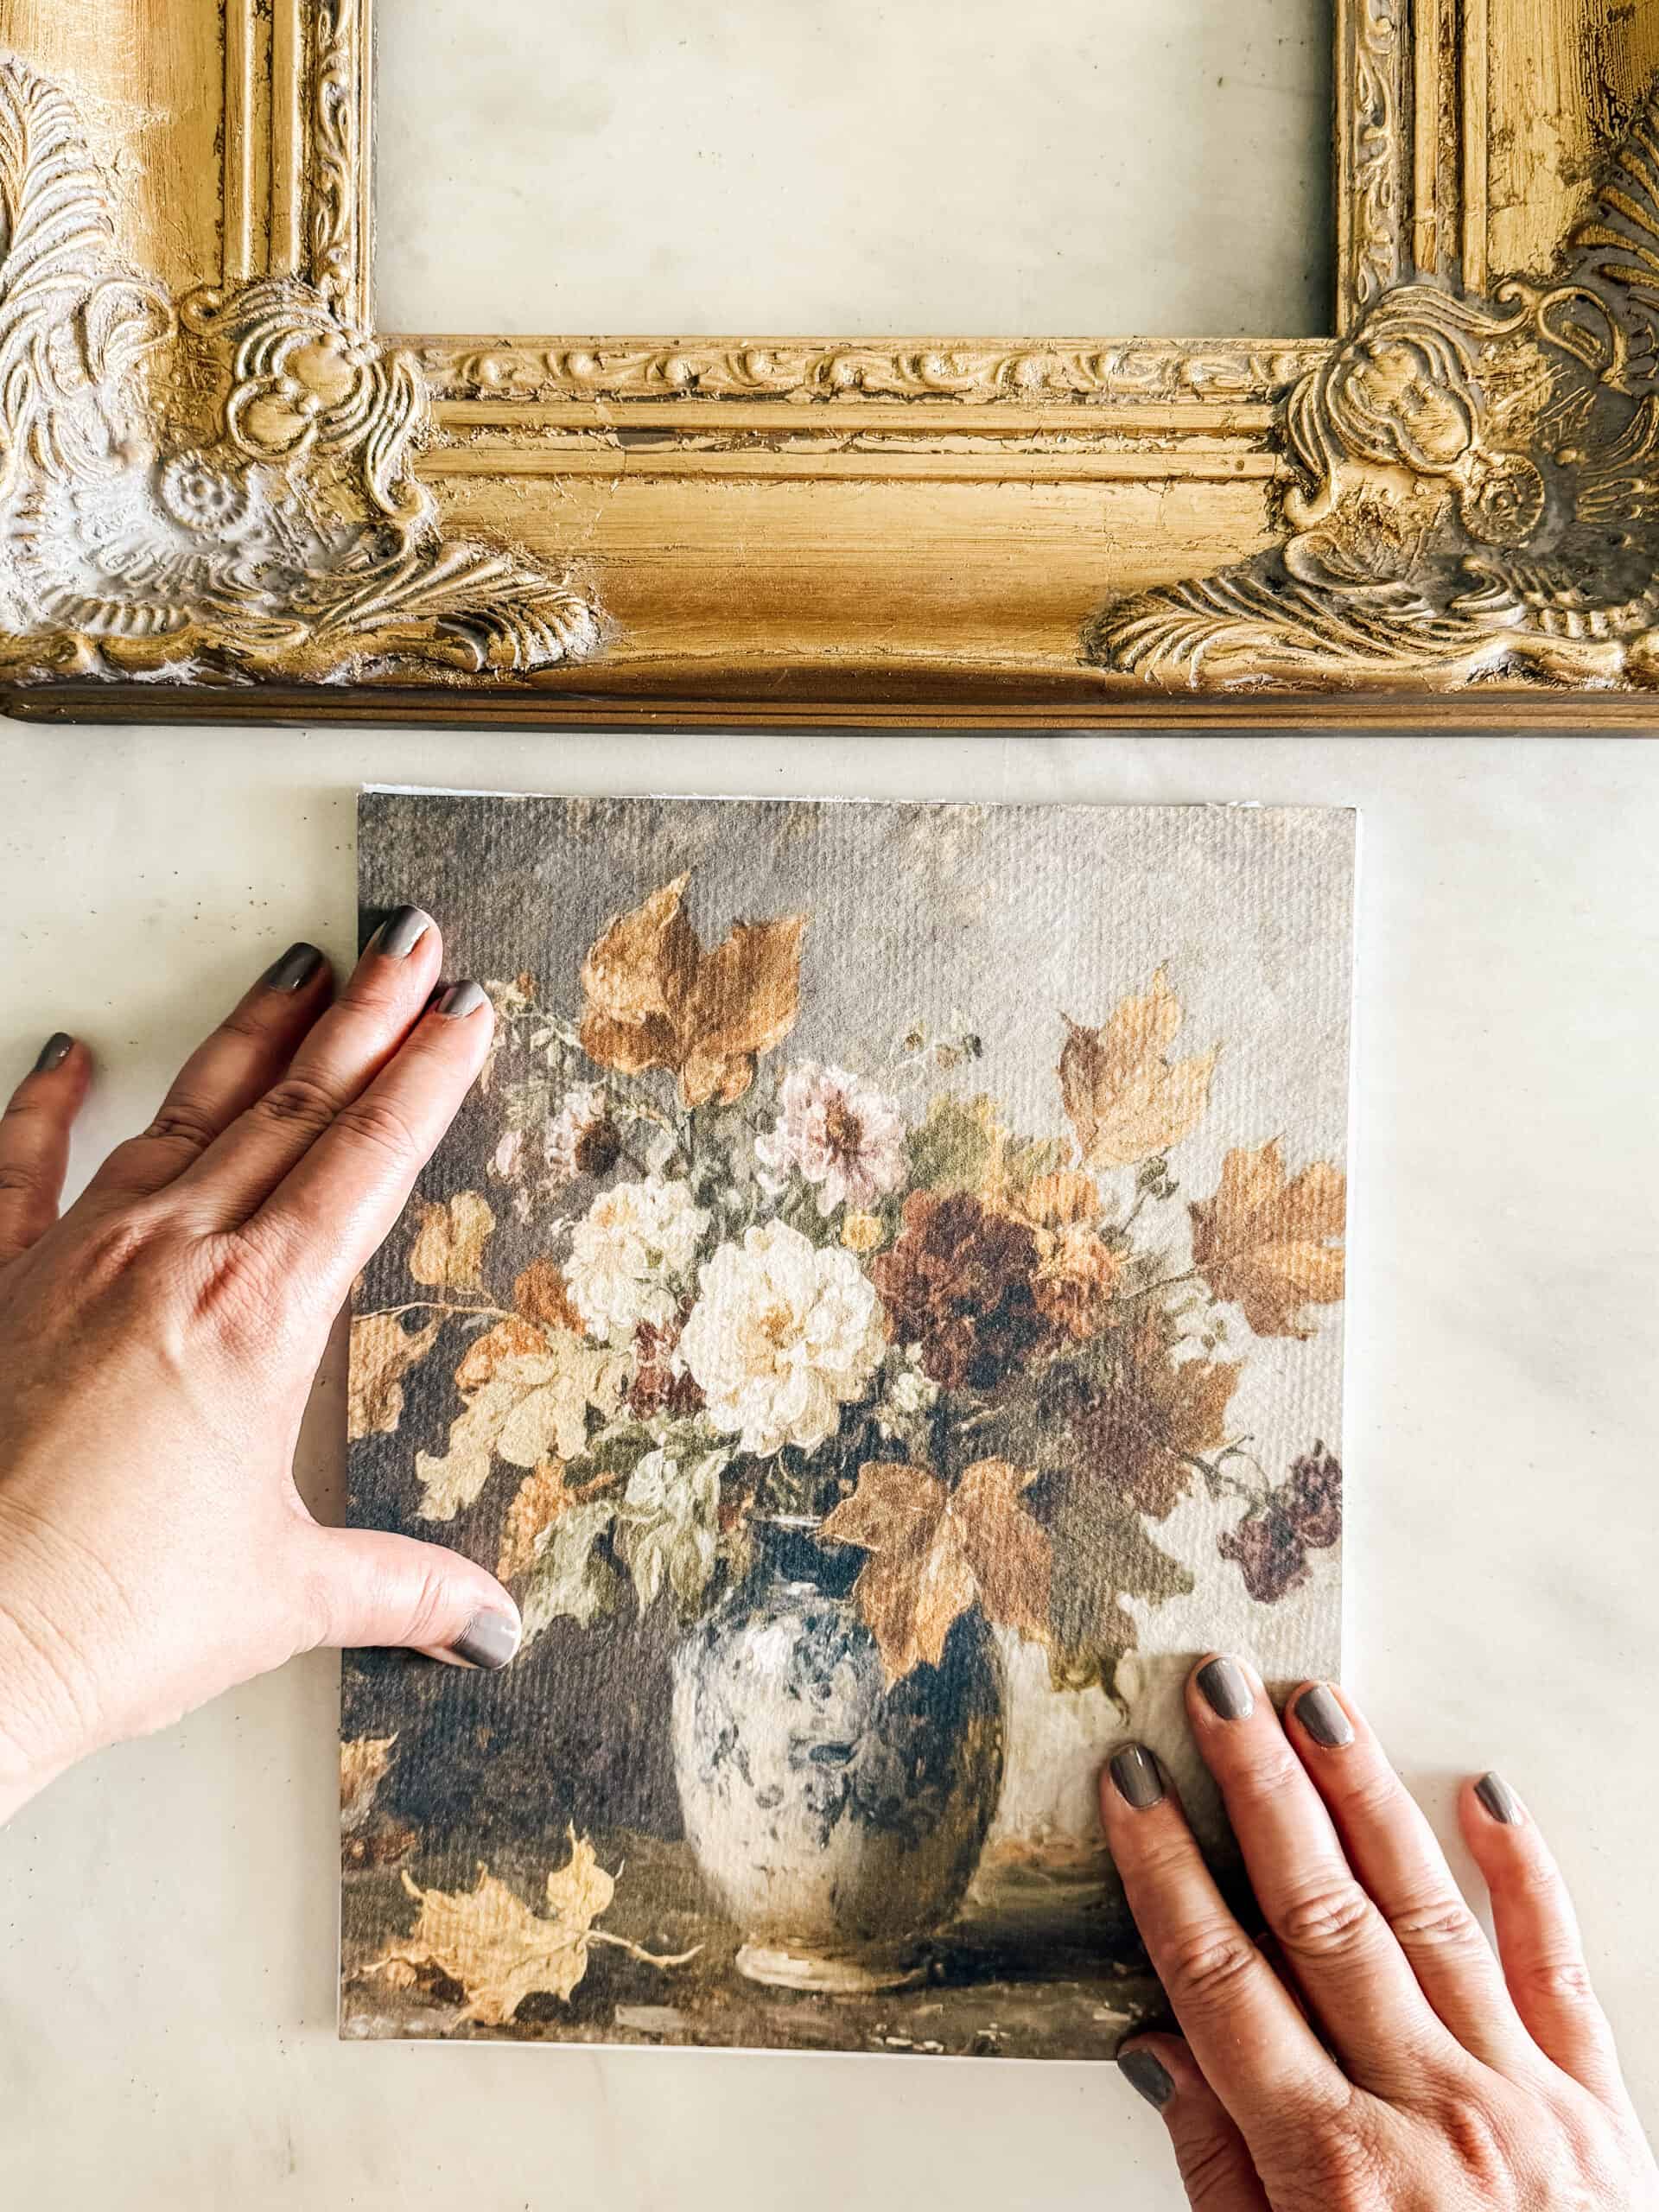
Mount the Print
Place the print onto the foam board, smoothing as you go to prevent bubbles. This is a great way to make even inexpensive frames look stunning.
08
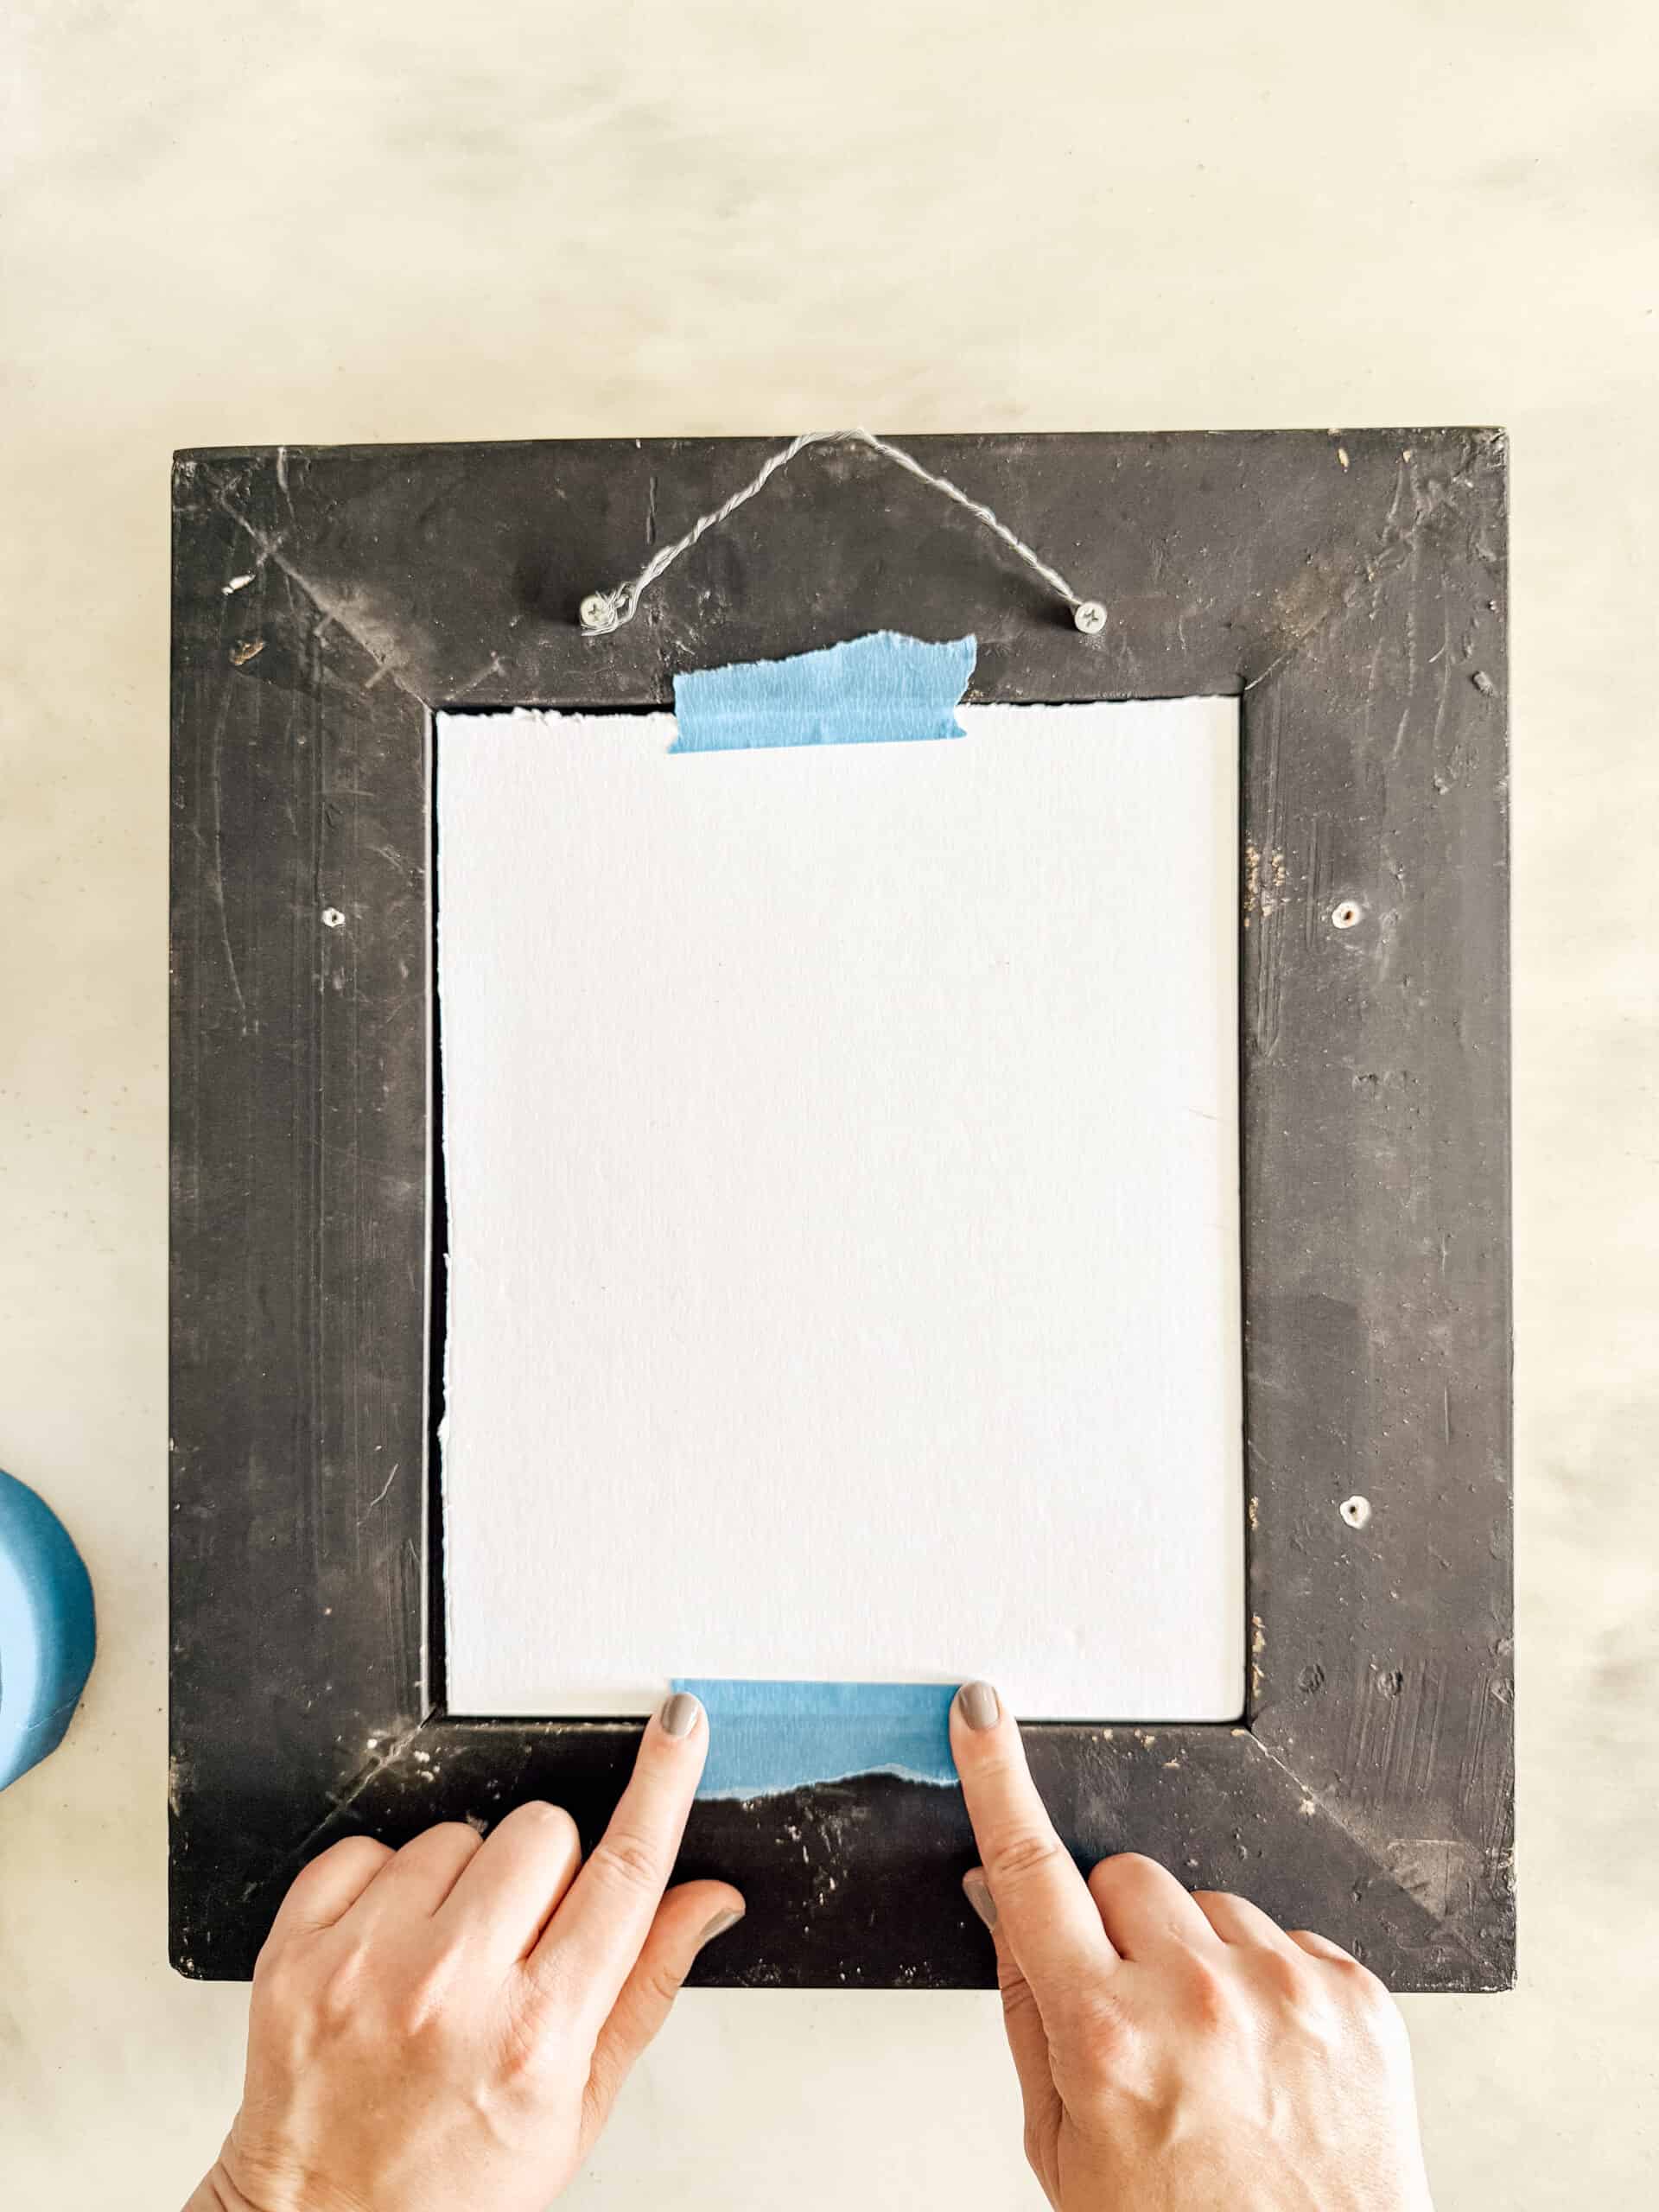
Add to Your Frame
Insert your foam-backed art into a vintage picture frame or ornate frame you’ve thrifted. I like to secure mine with painter’s tape because it holds well without damaging the frame when it’s time to switch out art for a new season.
09
Style and Enjoy
Now comes the fun part—styling your new art! Hang it in your living room, create a gallery wall of vintage art pieces, or lean it on a hutch for a casual antique store feel. These beautiful frames instantly bring a huge impact to any space, and swapping them out seasonally is a fun way to change your decor without much effort.

Tips for Getting an Authentic Vintage Art Look
- Estate sales, thrift stores, and flea markets are fantastic sources for inexpensive frames with lots of character. Look for ornate frames, old frames with patina, or even gold frames for an authentic vintage art look.
- Don’t overlook new frames—many budget-friendly ones can be easily transformed to look like vintage pieces with a coat of paint or rub-and-buff.
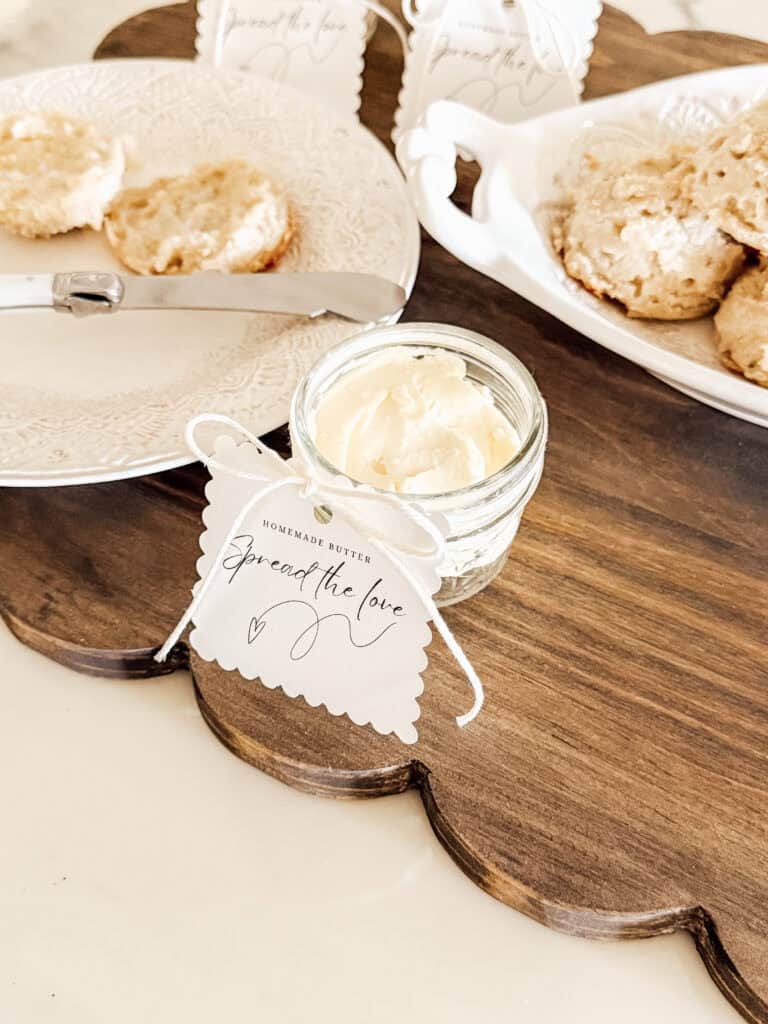
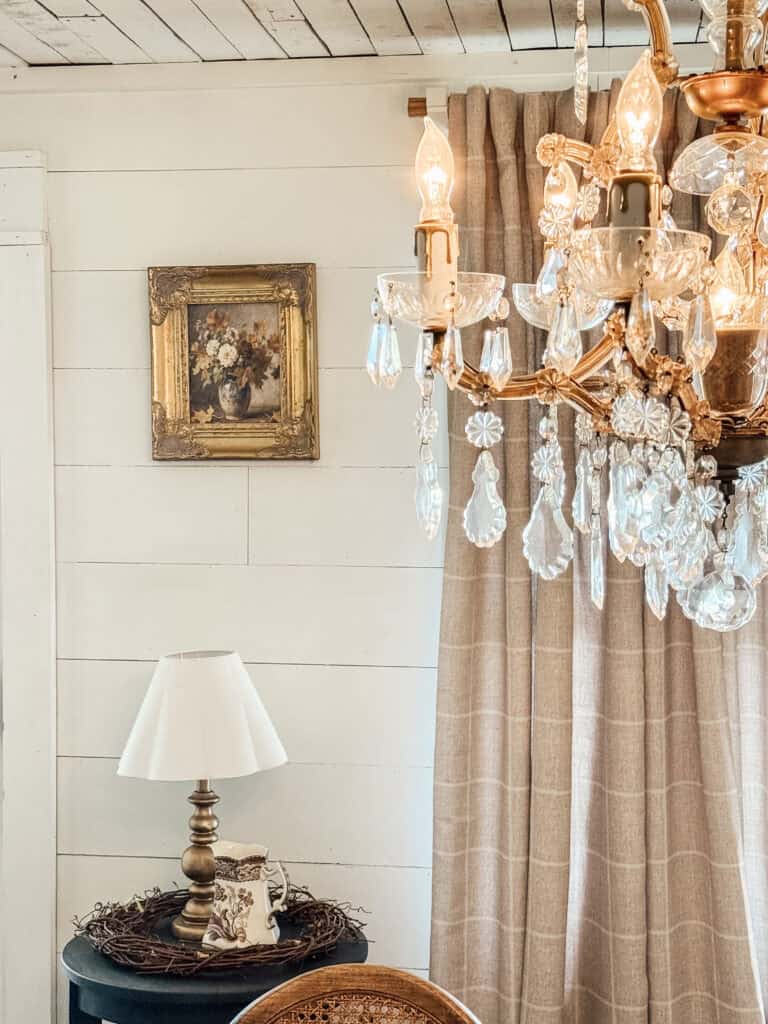
- If you want a vintage feel, choose images with muted tones, landscapes, botanicals, or portraits. These types of art create an authentic look that feels like you discovered them at an antique shop.
- Switching out art seasonally is one of my favorite ways to decorate. It’s a fun way to make a huge impact without investing in bulky décor that takes up storage space.
- This project is an easy tutorial to do with kids or teens who want to personalize their rooms. They’ll love choosing different colors or styles that reflect their personal style.
- Pairing affordable art prints with beautiful frames is a great alternative to expensive original oil paintings, while still giving your space that vintage wall art charm.
- If you’re not sure which type of art fits your space, think about your favorite ways to decorate—do you want an antique botanical print, an old landscape with a gold frame, or something with rich colors that feels like an original oil painting?
Common Questions About DIY Vintage Wall Art
Where do you find the best frames?
Thrift stores, flea markets, and estate sales are my favorite sources. They often have inexpensive frames with ornate details that are hard to find in new frames. More on this to come in a separate blog post!
Do I need a special printer?
No! A standard home printer works well for smaller sizes. For larger sizes, print shops are a great way to keep costs down and still have beautiful large prints.
Can I use glass in the frame?
You can, but I prefer the authentic look of glass-free frames. It makes the print look more like original vintage art pieces or faux oil paintings.
Can I reuse the prints?
Absolutely! This is one of the best budget-friendly tips. Store your digital downloads flat in a folder, and swap them seasonally for new art without spending again.
What type of art looks best?
Vintage art prints with landscapes, botanicals, or portraits give the most timeless look. A blank wall comes alive when filled with vintage art pieces in beautiful frames.
Is this really under $20?
Yes! With thrift store or flea market frames and inexpensive prints, you can create gorgeous artwork without much additional cost.
By using this DIY picture frame hack, you can enjoy the beauty of vintage wall art in your home without overspending. Whether you source old frames from flea markets or pick up new frames to transform, the result is always a gorgeous piece that elevates your home décor.
This simple, budget-friendly DIY vintage wall art hack is one of my favorite ways to decorate for every season. It’s such an affordable way to enjoy beautiful artwork, and the authentic look it gives makes your space feel layered, cozy, and stylish.
If you try this project, I’d love to see your results! Share your vintage art pieces with me on social media @returninggrace, and don’t forget to check back in my shop often for new art collections. Happy printing, friends!

My Digital Art Shop is Open!
Shop curated vintage-inspired printable art and TV art for every season. Instantly download, print and style your home in minutes!