Every year, I like to change up my Christmas decorating theme just a little. It keeps things fresh and fun, and it gives me the perfect excuse to make new ornaments for the tree. I’m always thinking about easy and inexpensive ways to add to my collection, and this year I’m leaning into a vintage, neutral style. That’s what inspired these sweet vintage Christmas ornaments using photo frame ornaments and my free Christmas printables!

These handmade ornaments are such a great way to prep for the holiday season ahead of time. With just a few simple supplies and a printer, you can create paper Christmas ornaments that feel timeless and elegant. Whether you’re styling a mini tree or getting ready for the big Christmas tree, these are a wonderful addition to your handmade decor. Plus, they’re so easy and inexpensive—you can make several for under $10!

These little vintage ornaments are also perfect for more than just your tree. Use them as party favors, gift wrap embellishments, or even as place cards for a holiday table setting. No matter how you use them, this is a DIY project that’s both beautiful and budget-friendly.
Let’s learn how to make your own handmade Christmas ornament in just a few simple steps.

Supplies for Christmas Ornaments
To make these vintage Christmas ornaments, here’s what you’ll need:
- Small photo frame ornaments (available at Hobby Lobby SKU#6762801)
- Rub’NBuff in Antique Gold
- Paintbrush or foam brush
- White cardstock
- Printer
- Free printable vintage Christmas images (grab them from my freebie library)
- Wax paper or craft mat to protect your surface
- Ribbon or twine for hanging
Shop supplies

Subscribe to get all the latest projects delivered Right to youR Inbox!
Step-By-Step Instructions for Christmas Ornaments
01
Disassemble the Frame
Begin by removing the back of the frame and taking out the clear plastic insert. If the ornament came with twine or a hanging wire, clip it off now—especially if you plan to swap it for a ribbon loop that matches your theme.


02
Apply Rub’NBuff
Using a small paintbrush or foam brush, gently apply Rub’NBuff in Antique Gold to the frame. A little goes a long way, and you’ll love how it transforms a basic ornament into something that looks like a vintage treasure. Set the frame aside on wax paper to dry fully before handling.

03
Add Ribbon for Hanging
Once the frame is dry, loop a length of ribbon through the top for hanging. I chose a soft velvet ribbon in a neutral tone to keep with my vintage-inspired look, but you could use twine or a different color ribbon to suit your theme.

04
Print and Cut Your Images
Download and print the free Christmas printables on white cardstock. These include classic vintage Santa images and other nostalgic designs. Carefully cut them to size so they fit perfectly within your photo frames.

05
Insert the Image
Place the image into the frame where the photo would normally go. You can secure it in place using the backing of the frame. Make sure the image is facing out and centered—especially if your design has a focal point like a Santa image or other detailed art near the bottom of the ornament.

06
Style and Enjoy
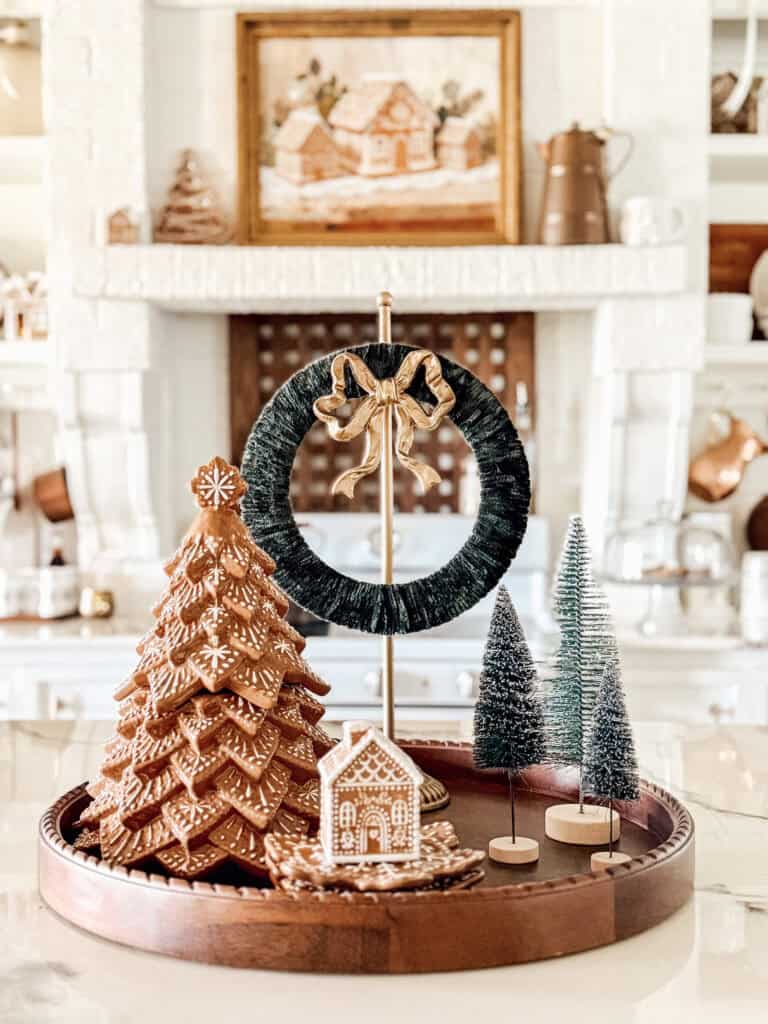
That’s it! Your easy DIY Christmas ornaments are ready to enjoy. I added mine to a small tree in my kitchen for now, but once our big Christmas tree is up, these vintage ornaments will have a special spot nestled among the branches.

Tips
- If you’re making several ornaments at once, lay out all your frames and work assembly-line style. It saves time and keeps the mess to a minimum.
- Use wax paper under your frame while applying Rub’NBuff to avoid staining your work surface.
- Mix and match images from the printable set to give each ornament a unique look.
- Try layering your printable image with a coordinating solid background cut from colored card stock for a more dimensional look.
- These also make lovely handmade gifts. Tie one to a wrapped present for a keepsake that’s both thoughtful and decorative.
- Add embellishments like tiny bells, glitter, or mini pinecones to the ribbon loop for an extra festive touch.

More Handmade Ornaments
letter ornaments
These letter ornaments are made with wood letters and wrapping paper. Such an easy way to create custom ornaments for your family and friends!
Frequently Asked Questions
Can I use regular printer paper instead of cardstock?
You can, but I recommend using white cardstock for a sturdier, more polished finish. Regular paper may wrinkle or warp inside the frame over time.
What size should the printable image be?
It depends on the size of your photo frame ornaments. Most small ornaments hold images around 2×3 inches. You can resize the printable in your print settings before cutting it out.
Where can I find the vintage printable images?
You can access the free Christmas printables in my printable vault. If you’re already a subscriber, just log in. If not, sign up and the password will be sent straight to your inbox.
Can I use something other than Rub’NBuff?
Absolutely. You can use gold acrylic paint or even spray paint if that’s what you have on hand. Rub’NBuff gives a nice antique finish that pairs beautifully with vintage Christmas decorations.
What else can I do with these ornaments?
These make lovely party favors, wedding decor, or place setting tags. They can also be used for advent calendars or displayed as part of your holiday shelf styling.
Can I make these with kids?
Yes! This is a simple craft that older children can enjoy too. Just be sure to supervise the use of Rub’NBuff and scissors.
Happy Crafting!
There’s something so special about handmade ornaments, especially when they reflect your personal style and holiday vision. These vintage Christmas ornaments are a great way to add warmth and charm to your Christmas tree, and they make thoughtful gifts too. Whether you’re crafting for fun, decorating with intention, or simply looking for easy DIY Christmas ornaments that don’t break the bank, this is one of those craft ideas that you’ll want to repeat year after year.
Get ahead on your holiday season decorating and start making your own vintage-inspired ornaments today. Tag me on social @returninggrace or leave a comment below if you give these a try! I can’t wait to see how you style yours!

Pin for Later