
Supplies
Shop the supplies

Tip: You can use any yarn or string for this project.
Medium yarn creates a fun texture and chunky yarn makes a gorgeous chunky yarn wreath that can be made quickly. Thin twine or string works beautifully but will take a little more time. This wreath took me about twenty minutes to complete.
Step By Step Instructions for Yarn Wreath
Step By Step Instructions for Yarn Wreath
01
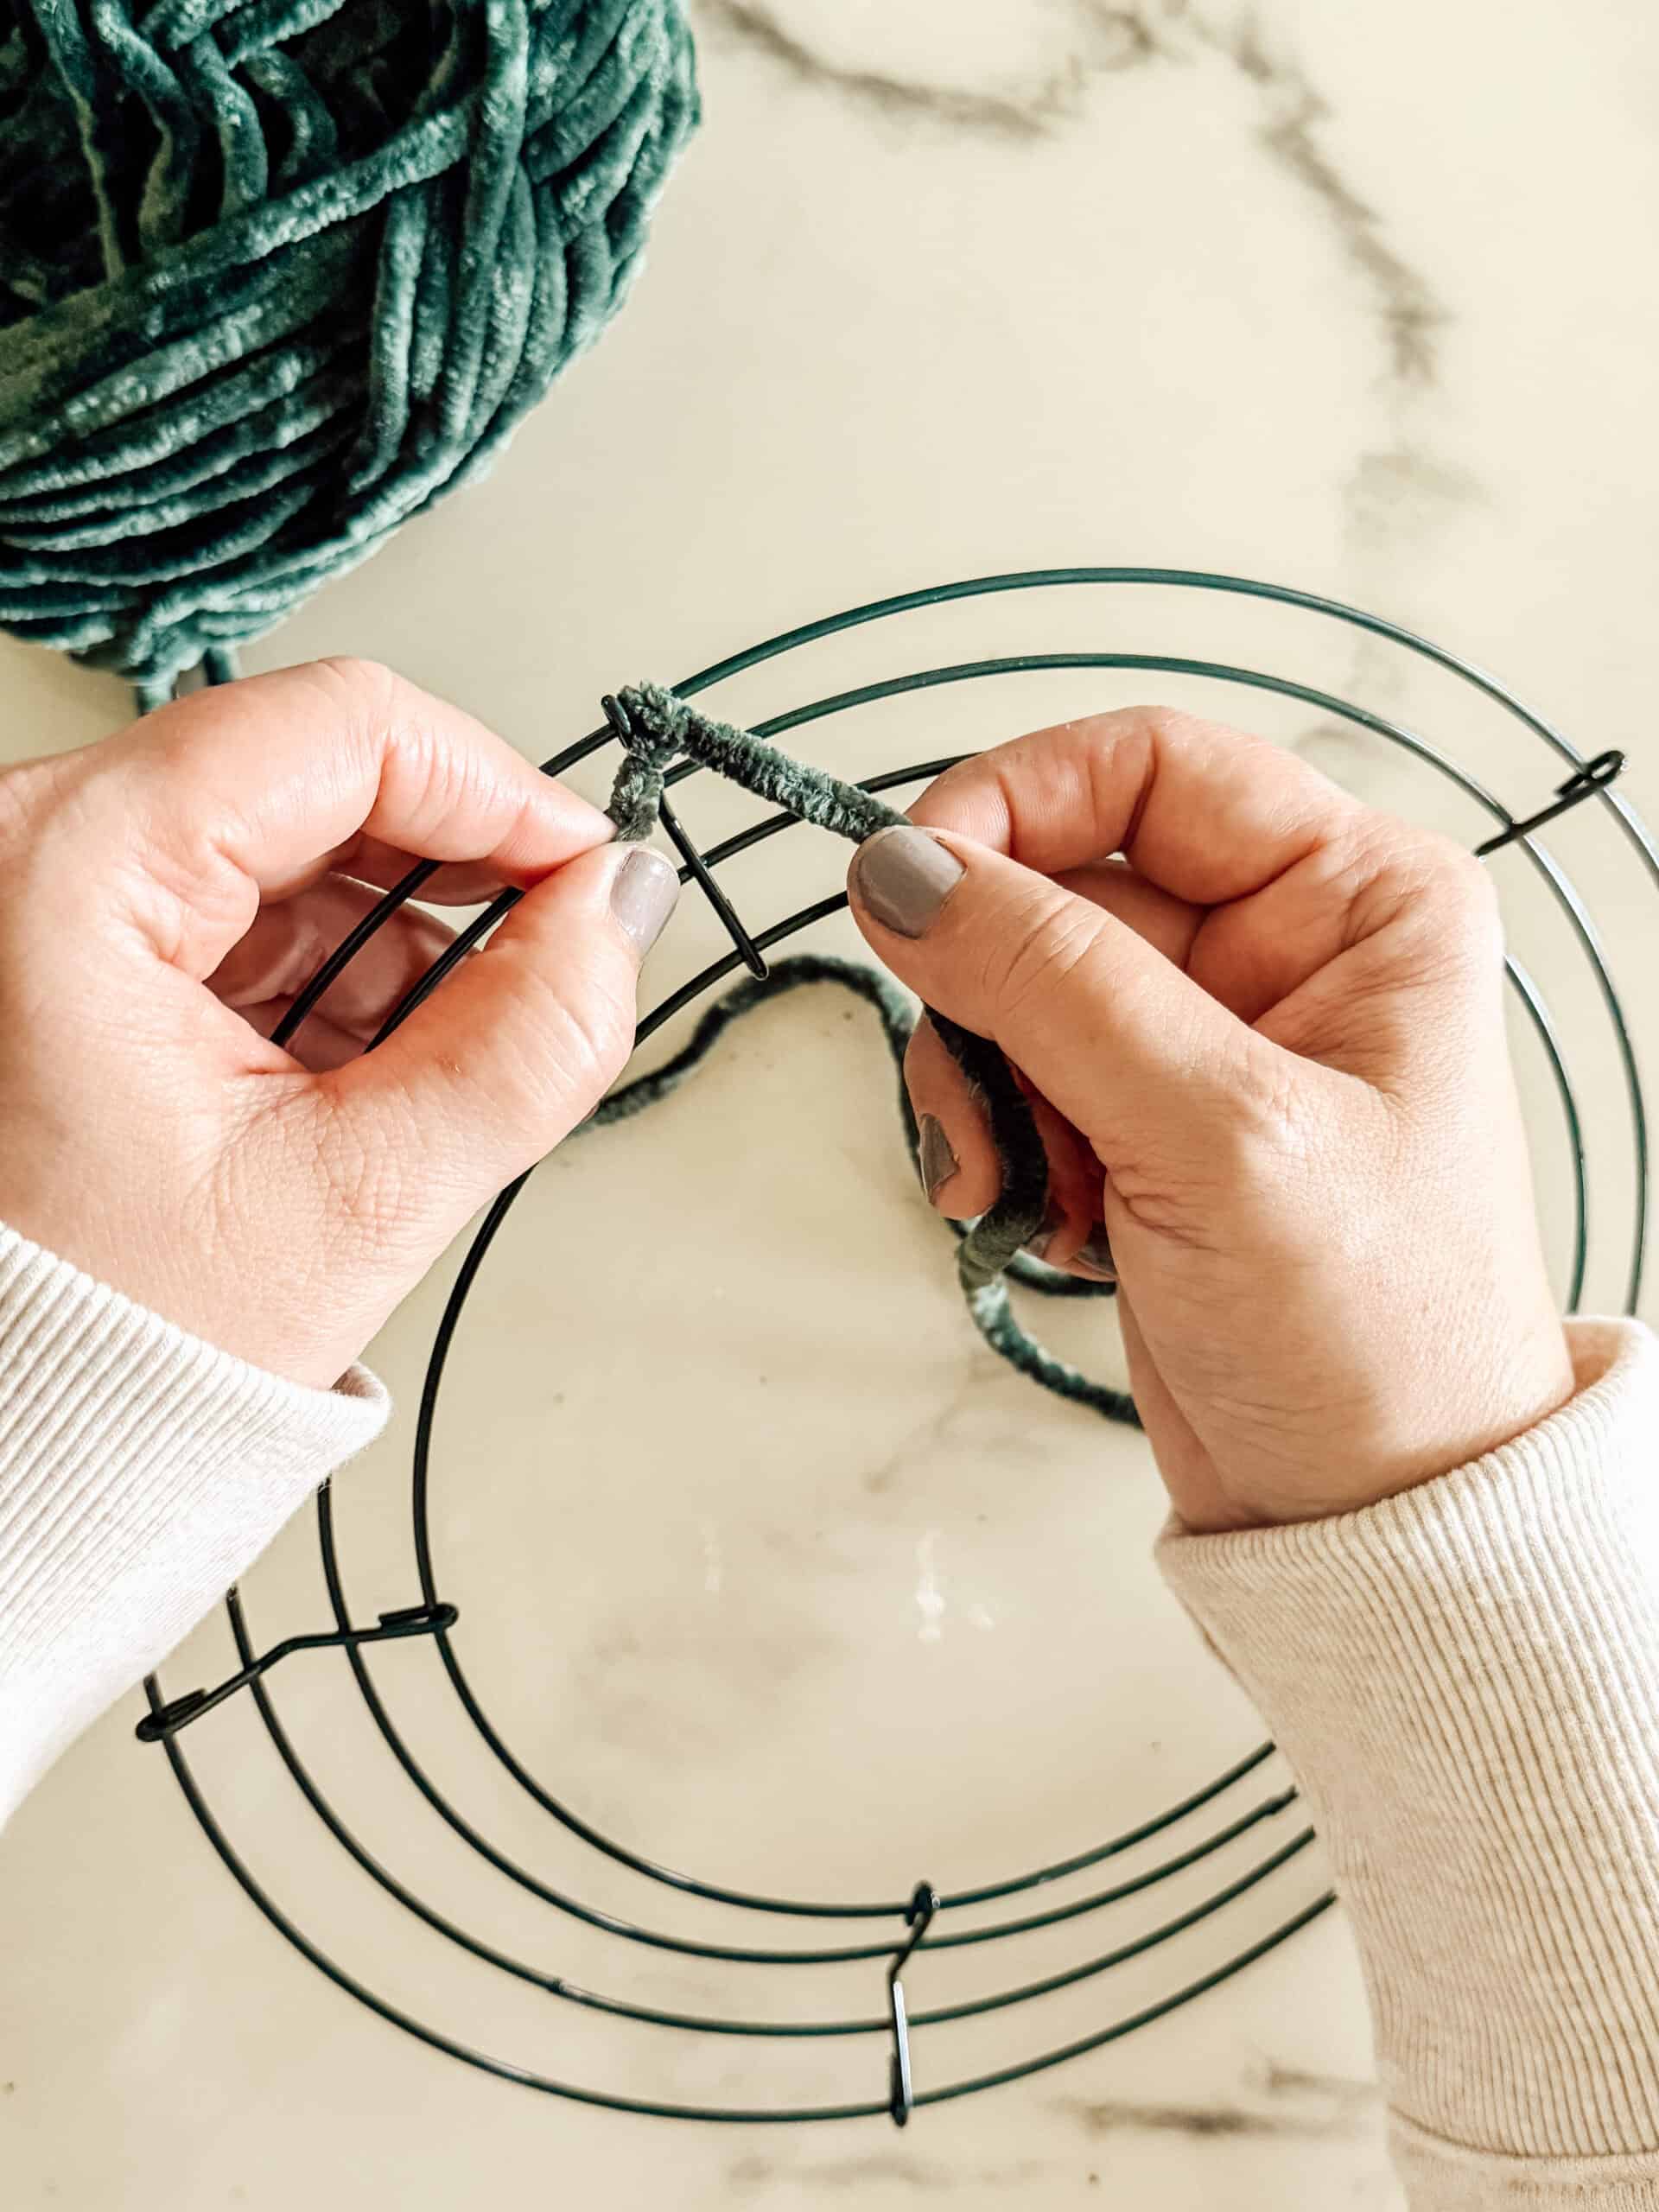
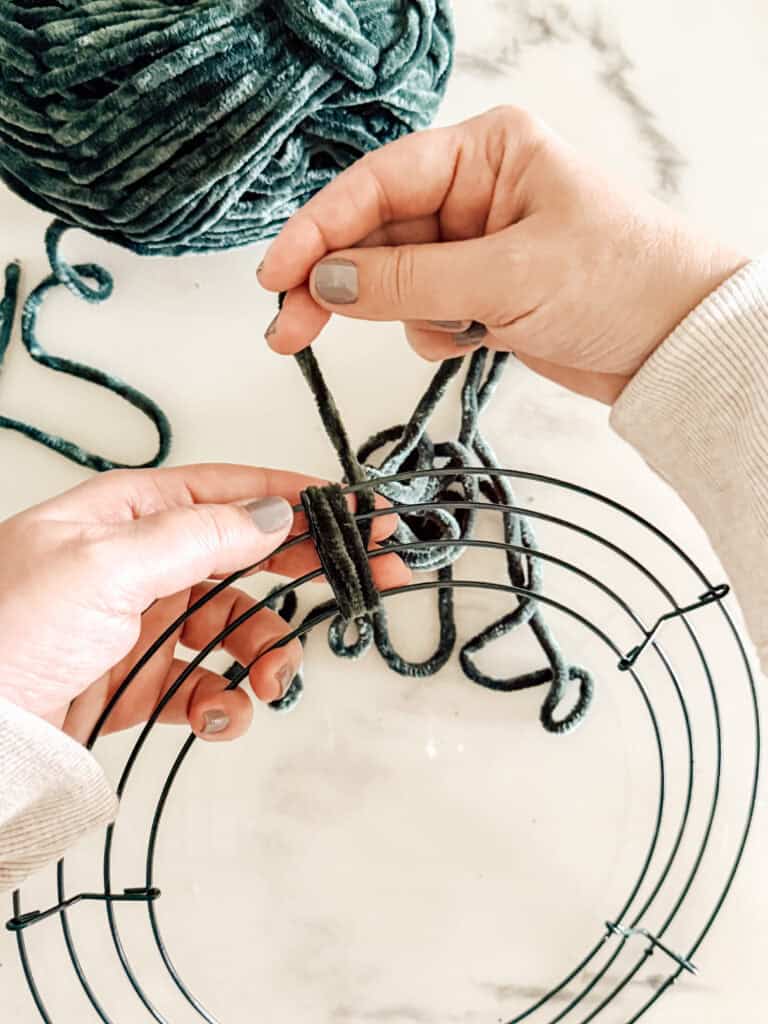
Tie the First Knot to Start Your Yarn Wreath
Tie the yarn to the top of the wreath using a simple knot. If you prefer not to tie a knot, you can place a small dab of hot glue directly on the metal to secure the first loop. Hold it gently with silicone finger protectors. This helps keep the piece of yarn from slipping as you begin wrapping.
02
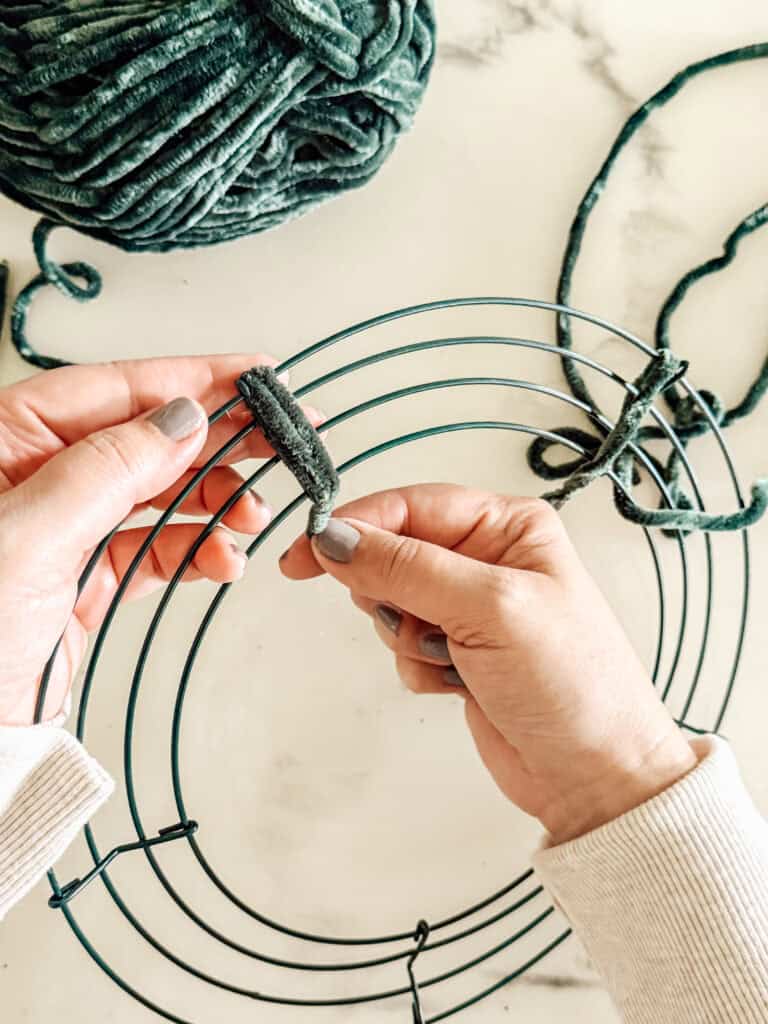
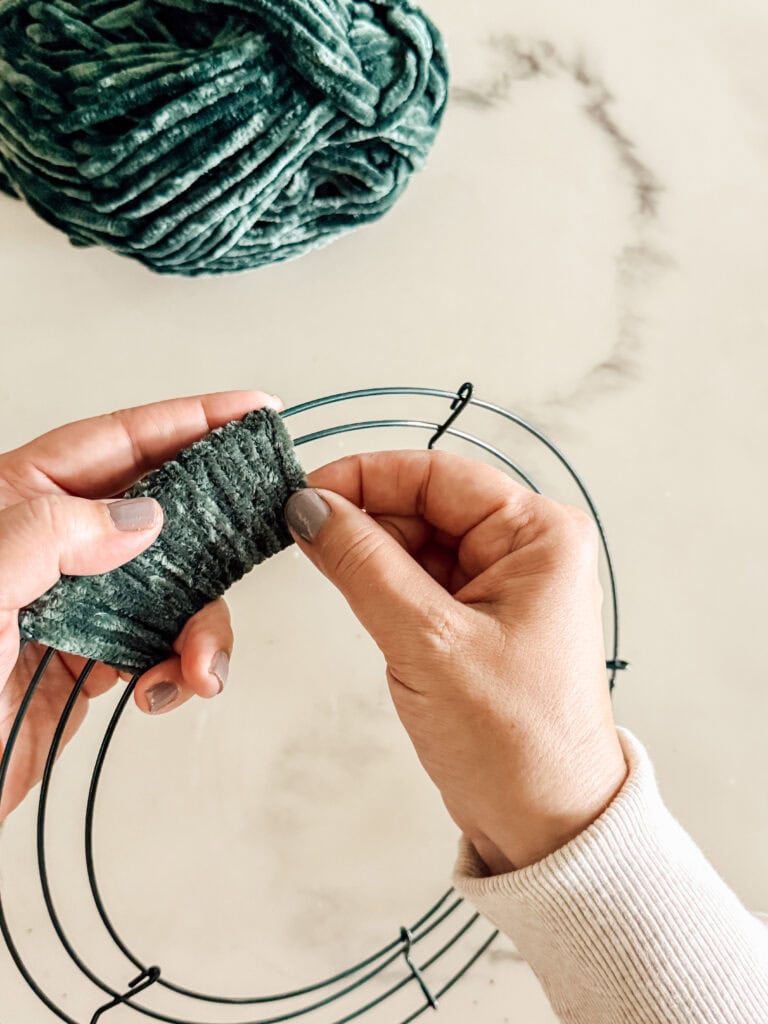
Wrap the Yarn Around the Entire Wreath Form
Wrap the yarn vertically around the wreath form making a few loops over the starter knot. Pull each wrap through the center of the wreath and tighten it slightly so the yarn looks neat and even. It works best to cut a long separate piece of yarn instead of trying to work with the entire skein. A single piece of yarn is much easier to manage as you weave it through the center of the wreath.


03
Finish Wrapping and Secure the End of the Yarn
Continue wrapping the entire piece of yarn around with wreath form. When you reach the end of your yarn, tuck the end into the wrapped yarn and add a new piece of yarn by tucking the new piece of yarn in and then continue wrapping vertically over the tucked in pieces. Once the wreath is completely covered, cut off the excess yarn and tuck the tail into the back of the wreath. You can also secure the end of the yarn with a dab of hot glue if you want extra hold. Make sure the bottom piece and top of the wreath look smooth and tidy.


04
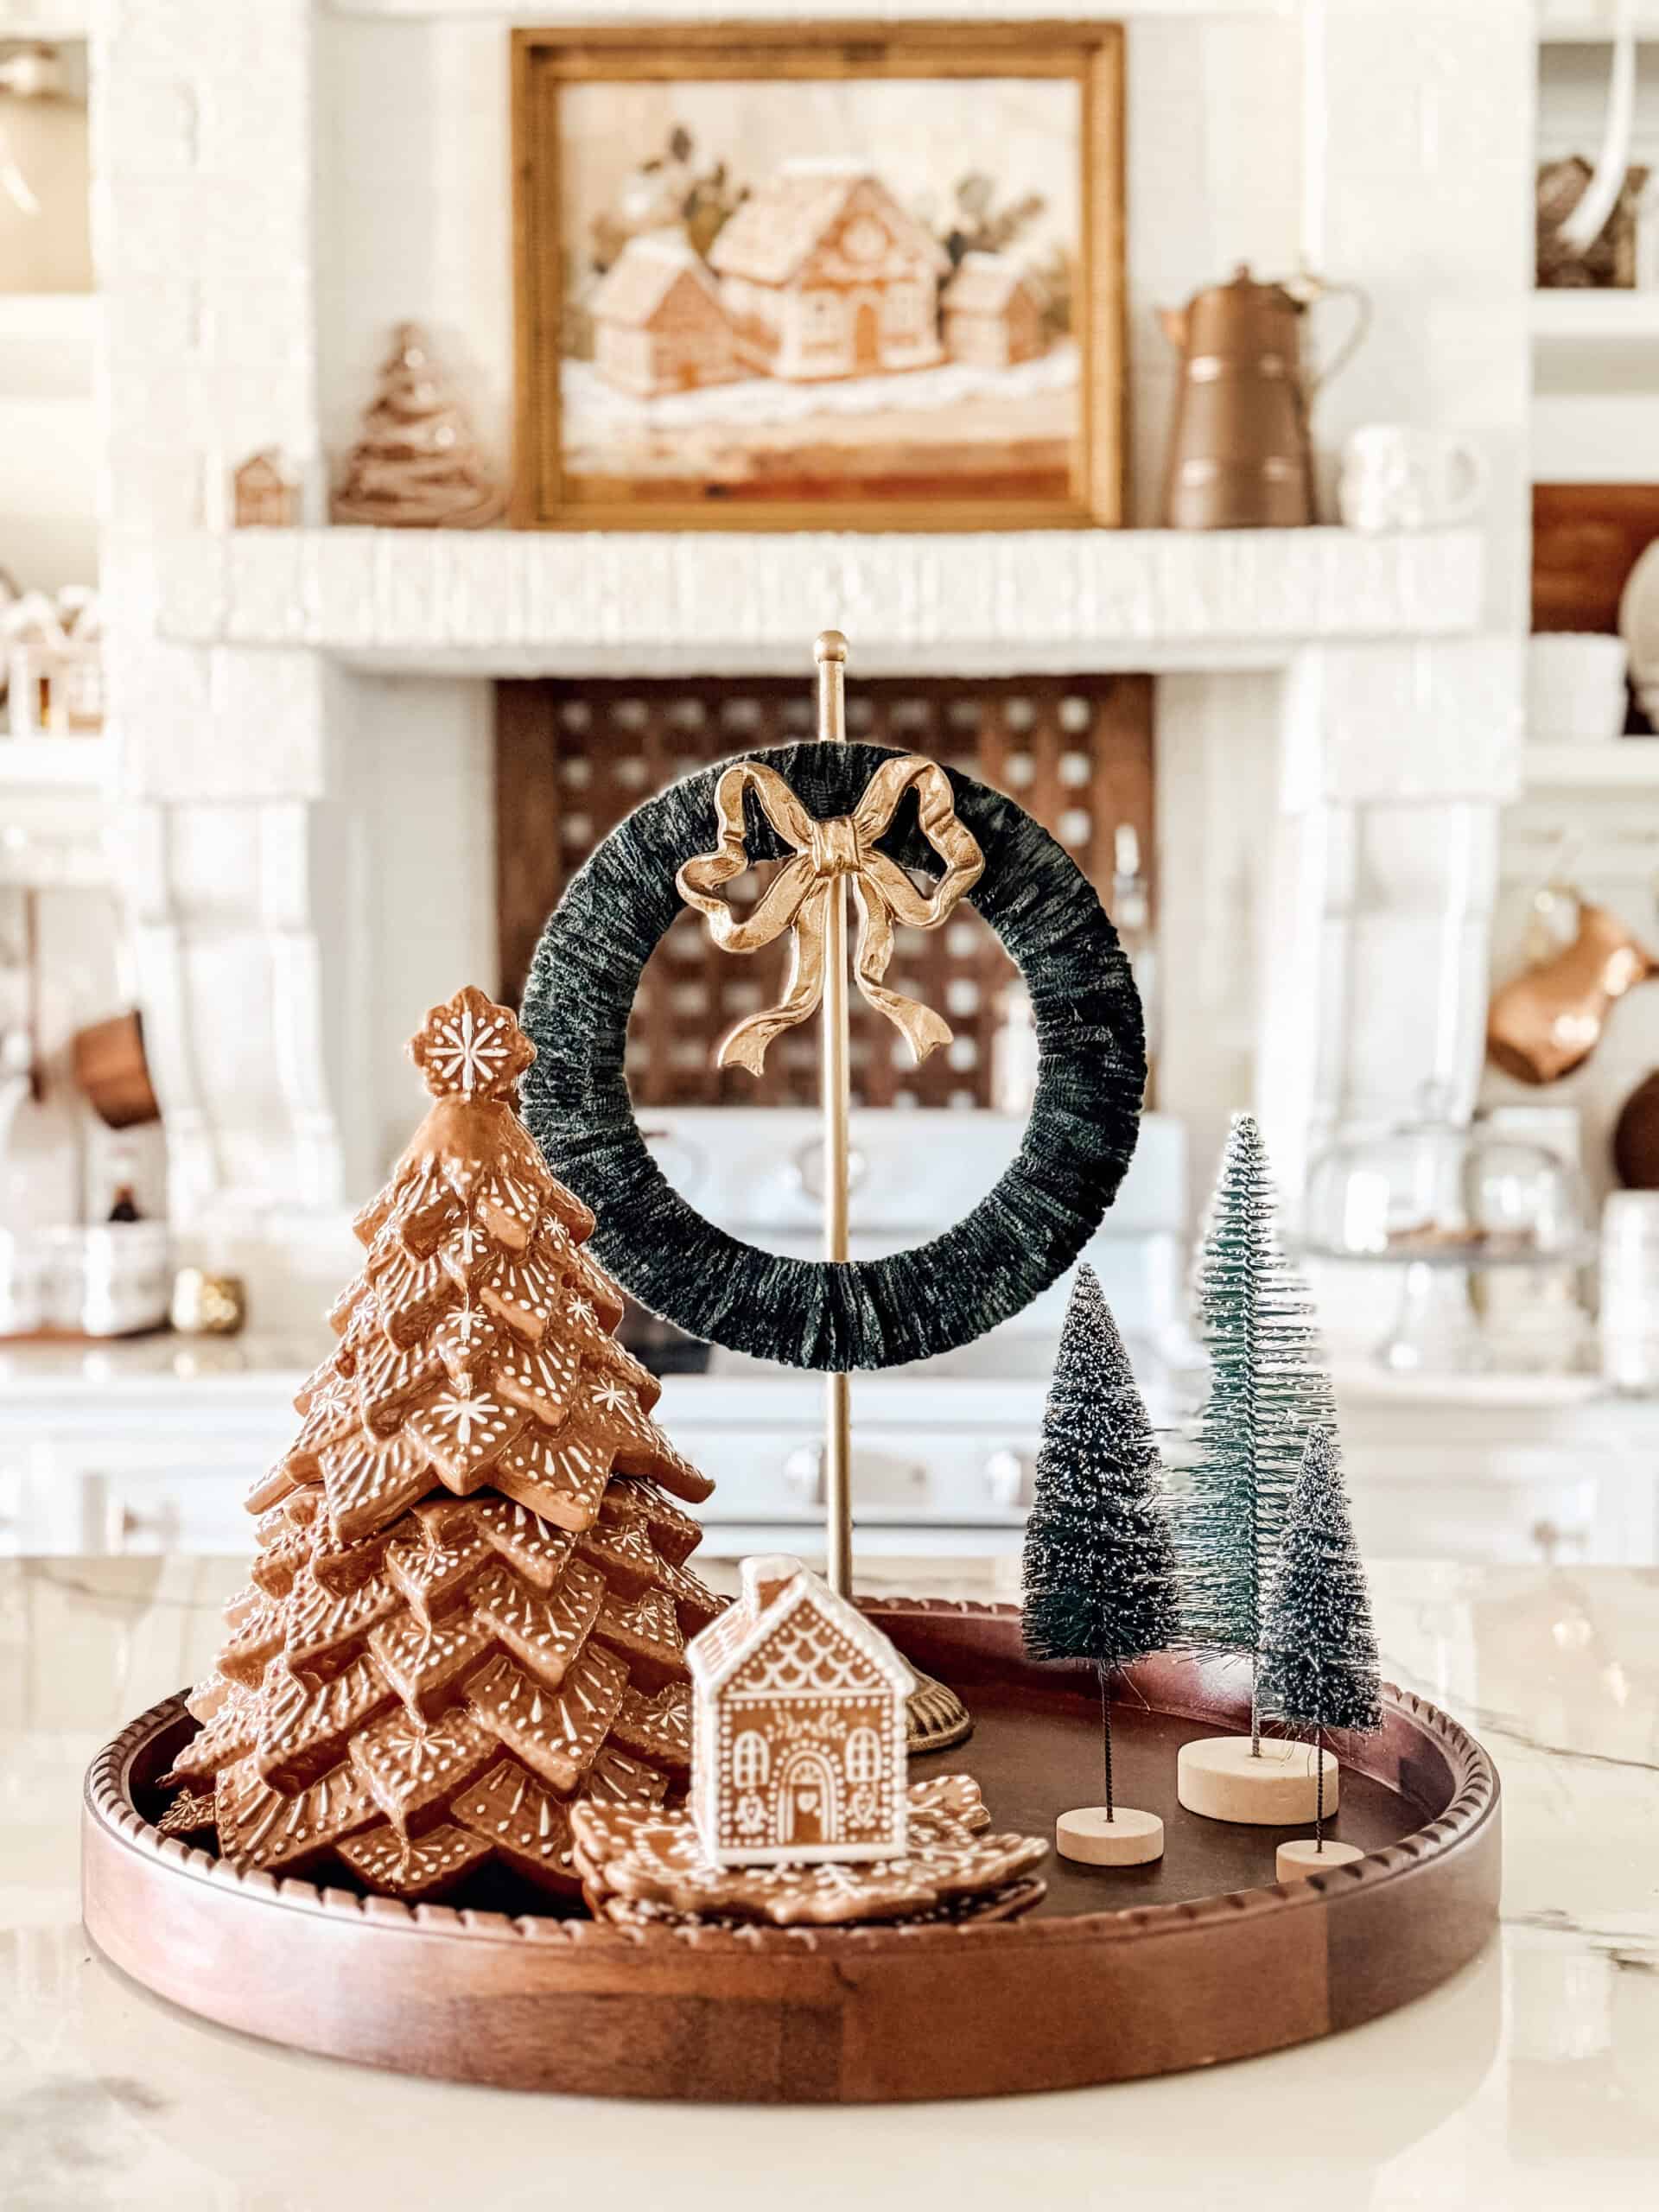
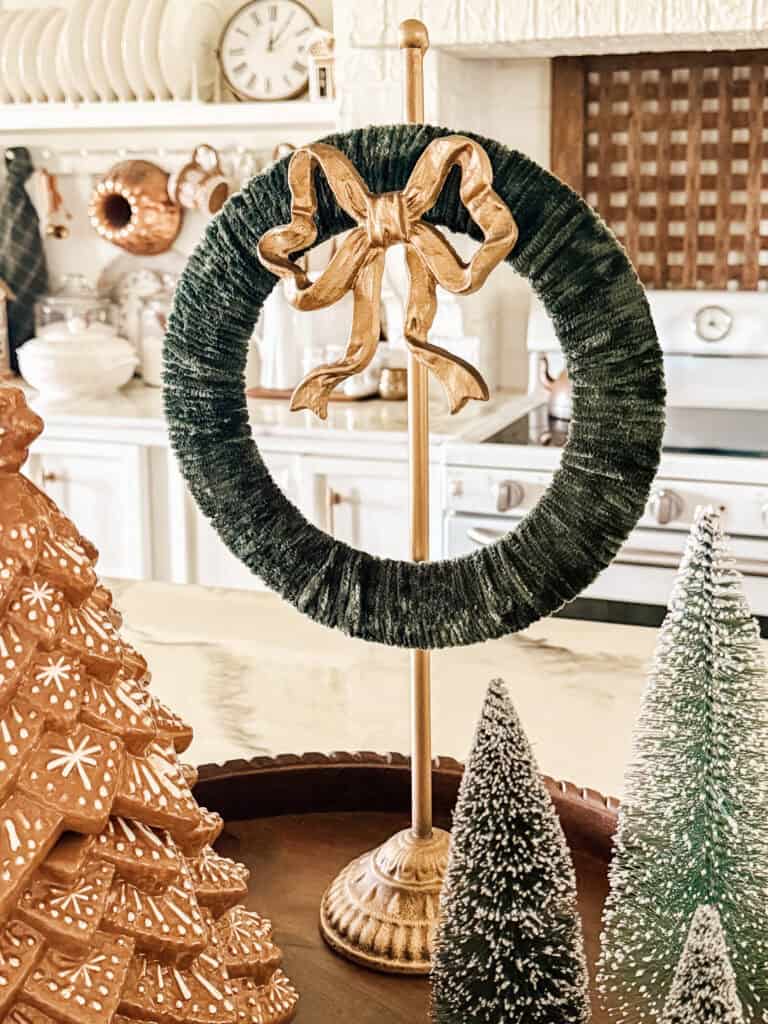
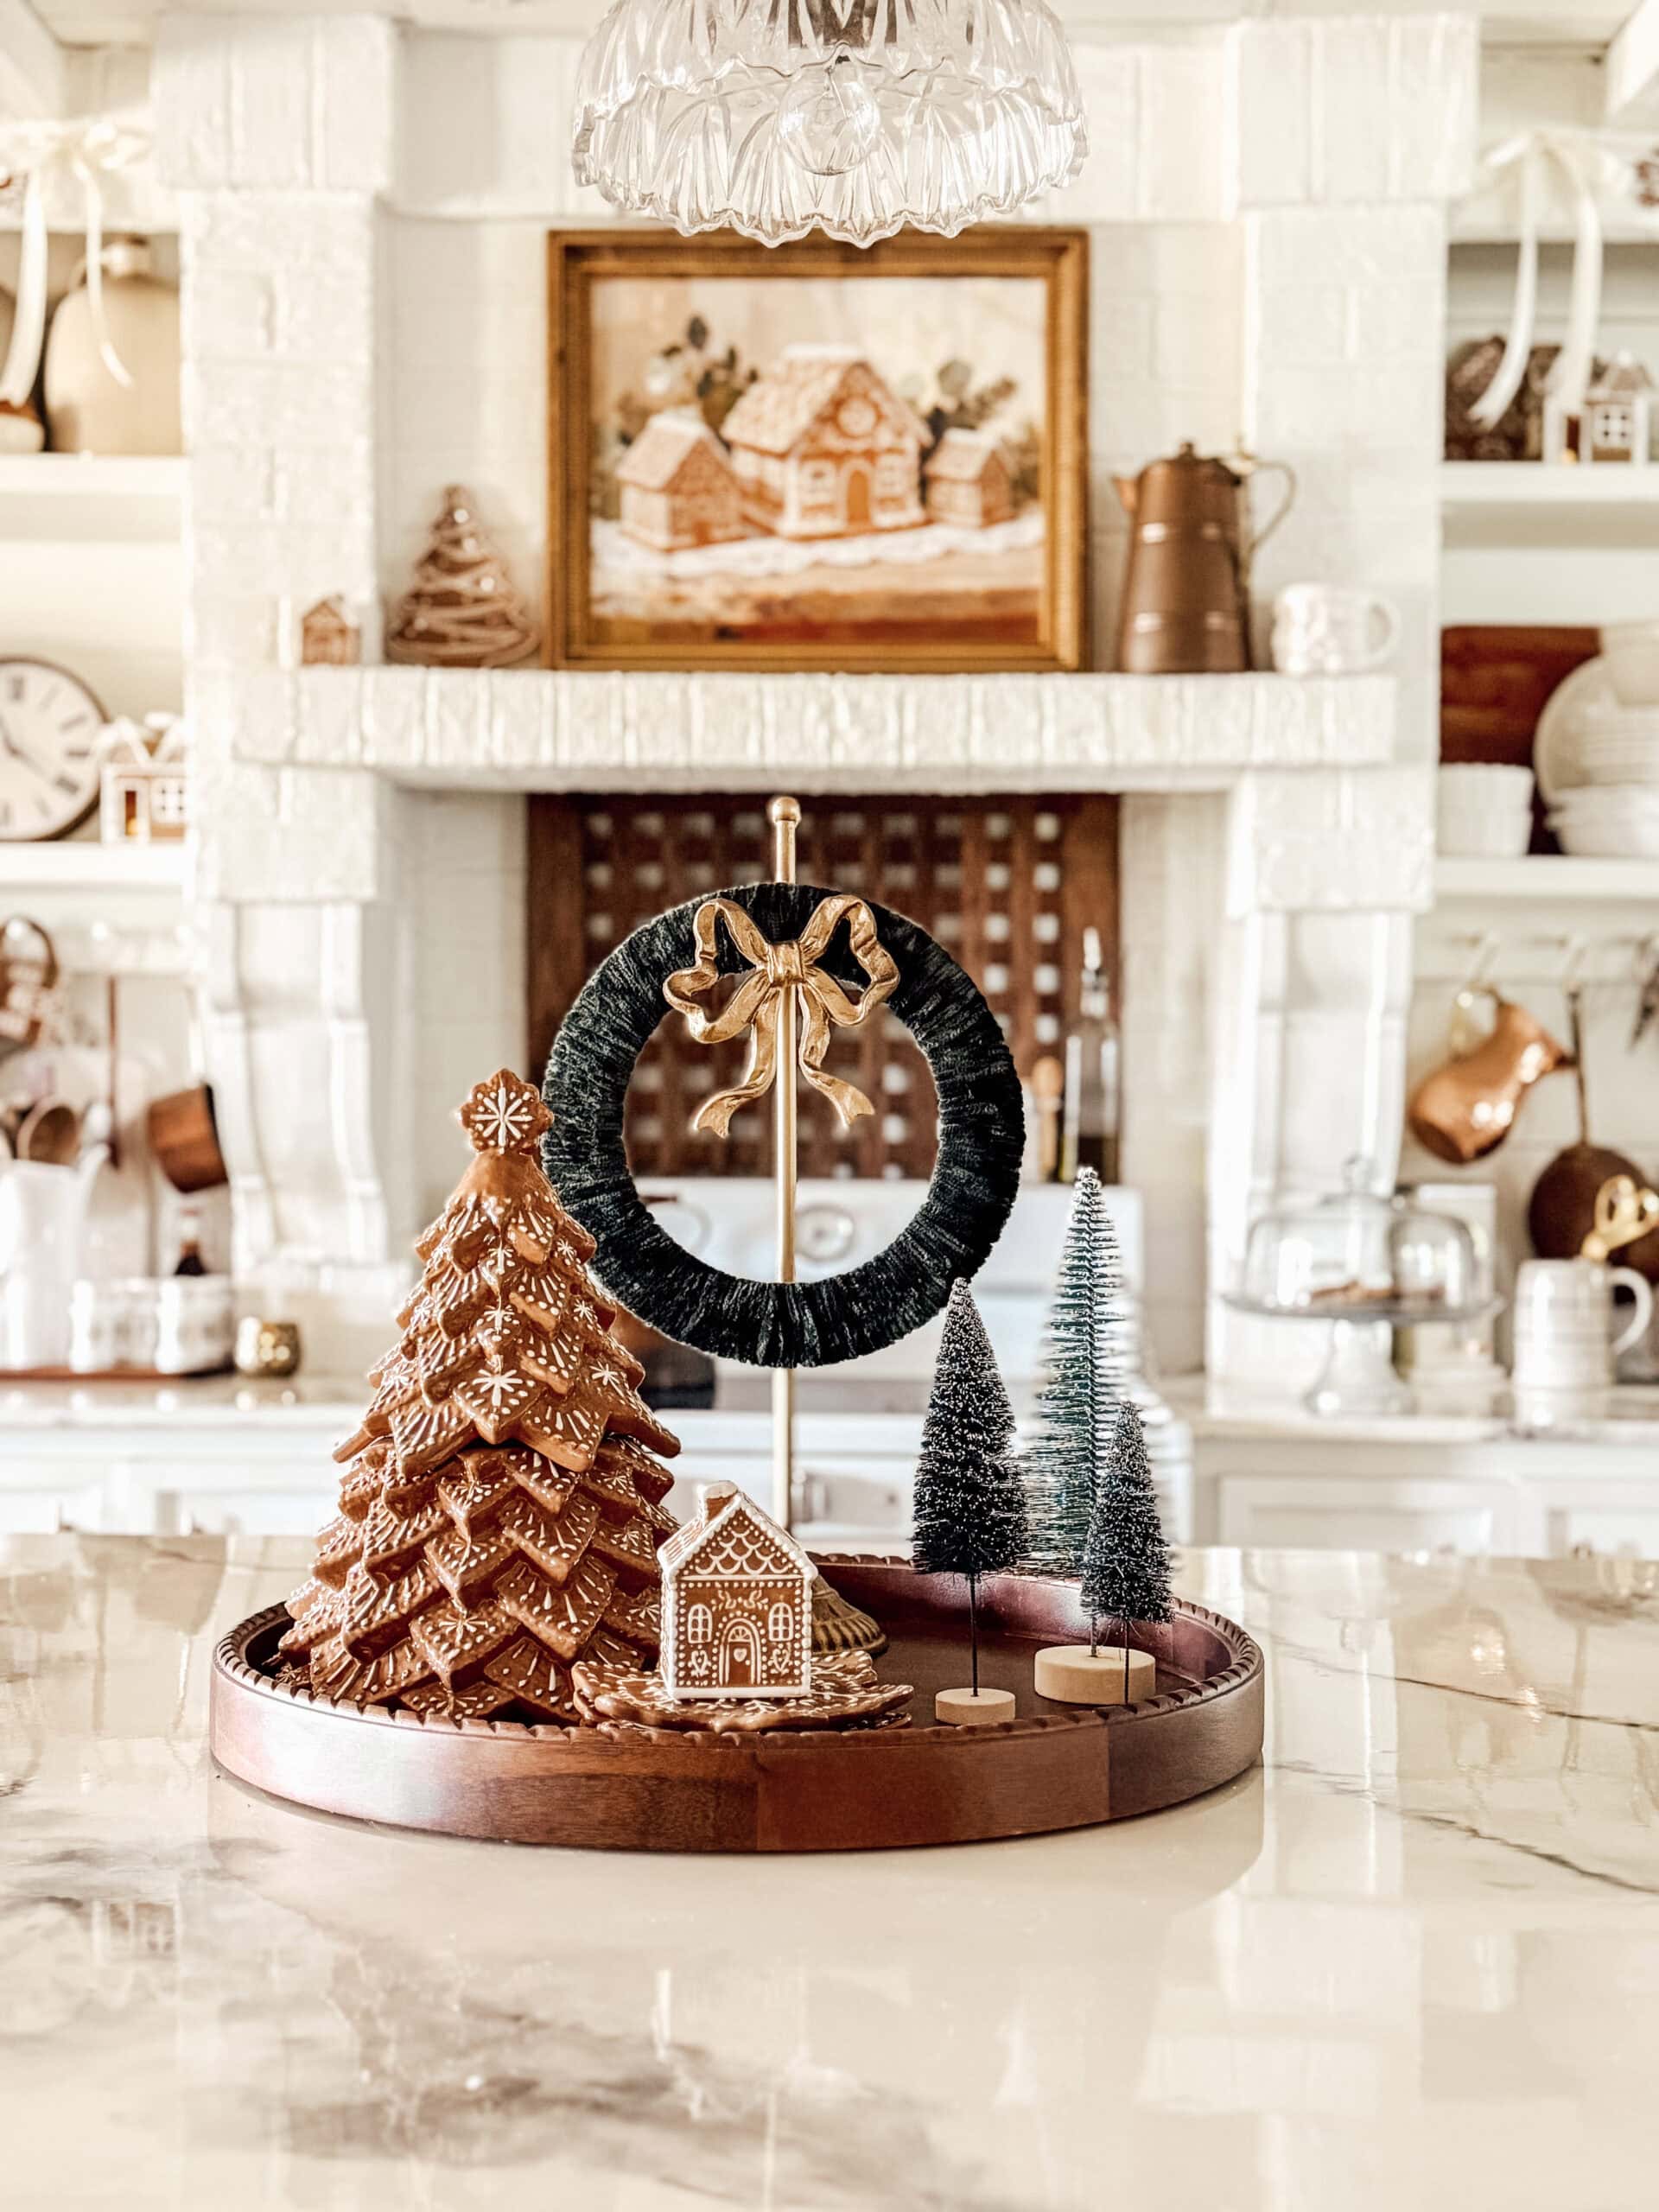
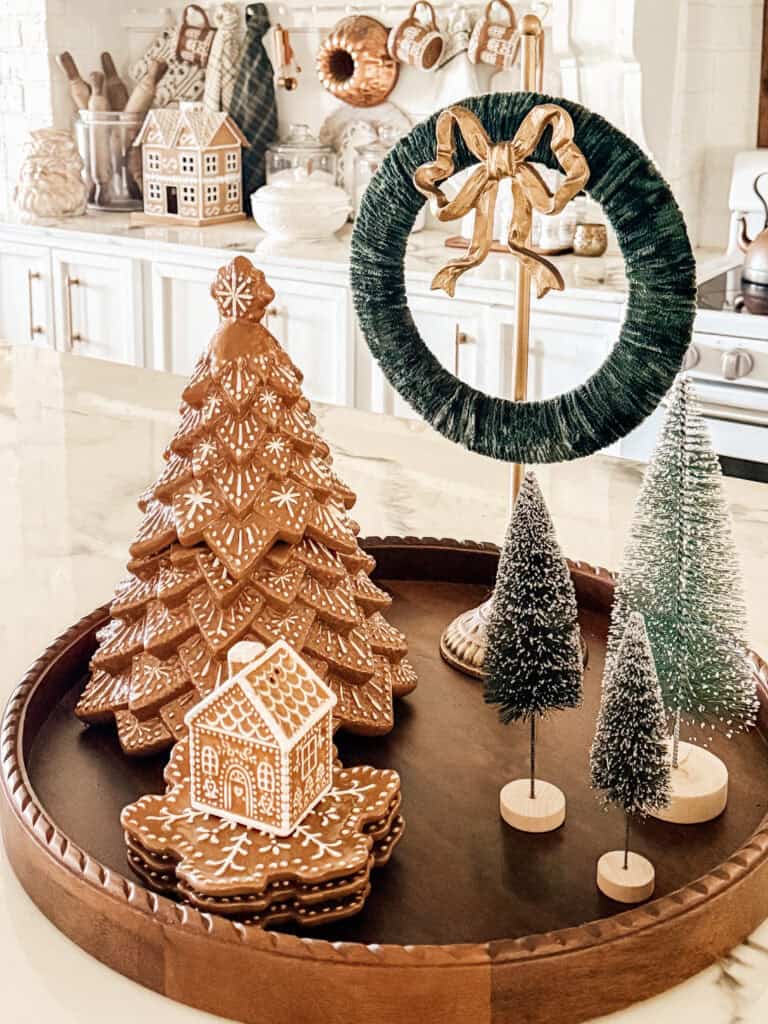
Style and Hang Your Beautiful Yarn Wreath
Hang and enjoy. I placed mine on my beautiful brass wreath hanger from my friend Jennifer at Birchlane by Jennifer. You can leave your wreath simple like I did or decorate it with a piece of ribbon, a small statement flower, a cluster of bells or any other decorative elements you love. Even a small bow at the bottom of the wreath adds a charming touch.
Tips for Creating the Perfect Yarn Wreath
- Use chunky yarn for the fastest project. A chunky knit wreath wraps quickly and gives a cozy textured look.
- If you are using thinner yarn, work in shorter sections. It keeps everything tangle free.
- Always check the back of the wreath to make sure the wraps look even.
- When trimming the end of the yarn, leave enough of a tail to tuck securely.
- Try making several wreaths in different colors of yarn for a collected look on a gallery wall or over a mantel.
more Favorite
Yarn Craft Ideas

never miss a thing
When you join our newsletter!
Why You Will Love These Yarn Wreaths
Common Question about Cast Iron Pans
Can I use chunky yarn?
Yes. Chunky yarn makes a stunning chunky yarn wreath and is the fastest option because each wrap covers more of the wreath form.
What if the yarn keeps slipping?
Try adding a dab of hot glue to the first knot or wrap. This keeps the yarn from sliding on the metal.
How do I hide the end of the yarn?
Tuck the tail into the back of the wreath or secure it with a tiny bit of glue. The back of the wreath won’t show when hanging.
Can I add decorations?
Absolutely. You can tie a piece of ribbon at the bottom of the wreath, attach bells or add a small statement flower for a little extra personality.
Can I make this for a special occasion?
Yes. This beautiful yarn wreath works for Christmas but also baby showers, winter birthdays and everyday home décor.

Meet Stephanie
Hi, I’m Stephanie—a lifelong creative, homebody at heart, and the hands behind Returning Grace. I believe home should feel like your favorite place, and I’m passionate about helping you create spaces filled with warmth, character, and charm. From simple DIYs and seasonal crafts to cozy recipes and vintage-inspired decor, I share approachable ideas to make your home feel beautifully lived in. I love thrifting, styling old finds in fresh ways, and documenting our home remodeling adventures along the way.
I’m honored to have served as the 2024 American Farmhouse Style Brand Ambassador and to share my love for cottage farmhouse living with a community that values creativity, comfort, and meaningful design.
Shop the supplies