
Why You Will Love This Bow Garland

Supplies
Shop for supplies

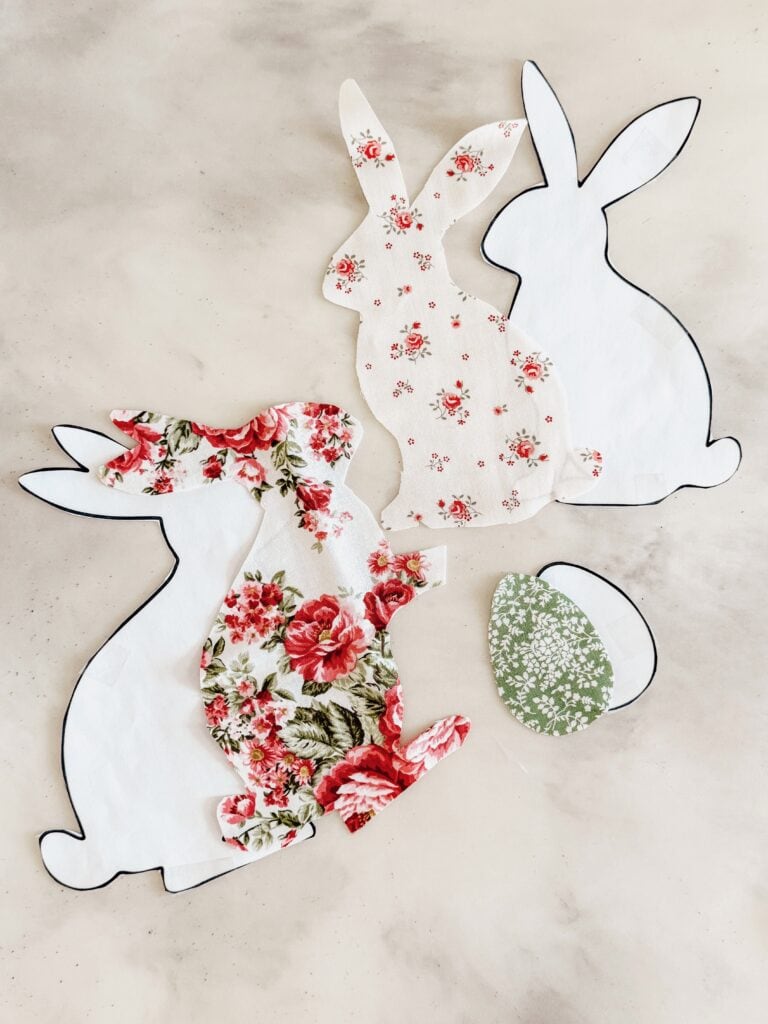
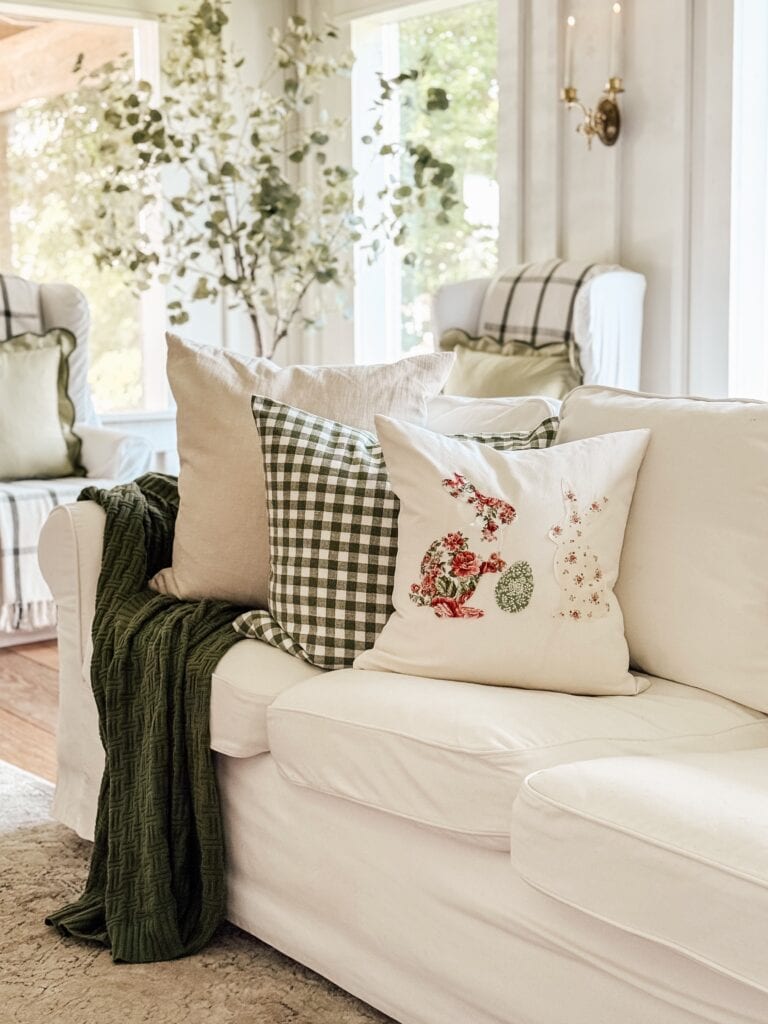
No-Sew Rabbit Appliqué Pillow Cover
The fabric scraps used here were left from my No Sew Rabbit Appliqué Pillow Cover project. Be sure to check out that project too!
Step By Step Instructions
01
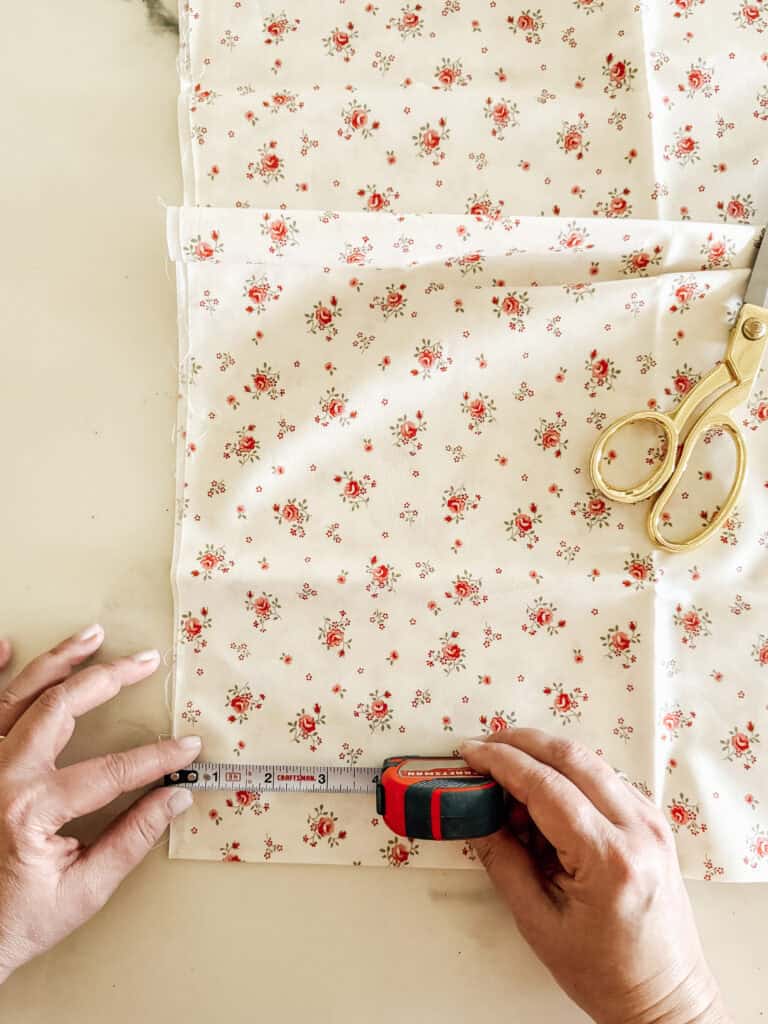
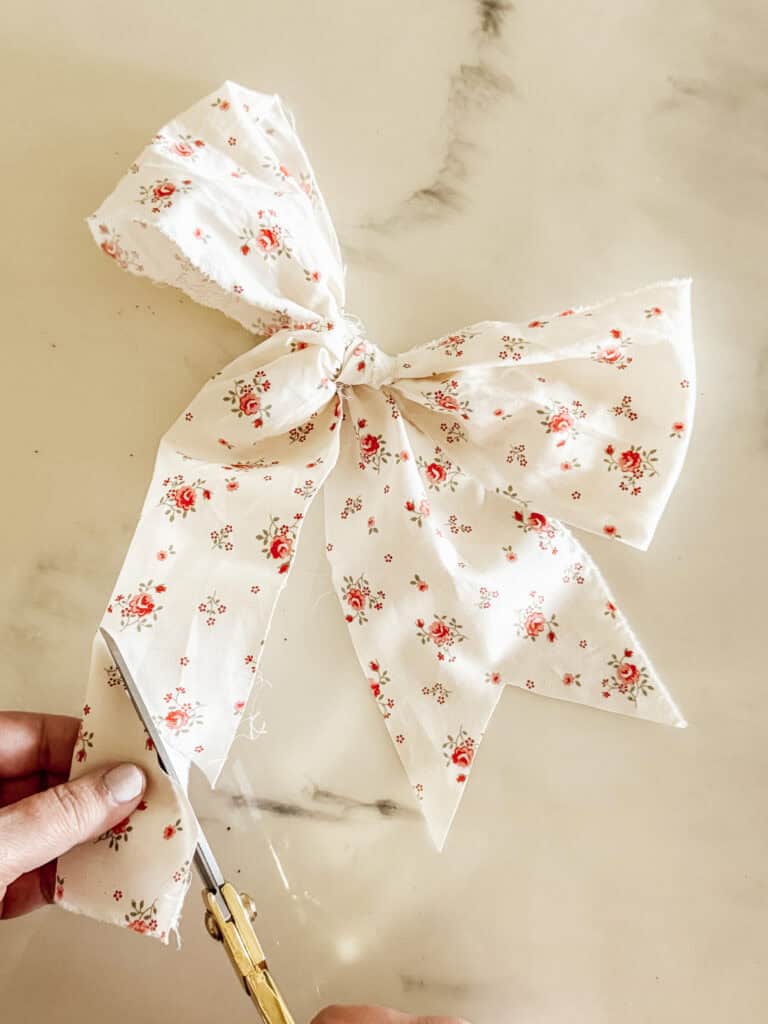
Cut the Fabric
Start by cutting your fabric strips. Based on the size of the fabric scraps I had available, I cut my strips into pieces measuring 4 inches wide x 44 inches long.
If your scraps are smaller, you can absolutely make shorter strips. The size of your strips will simply affect the size of the finished bow loops and tail.


Tip:
Make a small cut with your scissors at the edge of the fabric and then gently rip the rest of the strip by hand. Many fabrics tear beautifully along the grain and create soft, slightly frayed edges that look charming in handmade projects.
02
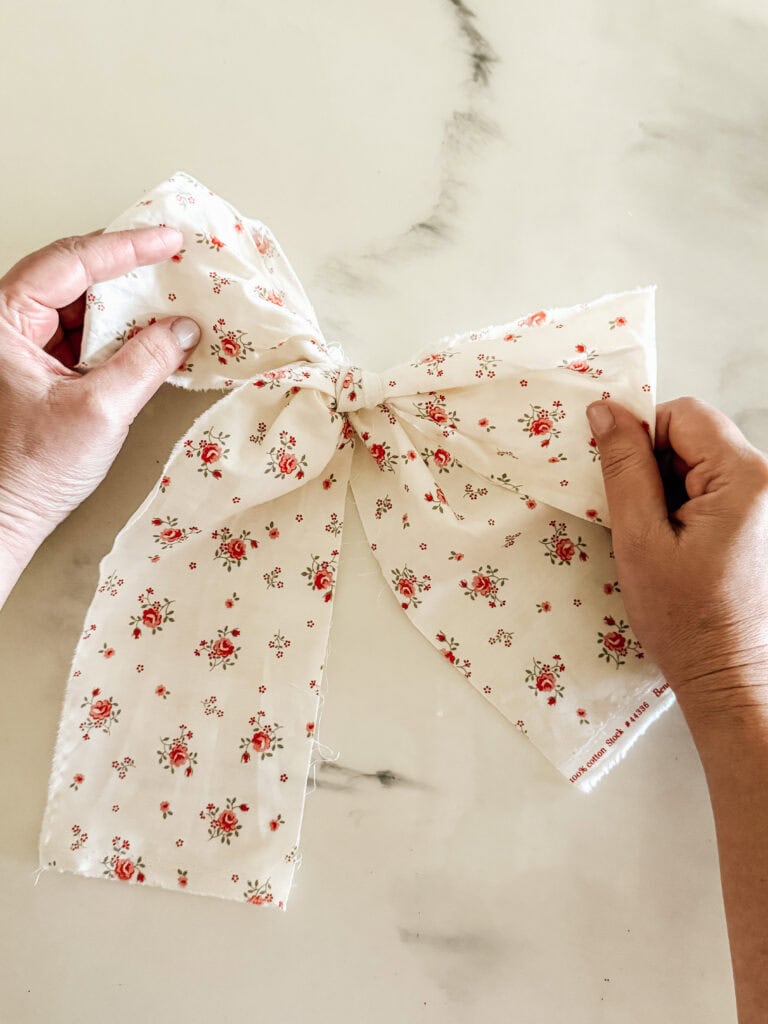
Tie the Fabric into Bows
Once your fabric strips are ready, begin tying them into bows.
Form the fabric into traditional bow loops and tie the center snugly. Because fabric is thicker than ribbon, the bows will have a slightly fuller look which adds wonderful texture to the garland.

03
Glue the Bows Together
Once all of the bows are made, it is time to assemble your Bow Garland.
Lay the finished bows out in a row to get a visual idea of how the garland will look once assembled.
Place two bows side by side and apply a small amount of hot glue where the bow loops touch. Press the bows together until the glue sets. Continue adding bows one at a time until you reach the desired length of your garland.
This method allows the bows to naturally drape together and creates a soft flowing look.


Handy tip: Extra Stability
If you want to reinforce the garland, you can glue the backs of the bows onto a piece of twine or ribbon. This creates additional support and can make the garland easier to hang.
04
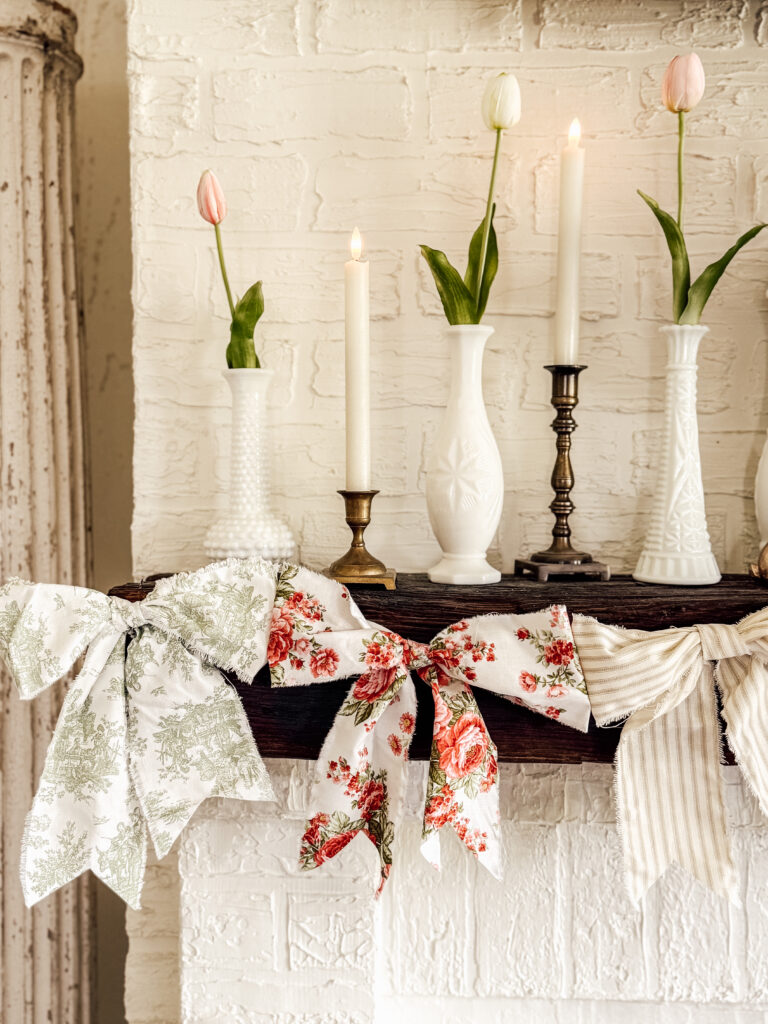
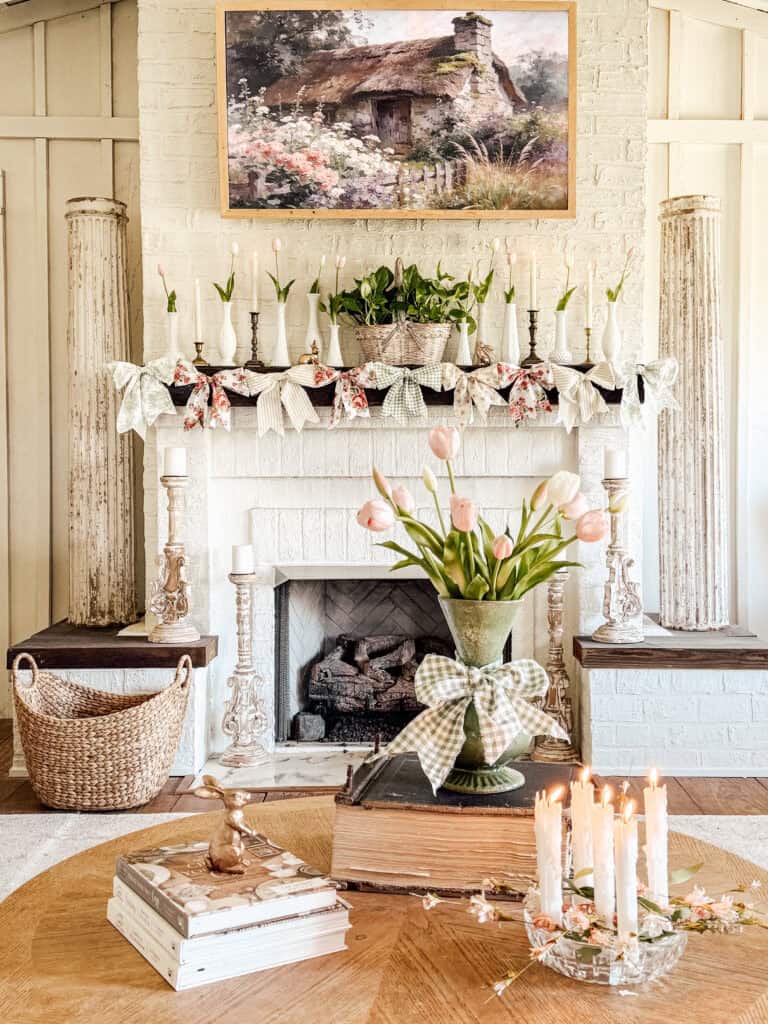
Hang and Enjoy Your Garland
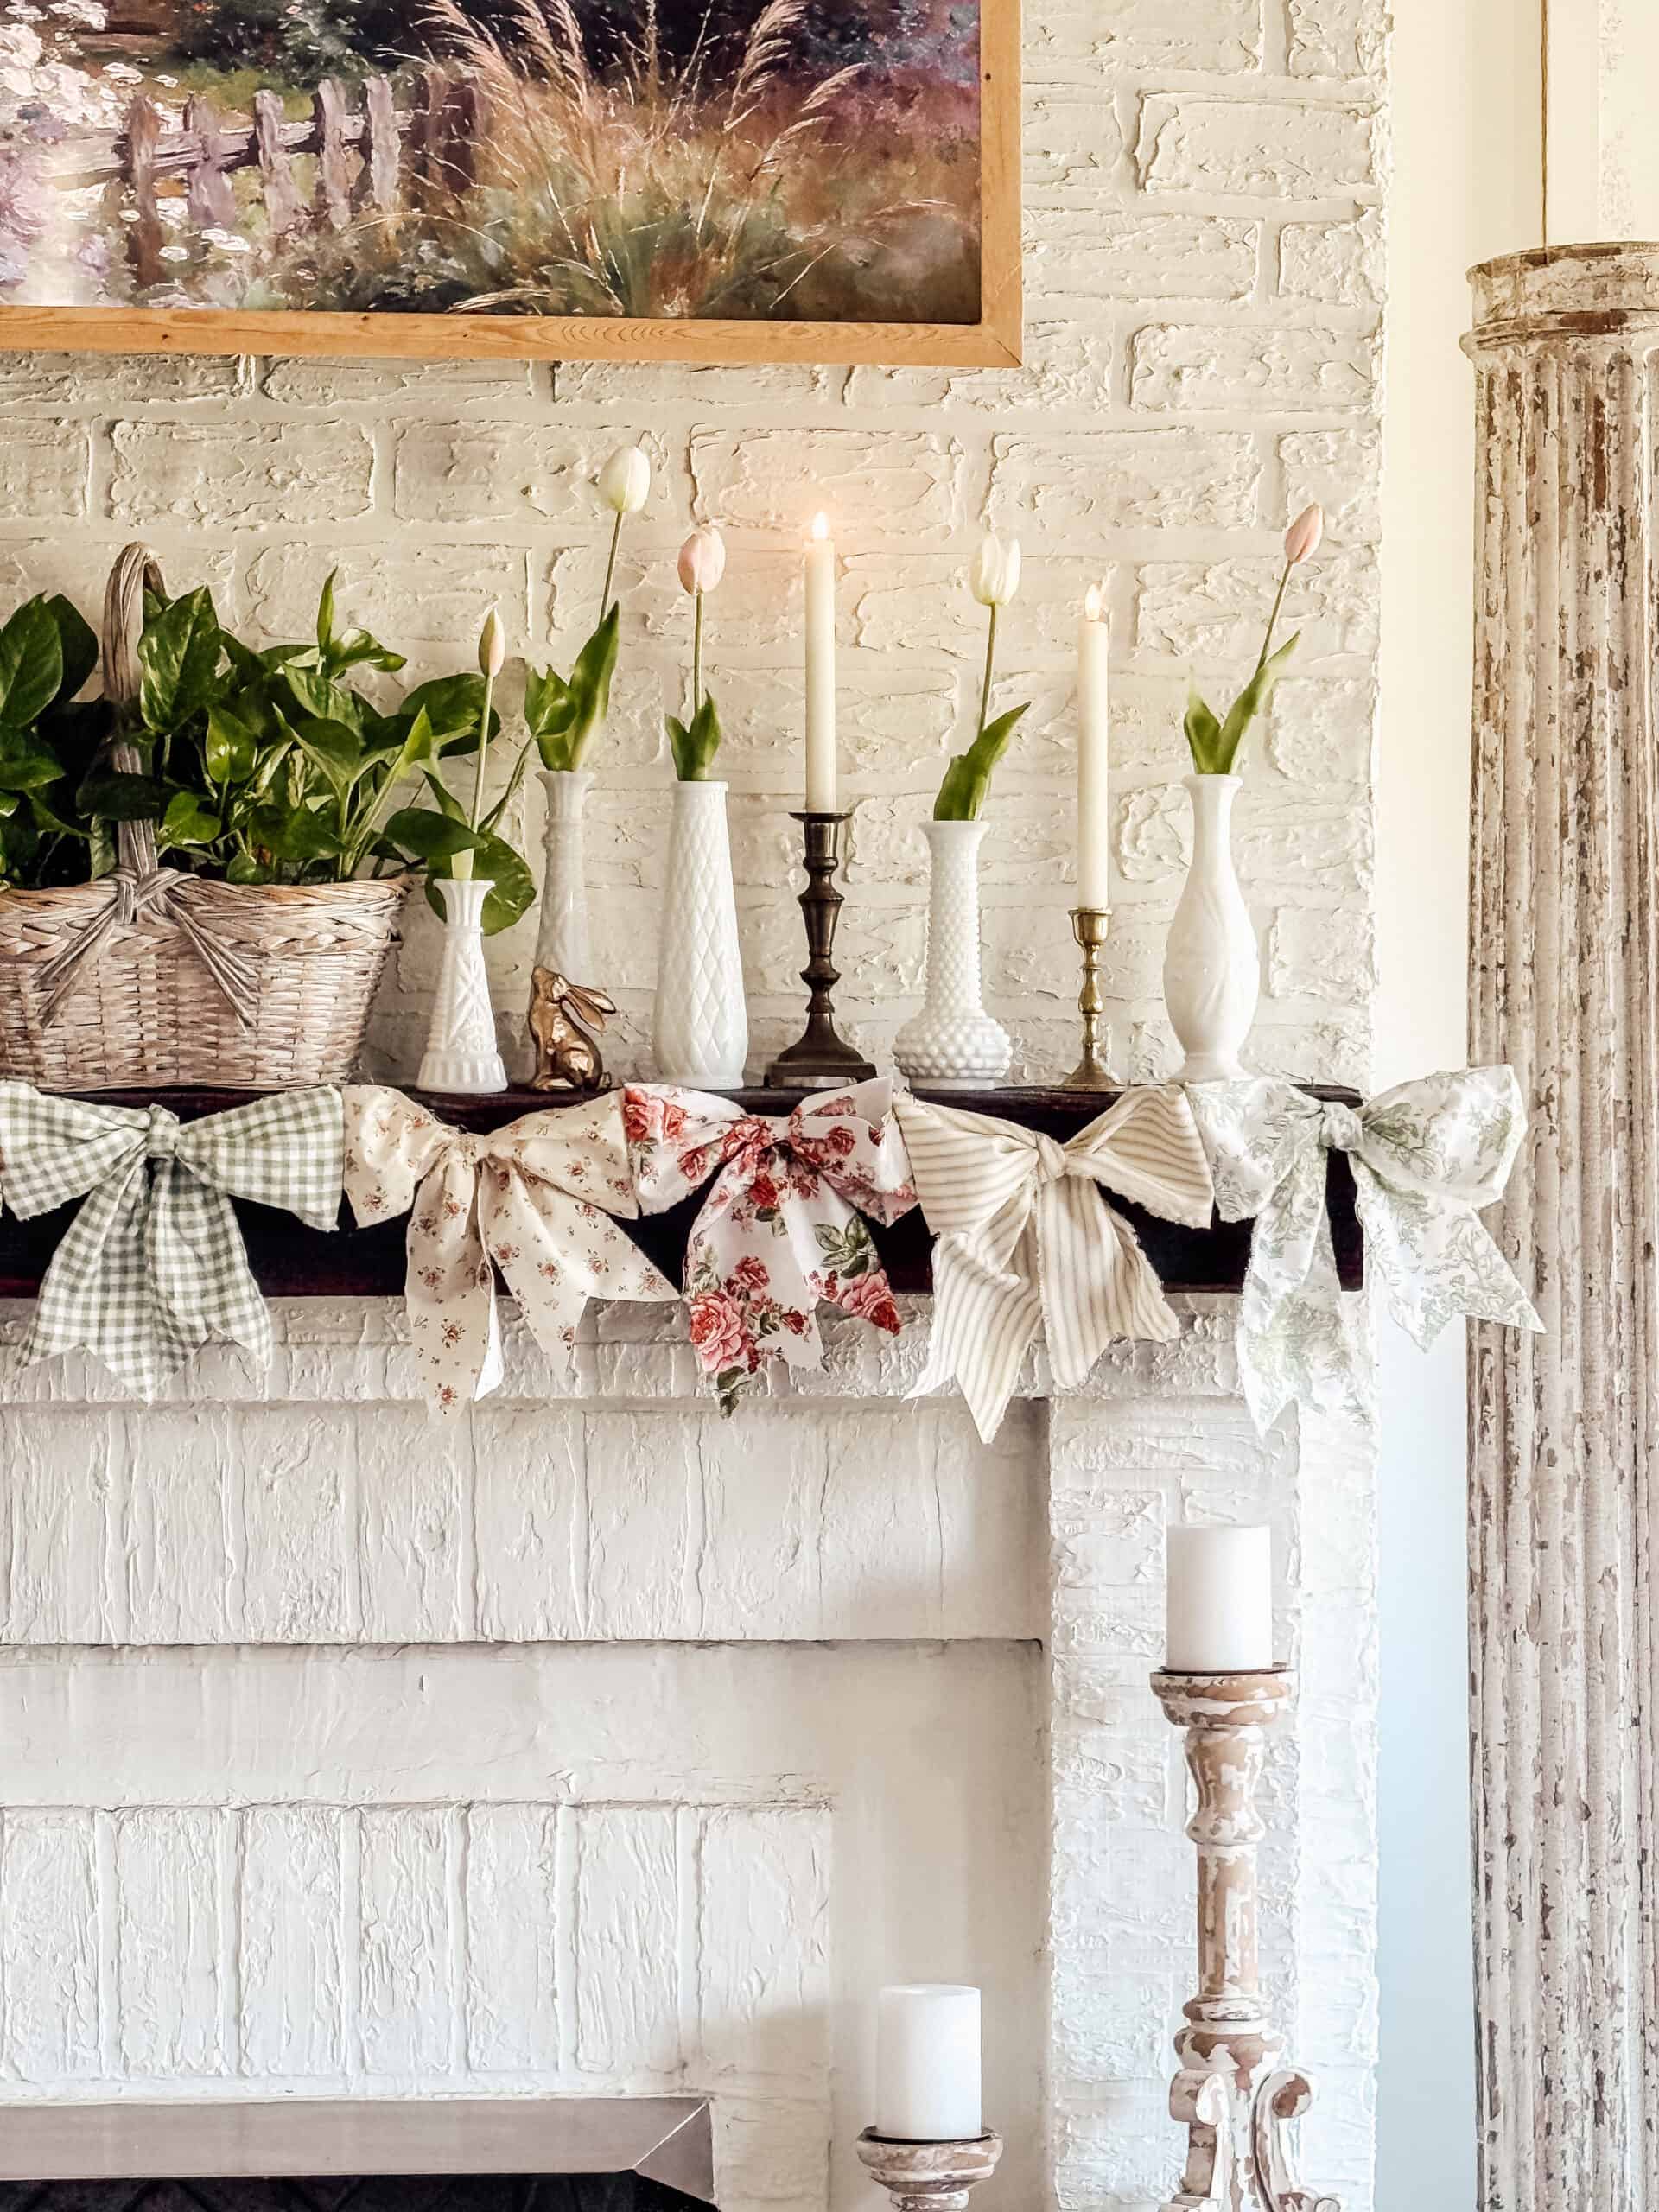
Once the glue has fully set, your diy bow garland is ready to display.
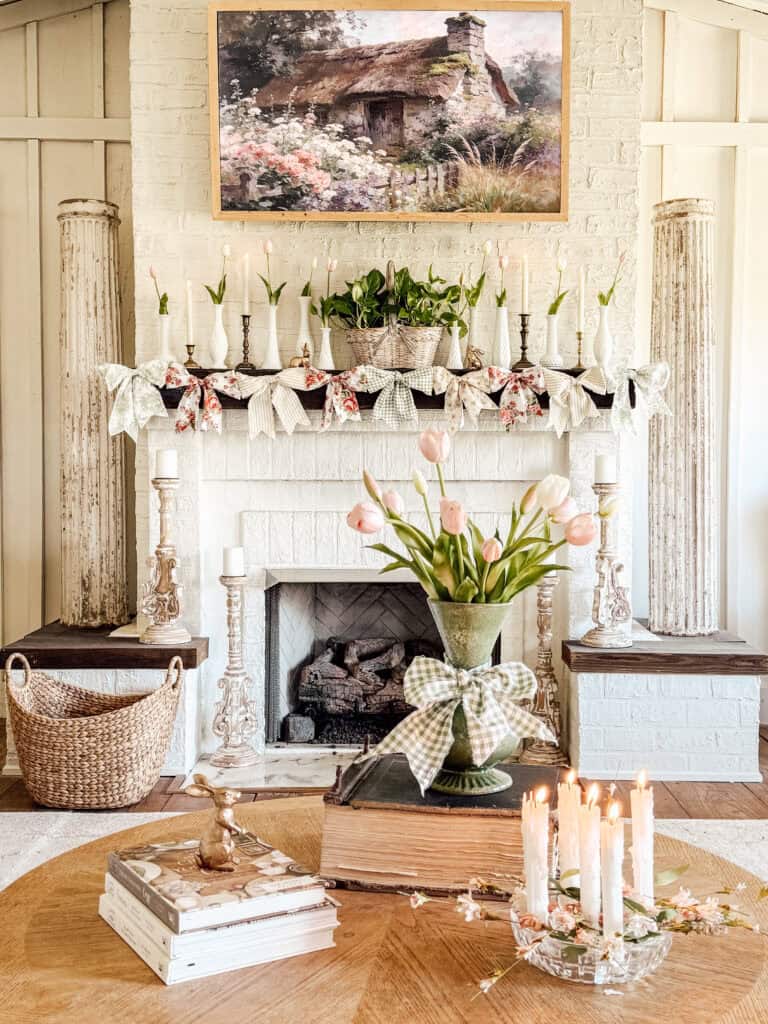
I hung mine across my mantel and loved how the mix of fabrics added texture and charm to the space. Because I used leftover spring fabrics, the garland feels light and airy. However, the same technique would work beautifully with seasonal fabrics for many different occasions.


Tips
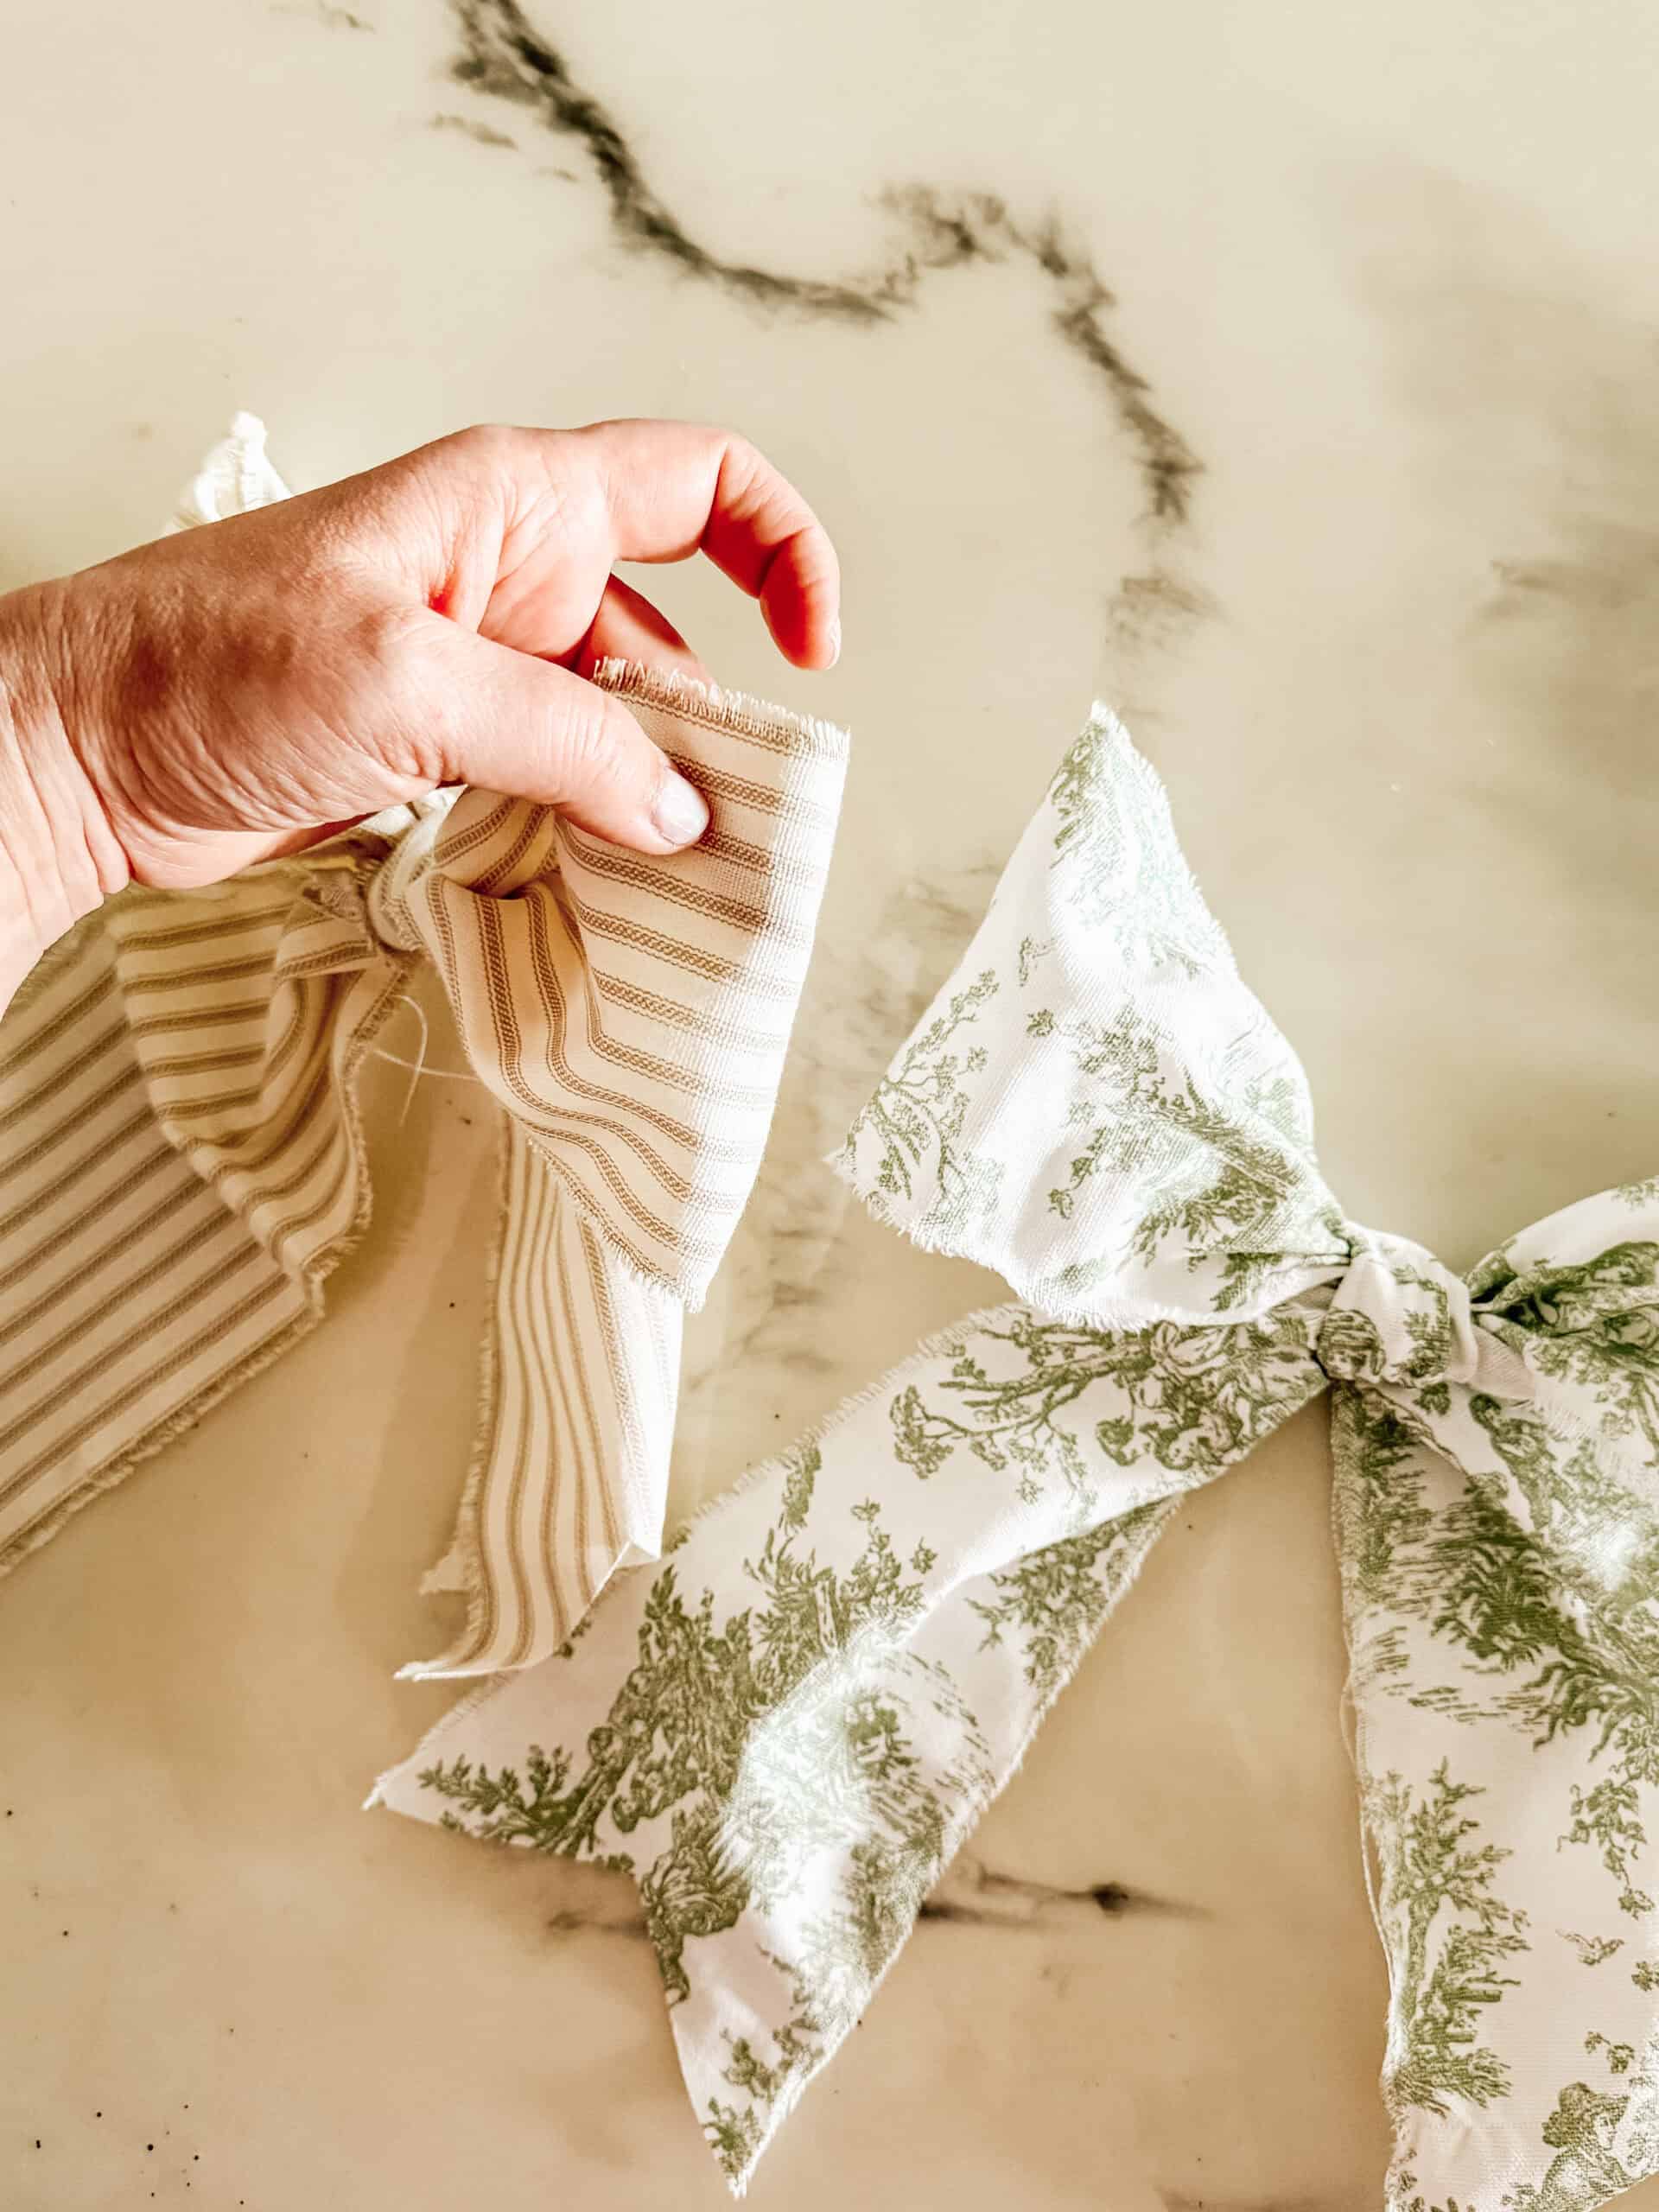
- Choose a mix of fabrics to create depth and visual interest. Florals, solids, and subtle textures work beautifully together.
- If your fabric is soft and slippery satin or silk, a small dot of hot glue in the center knot can help hold the bow shape in place.
- Experiment with different bow sizes depending on your space. Larger bows create a dramatic look while smaller bows feel delicate and sweet.
- Lay out your bows before gluing them together to make sure you like the color placement and spacing.
Frequently Asked Questions:
How many bows do I need for a bow garland?
The number of bows depends on the desired length of your garland and the size of each bow. For my mantel I used nine bows, but longer spaces may require twelve or more.
What fabrics work best for a DIY bow garland?
Most medium weight fabrics work well including quilting cotton, linen, or lightweight upholstery fabrics.
Can I make this garland for holiday decor?
Yes! This Bow Garland can easily be customized for the Christmas season, Valentine’s Day, birthdays, or other celebrations simply by choosing fabrics that match the theme.
Do I have to use hot glue?
Hot glue is the quickest way to assemble the garland, but fabric glue can also be used if you prefer. Just allow extra drying time before hanging.
Creating this Bow Garland was such a fun way to use up leftover fabric while making something beautiful for my home. I love when simple materials turn into something that feels special and handmade.
If you try this project, I would love to see how your DIY bow garland turns out! Leave a comment below or tag me on social media at @returninggrace so I can see your beautiful creations. Your projects always inspire me and I love sharing them with this wonderful creative community.

Meet Stephanie
Hi, I’m Stephanie—a lifelong creative, homebody at heart, and the hands behind Returning Grace. I believe home should feel like your favorite place, and I’m passionate about helping you create spaces filled with warmth, character, and charm. From simple DIYs and seasonal crafts to cozy recipes and vintage-inspired decor, I share approachable ideas to make your home feel beautifully lived in. I love thrifting, styling old finds in fresh ways, and documenting our home remodeling adventures along the way.
I’m honored to have served as the 2024 American Farmhouse Style Brand Ambassador and to share my love for cottage farmhouse living with a community that values creativity, comfort, and meaningful design.