
Why Make Homemade Butter?
Making homemade butter is one of those small kitchen projects that delivers big results. With just good quality heavy whipping cream from the grocery store, you can create a creamy texture and delicious flavor that far surpasses store-bought butter.
When you make butter at home, you control the type of cream, the amount of salt, and the final product. Whether you use organic heavy cream, cream from a local dairy, fresh milk, or even raw milk, the results are rich and satisfying. You also end up with fresh buttermilk, which can be used for biscuits, pancakes, dressings, and baking.
Homemade butter is also a wonderful way to slow down and connect with traditional kitchen methods. Even though there are different methods to make butter, including using a food processor or hand churning, the stand mixer method delivers the best results with minimal effort. It’s approachable, consistent, and perfect for small amounts or larger batches.
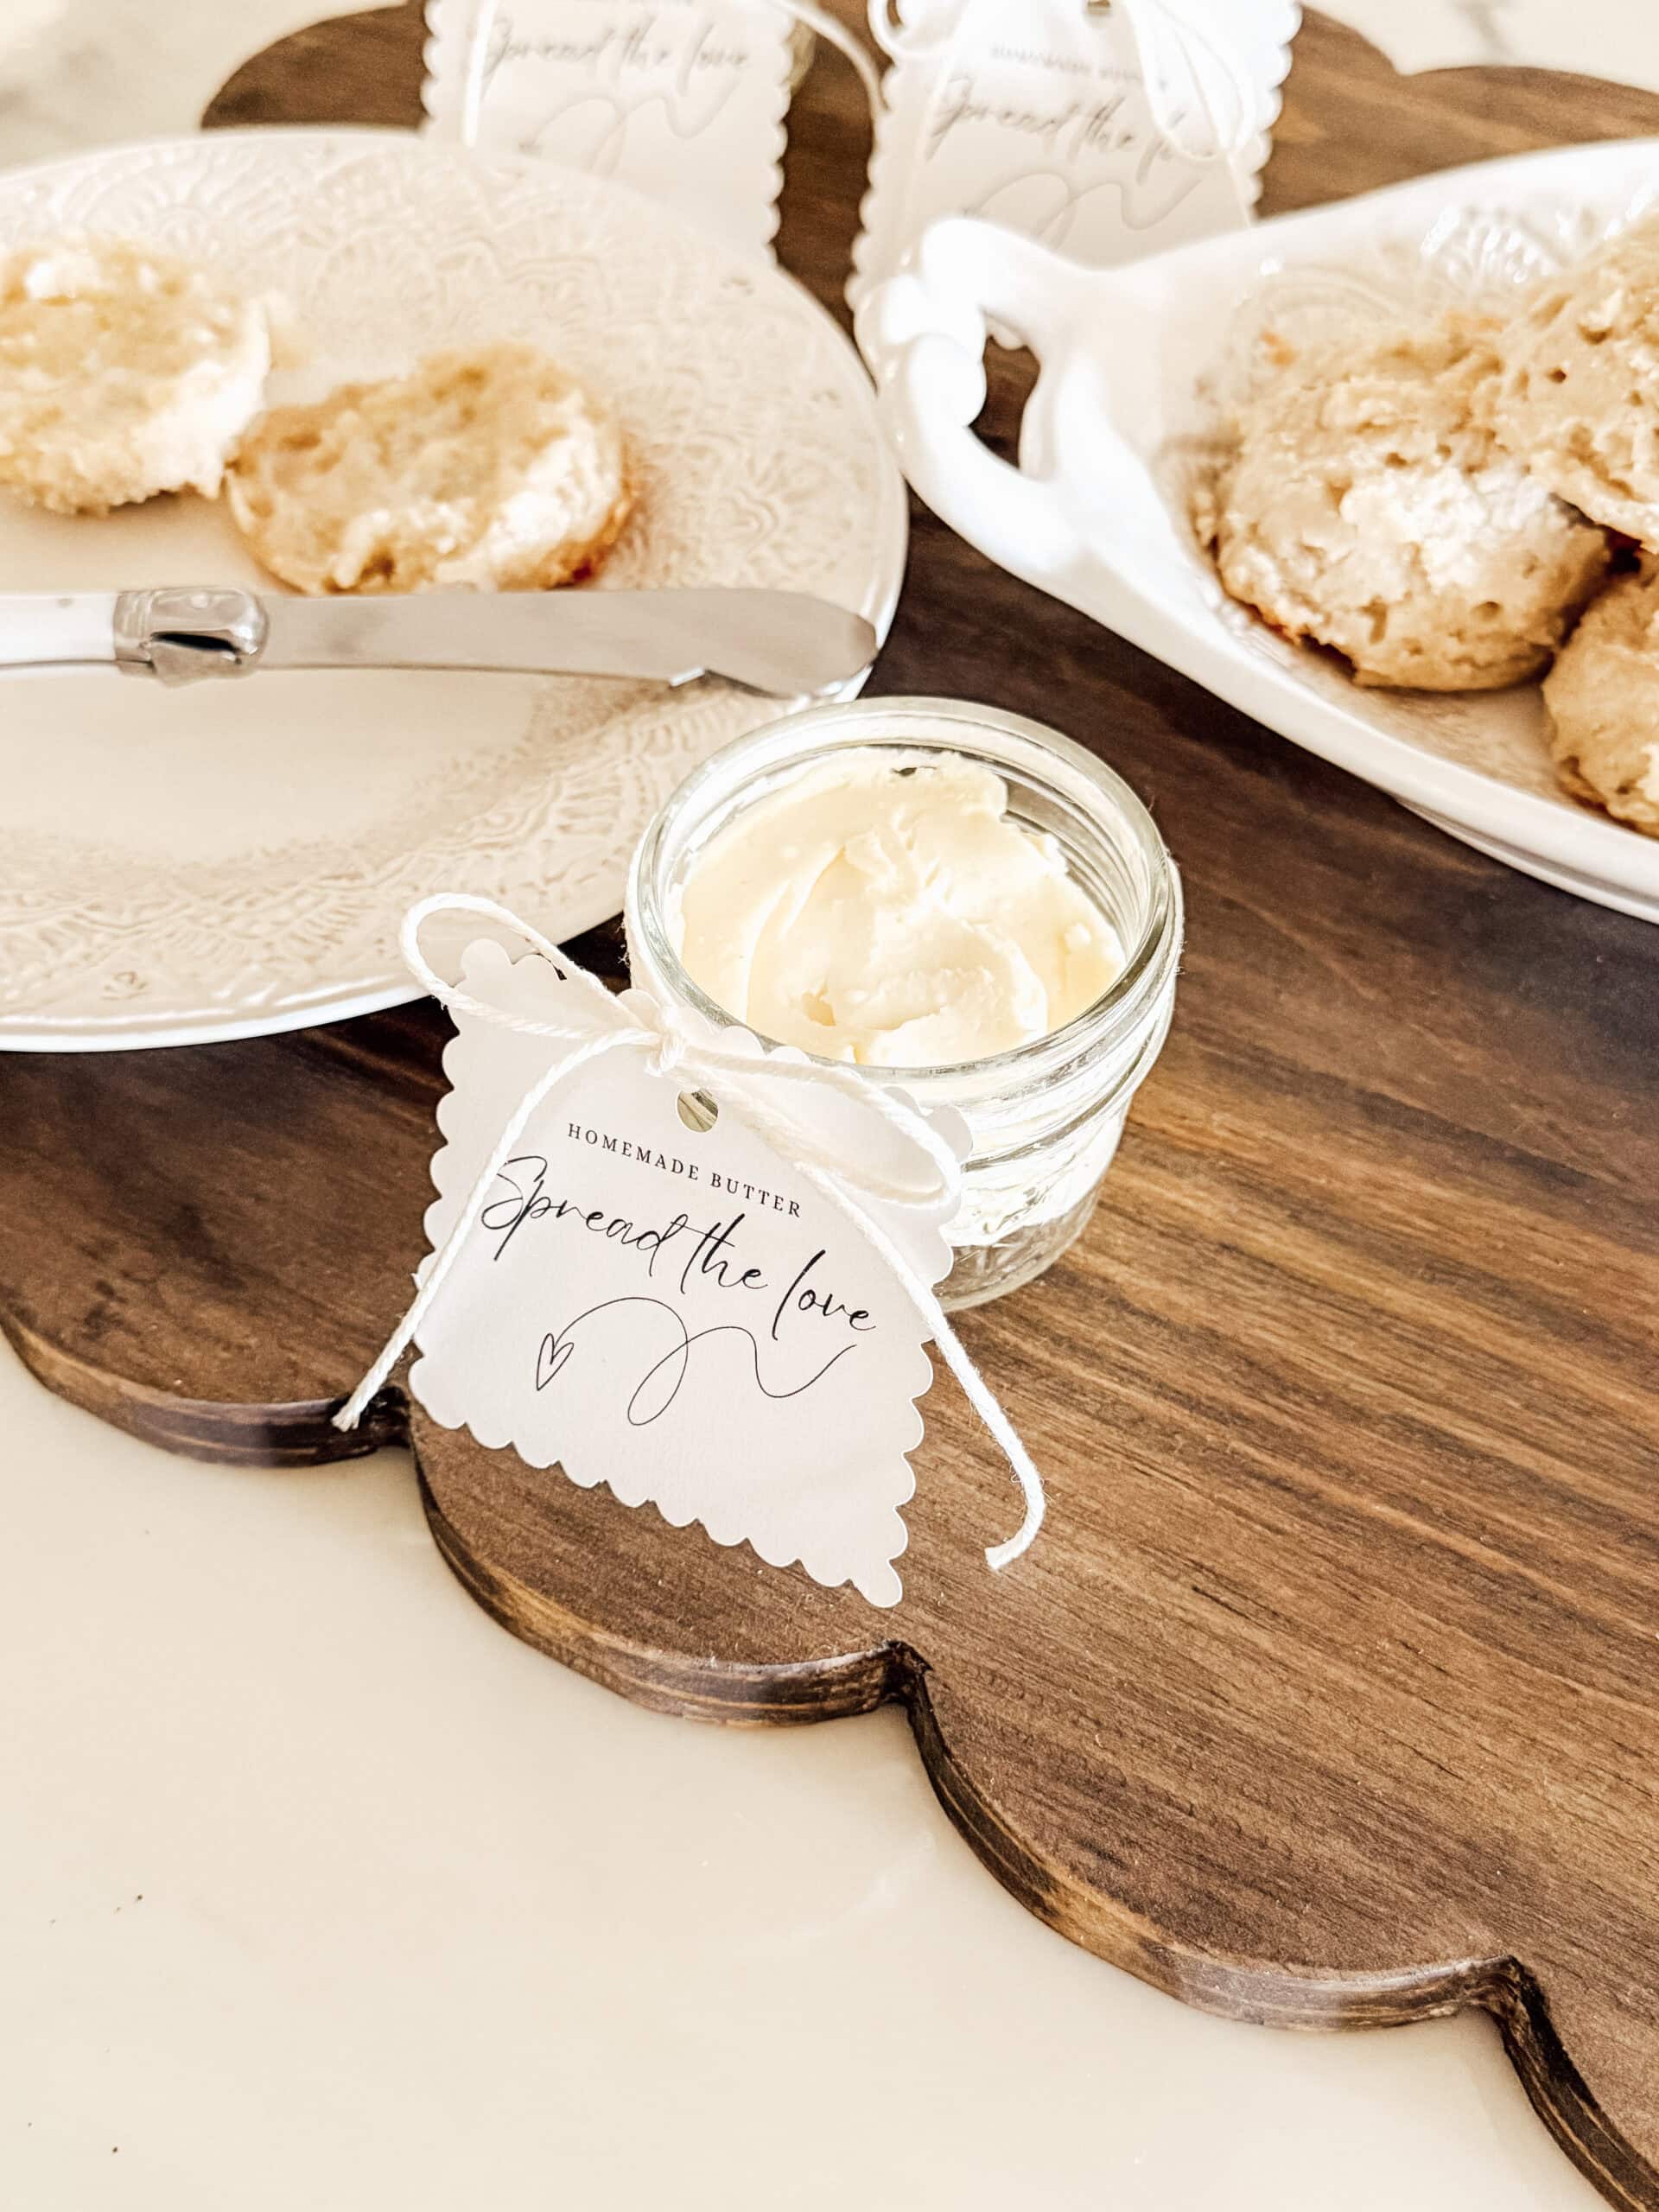
Finally, homemade butter makes a thoughtful handmade gift. Packaged in a mason jar with twine and a simple tag, it feels personal, cozy, and heartfelt.

Why You’ll Love This Homemade Butter Recipe
Subscribe to get all the latest projects delivered Right to youR Inbox!

Ingredients
1 pint organic heavy cream at room temperature
¼ teaspoon salt optional
Using good quality heavy cream is essential for best results. Heavy whipping cream with a higher fat content creates a richer, creamier texture. Allowing the cream to come to room temperature helps the cream separate more efficiently during mixing.
Supplies
Stand mixer with whisk attachment
Mixing bowl
Bowl shield or kitchen towel
Large bowl of cold water or ice water
Plate
Mason jars with lids
Strainer
Twine
Cardstock
Printer or marker
A stand mixer is required for this method. A hand mixer will not work effectively for separating butter solids and buttermilk.
Shop the post


Step-By-Step Instructions
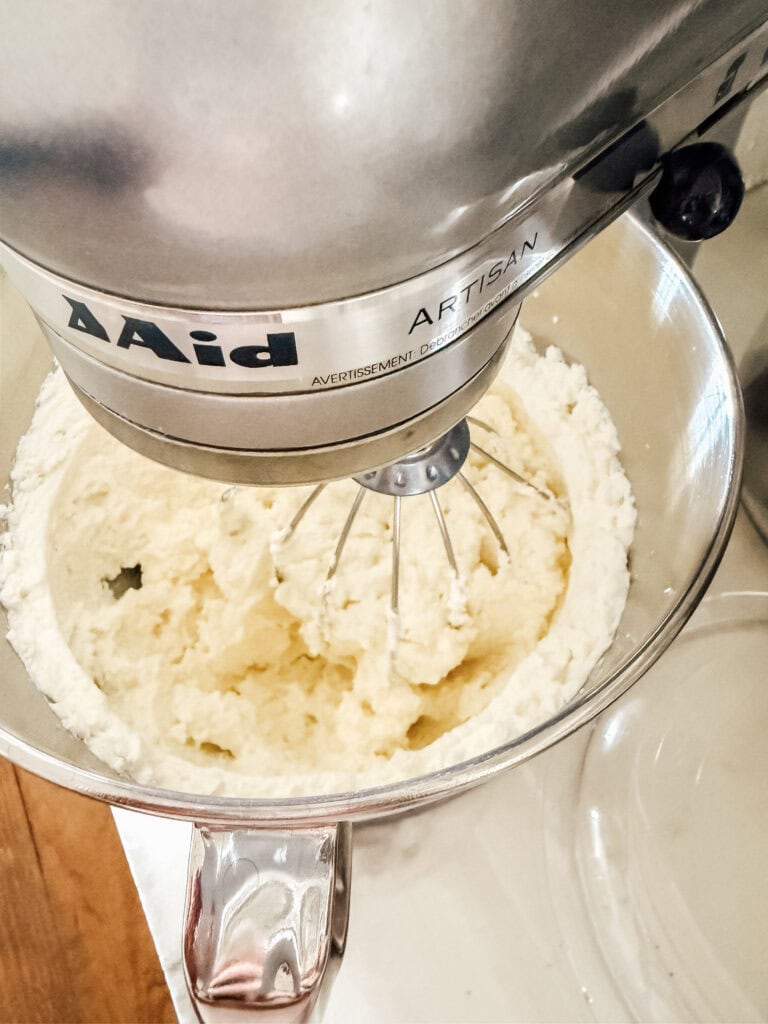
Step 1 Add the heavy cream to the mixer bowl
Pour the room temperature heavy cream into the mixing bowl of your stand mixer. Be sure the bowl is clean and dry before starting.
Step 2 Begin mixing on medium speed
Attach the whisk attachment and begin mixing on medium speed. On a KitchenAid stand mixer, this is about a 6 setting. Mixing at medium speed allows the cream to aerate evenly and transition properly.
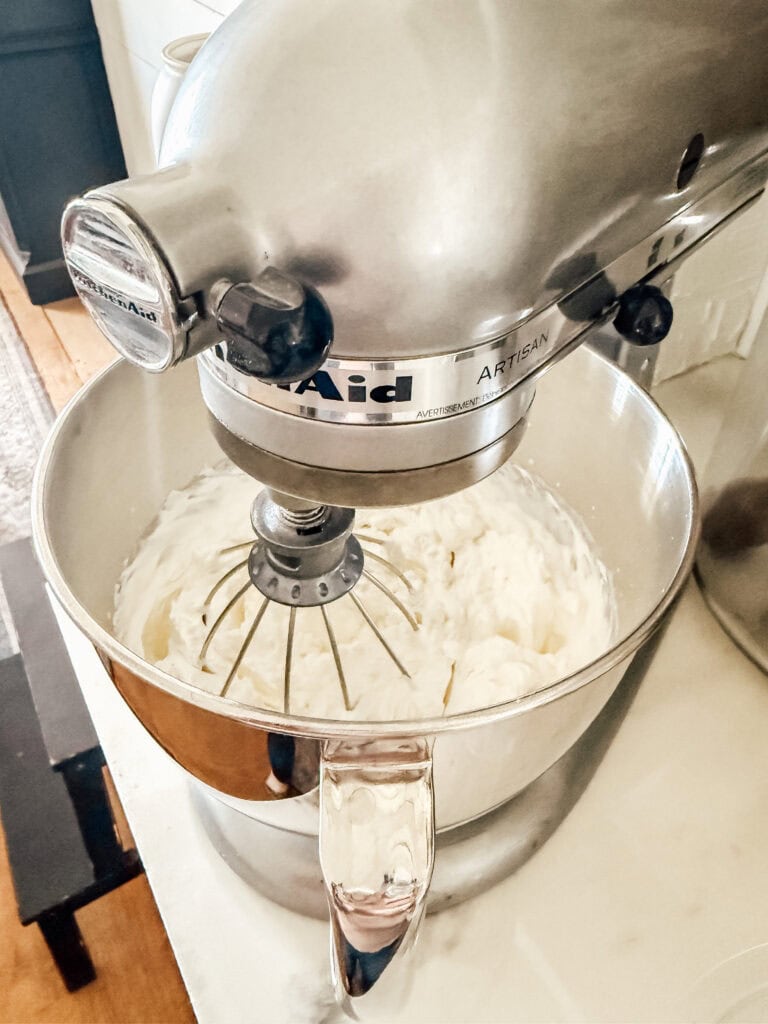
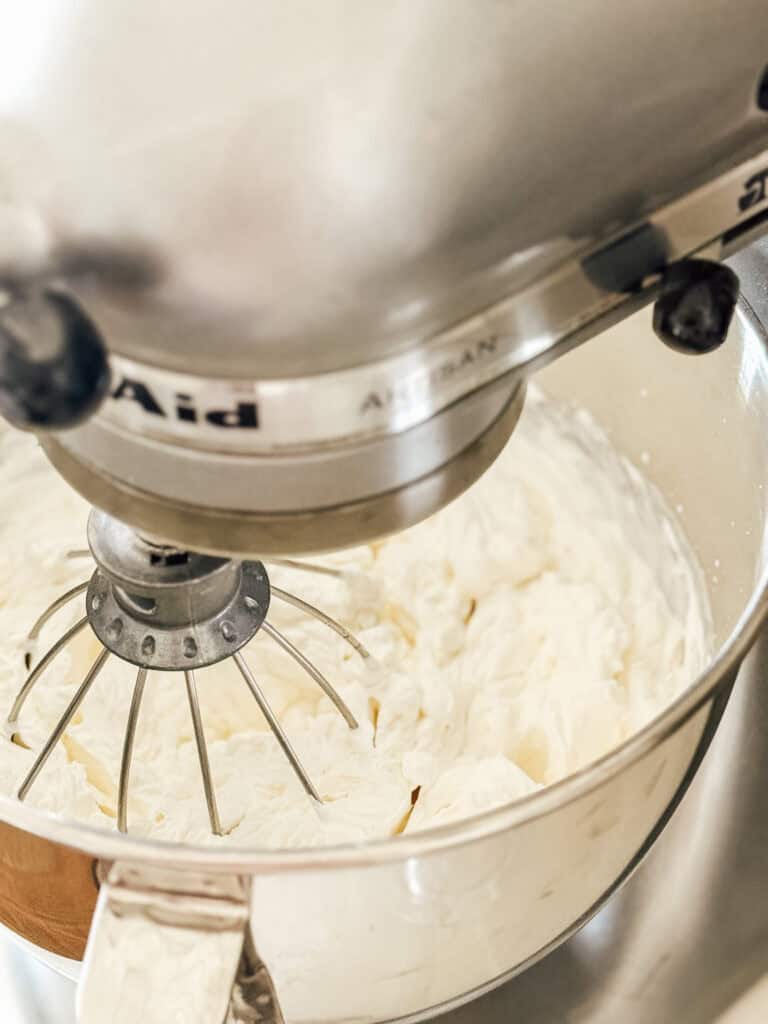
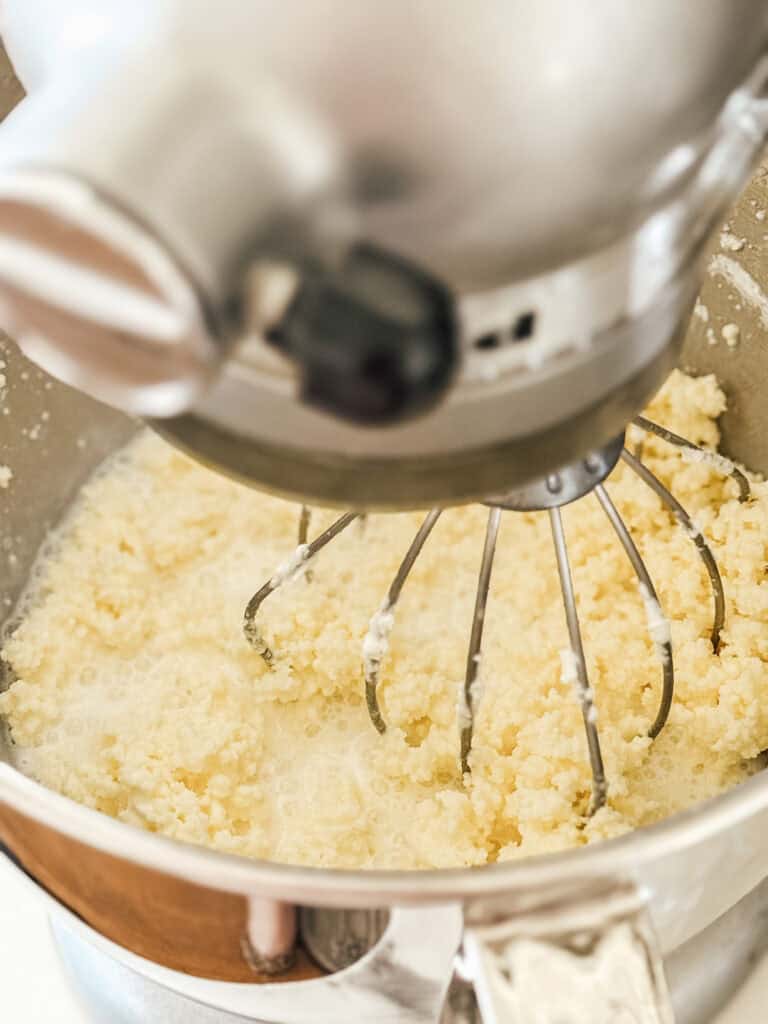
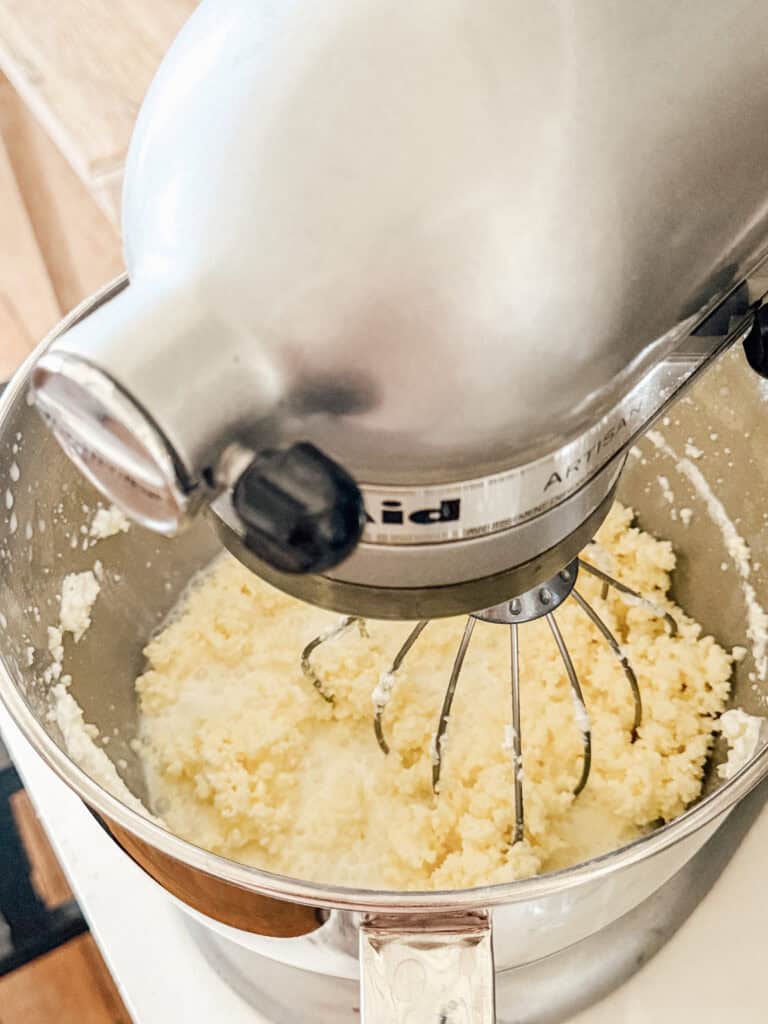
Step 3 Continue mixing as the cream separates
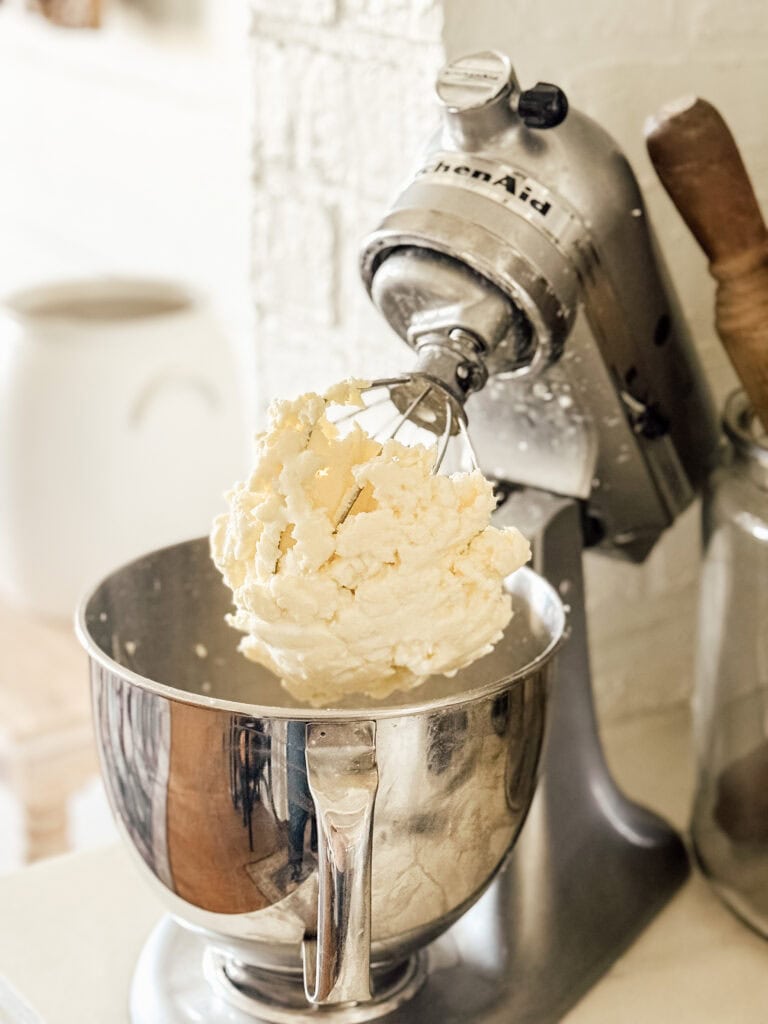
As you mix, the cream will first become whipped cream. Continue mixing past this stage. After several minutes, the cream separates into butter solids and liquid buttermilk. This process usually takes 5 to 10 minutes depending on room temperature and the type of cream used.
As the butter begins to form, the buttermilk may splash up to the top of the bowl. Using a bowl shield or draping a towel over the mixer helps contain splashes.
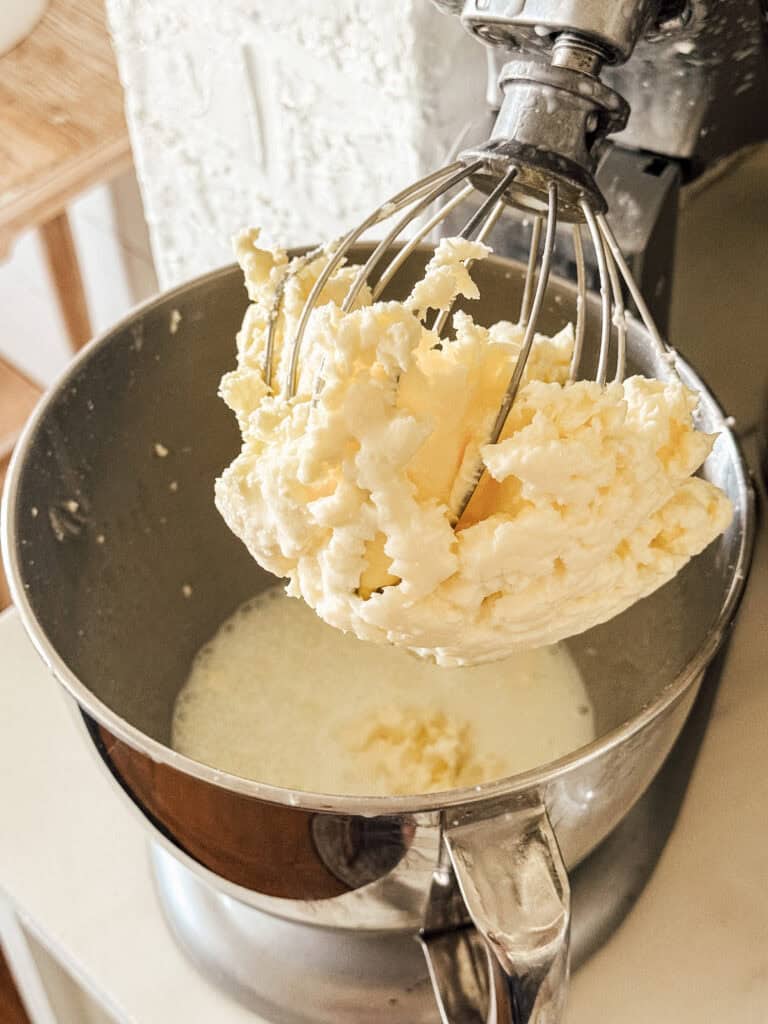
Step 4 Remove the butter solids
Once the butter solids have fully separated from the liquid, stop the mixer. Remove the butter from the mixing bowl and place it onto a plate.


Step 5 Squeeze the butter together
Using clean hands, gently squeeze the butter together to form a tight ball. You’ll notice remaining buttermilk releasing from the butter as you press it.


Step 6 Strain the buttermilk
Strain the remaining buttermilk from the mixing bowl and plate through a strainer into a mason jar. This recipe yields about 16 ounces of fresh buttermilk. Homemade buttermilk is perfect for baking and recipes that call for live cultures.


Step 7 Rinse the butter in cold water
Place the butter into a bowl of cold water or ice water. Gently squeeze the butter to release any remaining buttermilk.

Step 8 Repeat the rinsing process
Change the water and repeat rinsing and squeezing until the water runs clear. This step is very important. Any remaining buttermilk left in the butter can cause it to spoil more quickly.

Step 9 Check for remaining liquid
Continue rinsing as needed until no cloudiness remains in the water. Removing all remaining buttermilk ensures the best shelf life and flavor.

Step 10 Add salt if desired
Once the butter is fully rinsed, you can add a little salt if you prefer salted butter. Incorporate the salt evenly with your hands, adjusting the amount of salt to taste.
Step 11 Store the homemade butter
Transfer the finished butter to a mason jar, wrap it in parchment paper, or place it in a butter bell. Store in the refrigerator for best results.
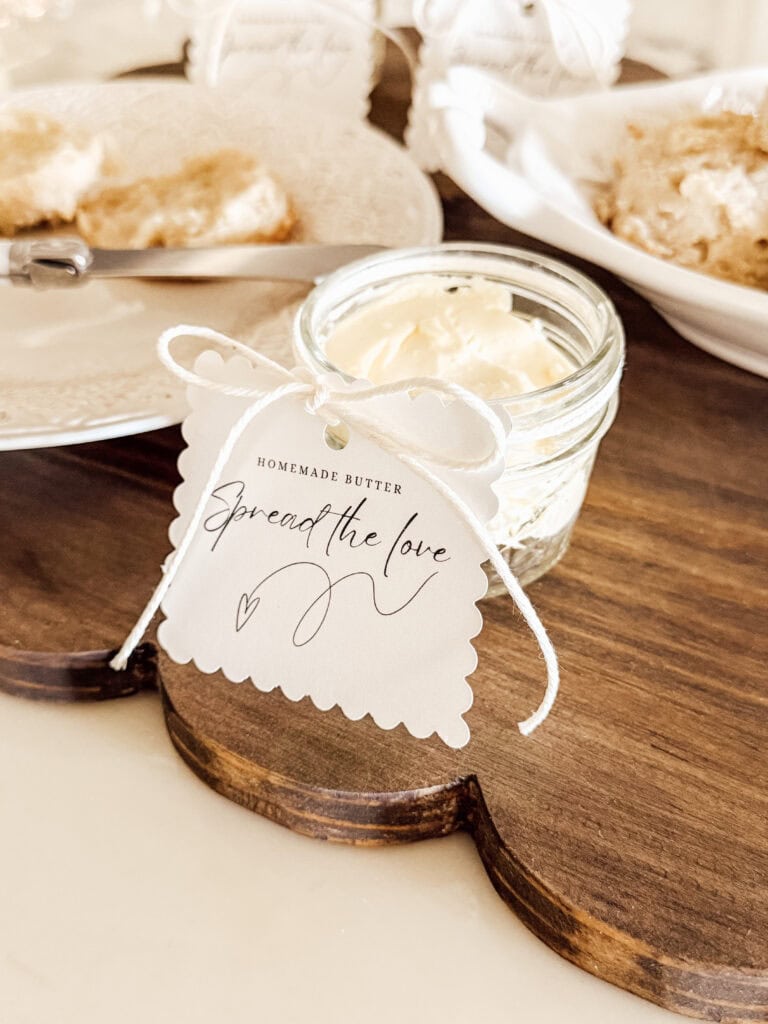
Gifting Homemade Butter
One of my favorite parts of this project is gifting the butter. Stored in a small mason jar and tied with twine, it feels thoughtful and handmade. I designed a sweet printable gift tag that says “Spread a Little Love” to make gifting easy and special. It’s perfect for hostess gifts, holidays or sharing with friends and neighbors.
Want to create the cutest homemade gift?
Click below and subscribe to gain instant access to the free printable.
Storage and Food Safety Notes

Fresh butter can be kept unrefrigerated for a few hours and used immediately. For longer storage, homemade butter should be kept in the refrigerator and will last approximately 21 to 30 days. Always check for freshness. If you notice mold, an off smell, or signs of rancidity, discard immediately.
I have not personally stored this butter in a butter bell, but butter bells can be used to keep fresh butter at room temperature. Always follow the manufacturer’s food safety guidelines.

Tips for Best Results
Use good quality cream from a trusted grocery store or local dairy for the best flavor and creamy texture. Let the cream come fully to room temperature before mixing to help the cream separate efficiently.
Mixing at medium speed produces the best results. Mixing too fast can cause splashing and uneven separation, while mixing too slowly may delay the process.
Rinsing the butter thoroughly in cold water or ice cubes is essential. Removing all remaining buttermilk extends the shelf life and improves the final product.
If you plan to experiment next time, this butter is a great base for compound butter. Add herbs, honey, or garlic for savory or sweet variations.
Cheese cloths or muslin cloth can be used to help squeeze out liquid, but clean hands work just as well for small batches.

Common Questions
Can I use a food processor instead of a stand mixer
Yes, different methods exist, and a food processor can work. However, a stand mixer with a whisk attachment provides the most consistent results and is easier to manage.
Does homemade butter contain live cultures
Homemade butter made from fresh cream may contain beneficial cultures depending on the type of cream used, especially if sourced from fresh milk or raw milk.
Is homemade buttermilk the same as store-bought buttermilk
Homemade buttermilk is the liquid left after the butter solids separate. It is thinner than cultured store-bought buttermilk but works beautifully in many recipes.
How much butter does this recipe make
This recipe makes approximately three quarters of a pound of butter and about 16 ounces of fresh buttermilk.
Can I control the salt level
Yes, you can adjust the amount of salt or skip it entirely. Unsalted butter is perfect for baking, while a little salt enhances flavor for spreading.

Now that I know how easy homemade butter is to make, I have so many ideas for future batches, flavored butter and creative uses. This simple process is so rewarding and the delicious flavor makes it worth every minute!
If you give this homemade butter recipe a try, I’d love to hear about it. Follow along on social media at @returninggrace and tag me in your photos, or leave a comment below to share how you used your butter or who you gifted it to.

Meet Stephanie
Hi, I’m Stephanie—a lifelong creative, homebody at heart, and the hands behind Returning Grace. I believe home should feel like your favorite place, and I’m passionate about helping you create spaces filled with warmth, character, and charm. From simple DIYs and seasonal crafts to cozy recipes and vintage-inspired decor, I share approachable ideas to make your home feel beautifully lived in. I love thrifting, styling old finds in fresh ways, and documenting our home remodeling adventures along the way.
I’m honored to have served as the 2024 American Farmhouse Style Brand Ambassador and to share my love for cottage farmhouse living with a community that values creativity, comfort, and meaningful design.

Pin for Later


