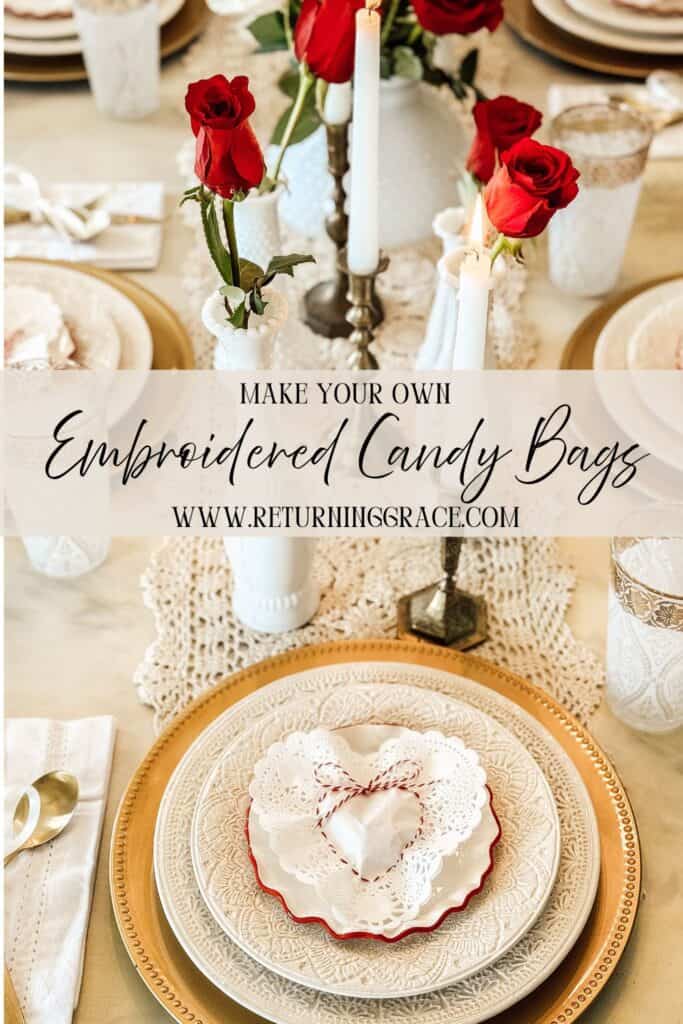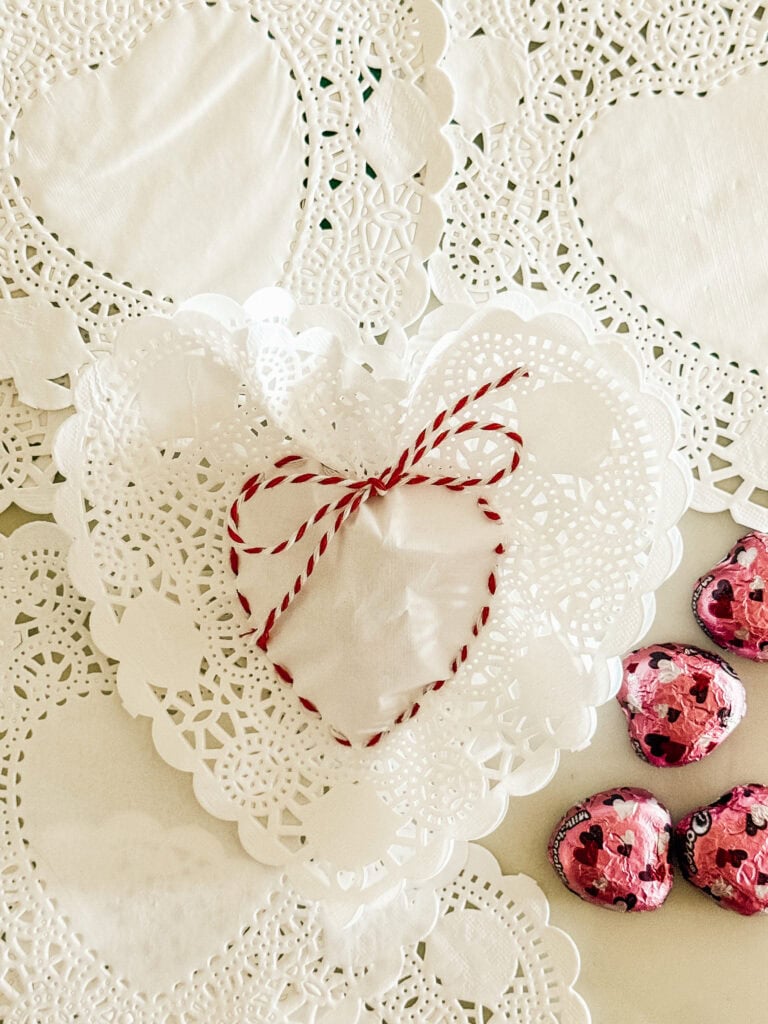
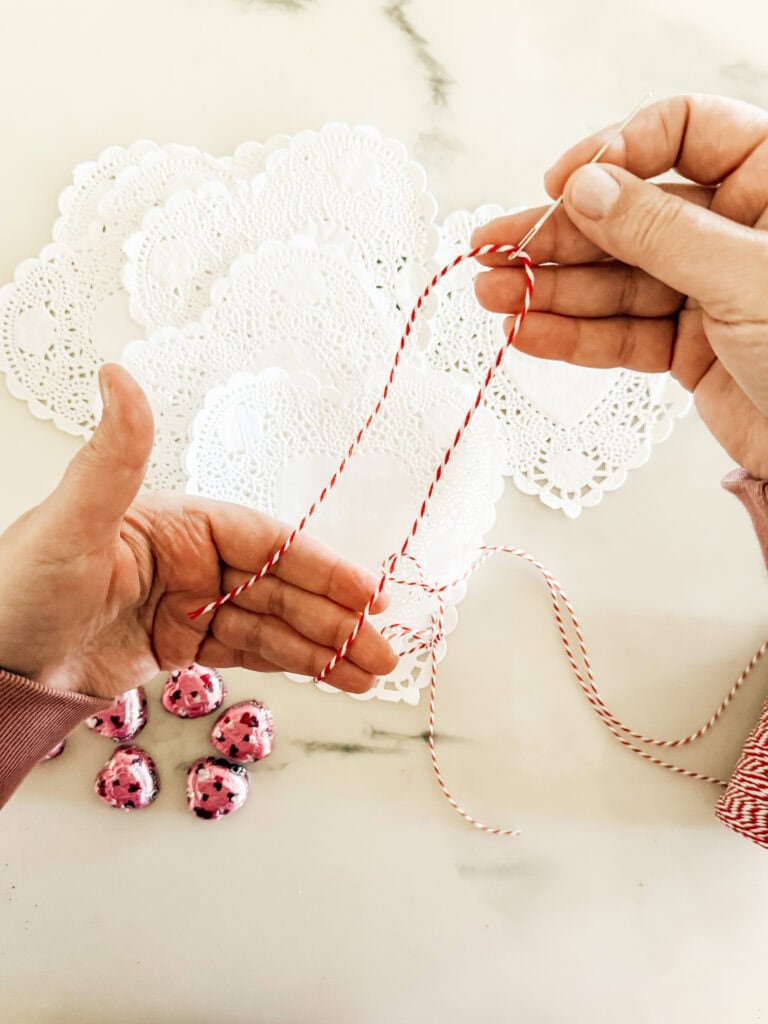
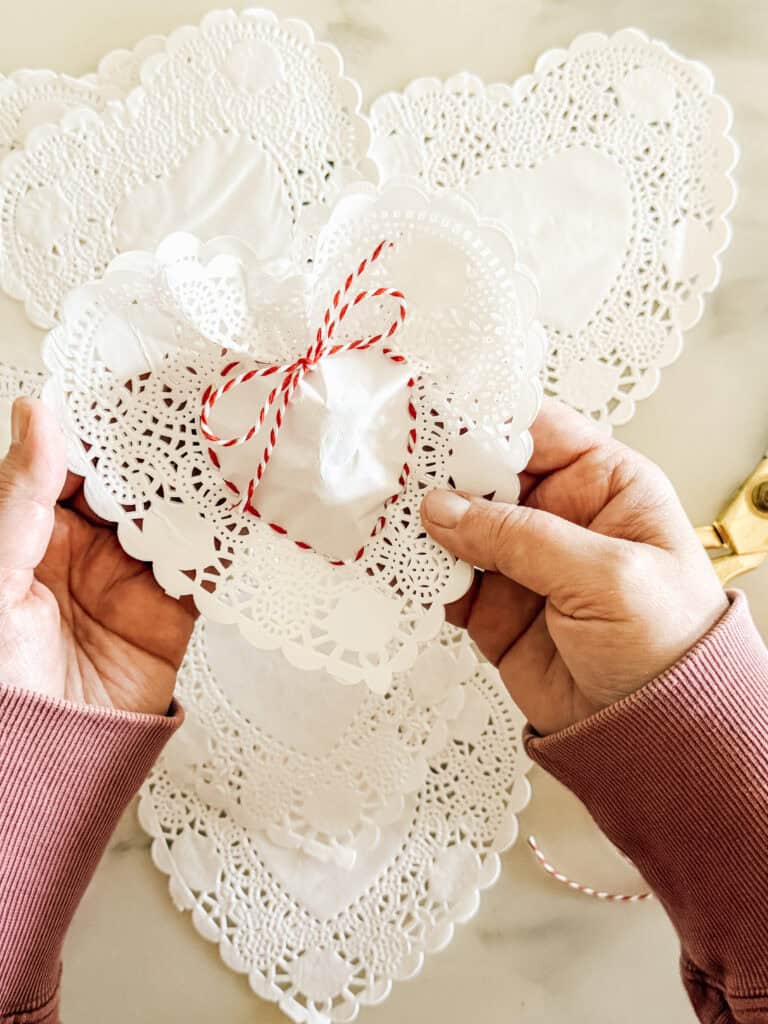
I am keeping things simple this year, but that does not mean things cannot be special. I saw a version of embroidered candy treat bags online and decided to add my own vintage touch by using heart shaped paper doilies for a soft, lace inspired look. These DIY Embroidered Paper Doily Candy Bags feel thoughtful, charming, and nostalgic while still being incredibly easy to make. Even though I do not officially know how to embroider, this project uses a very simple running stitch technique that anyone can do. If you can thread a needle, you can make these!

These sweet little candy bags are perfect for Valentine’s Day, but they also work beautifully for showers, weddings, and other occasions where a handmade paper gift makes a big impression. With just a few supplies, you can turn ordinary doilies into a darling embroidered pouch that feels both vintage and modern.
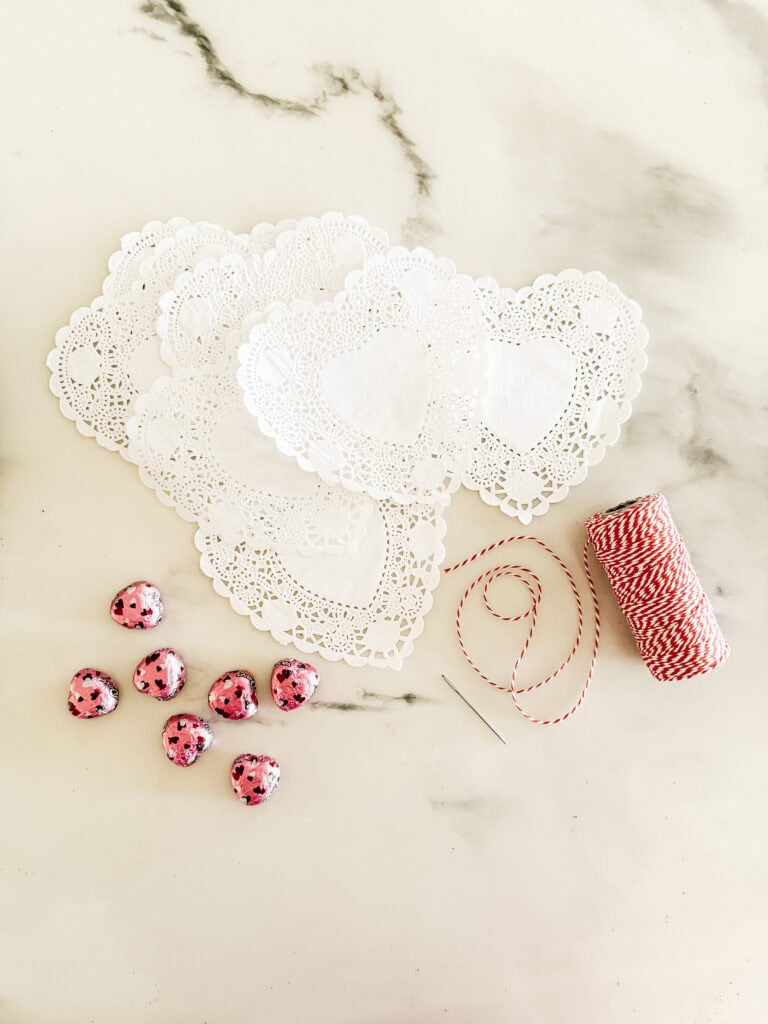
Supplies
Shop the supplies

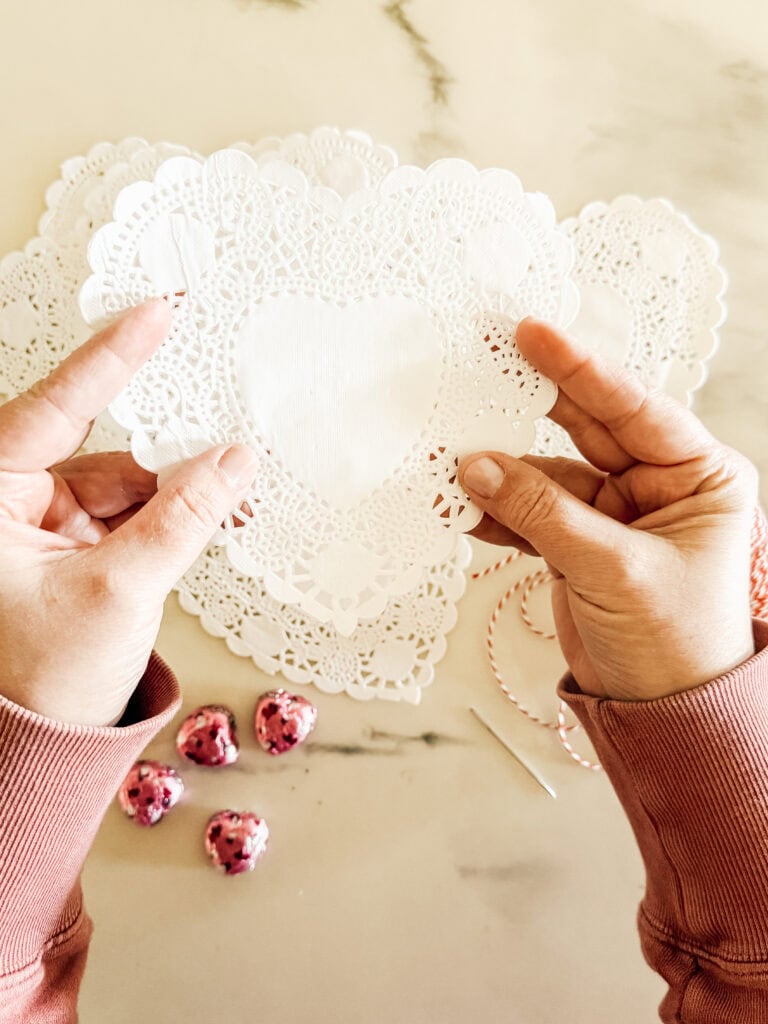
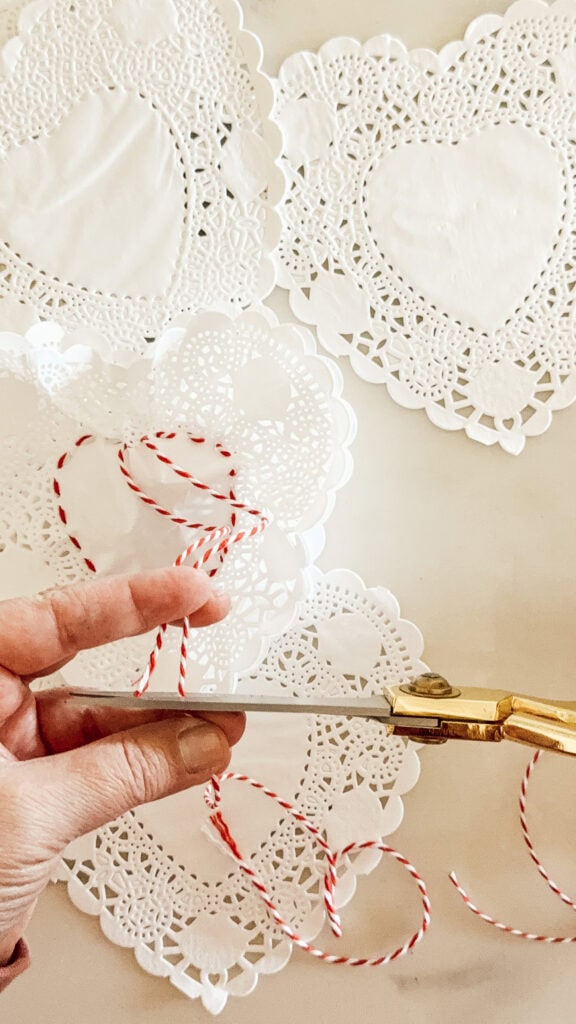
Step By Step Instructions


Subscribe to get all the latest projects delivered Right to youR Inbox!
Why You Will Love These
- These DIY Embroidered Paper Doily Candy Bags are quick to make and require no special embroidery skills.
- They are inexpensive and easy to customize with different colors of thread or twine.
- The vintage lace look of the paper doilies adds charm, while the heart shape makes them especially cute for Valentine’s Day.
- They work as individual treat bags, a small gift pouch, or even a decorative accent on a tablescape.
- Sweet cake caramels cotton candy jujubes topping pudding. Cotton candy chocolate bar sweet roll liquorice bonbon oat cake tart. Lollipop chupa chups jelly halvah muffin ice cream.
Tips for Embroidered Candy Treat Bags
- Work on a flat surface so the doilies stay aligned as you stitch
- Use a blunt embroidery needle to avoid tearing the paper
- If the twine feels stiff, gently run it between your fingers to soften it before stitching
- Stick with a simple running stitch rather than trying to overcomplicate the embroidery
- These are paper bags, so avoid adding heavy candy or items with sharp edges

Frequently Asked Questions
Can I use different candy?
Yes. Any small wrapped candy works well. Chocolate hearts, mints, or small treats fit nicely. Just keep the weight light so the paper holds its shape.
Can I use embroidery floss instead of twine?
Absolutely! Embroidery floss, thin ribbon or even sewing thread can be used. Thicker materials create a more gathered pouch look.
Are these bags food safe?
Because the candy stays wrapped, these treat bags are safe for gifting. If you prefer or if you’re using handmade treats, you can place candy inside a small wrapper or parchment pouch before adding it to the bag.
Do I need an embroidery hoop?
No hoop is needed. The paper doilies are sturdy enough to hold while stitching, making this project easy and approachable.
A Sweet Way To Gift Something Handmade
I used these DIY Embroidered Paper Doily Candy Bags in my Valentine’s Day tablescape, but truly the whole thing translates beautifully beyond just one holiday. These charming little bags would be just as lovely as hostess gifts, wedding favors, shower favors, or sweet place settings for a special gathering. There is something so meaningful about taking simple materials like paper doilies, twine, and candy and turning them into a thoughtful handmade gift that feels intentional and heartfelt.


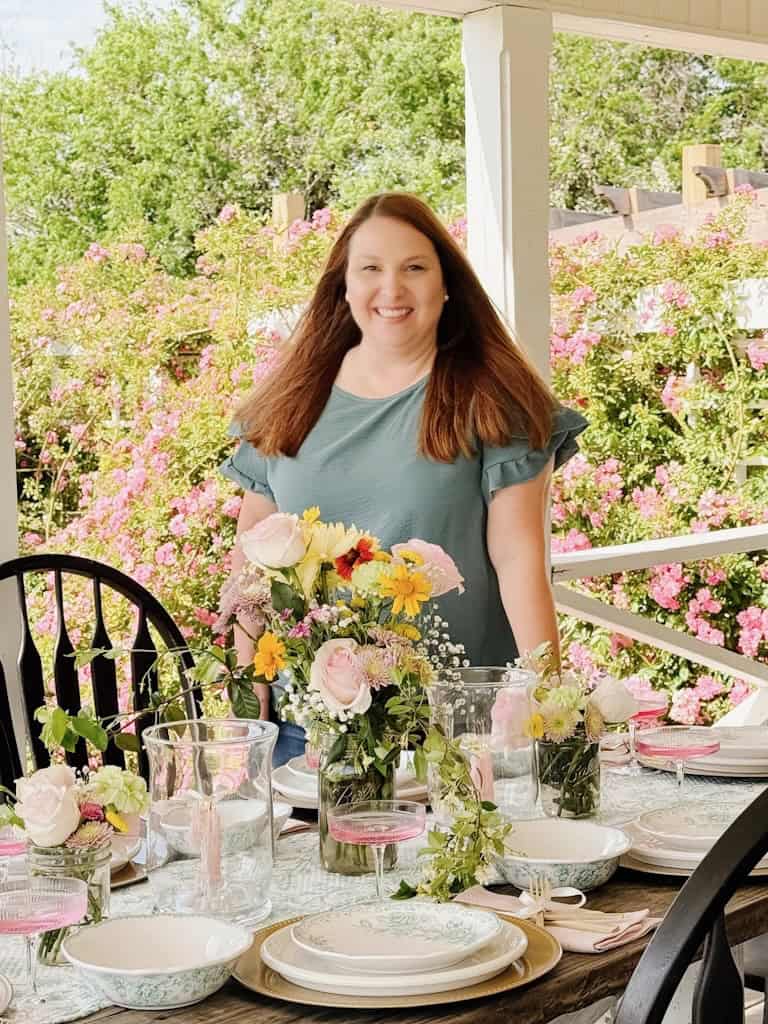
Meet Stephanie
Hi, I’m Stephanie—a lifelong creative, homebody at heart, and the hands behind Returning Grace. I believe home should feel like your favorite place, and I’m passionate about helping you create spaces filled with warmth, character, and charm. From simple DIYs and seasonal crafts to cozy recipes and vintage-inspired decor, I share approachable ideas to make your home feel beautifully lived in. I love thrifting, styling old finds in fresh ways, and documenting our home remodeling adventures along the way.
I’m honored to have served as the 2024 American Farmhouse Style Brand Ambassador and to share my love for cottage farmhouse living with a community that values creativity, comfort, and meaningful design.
Search All Posts & Projects
Pin For Later