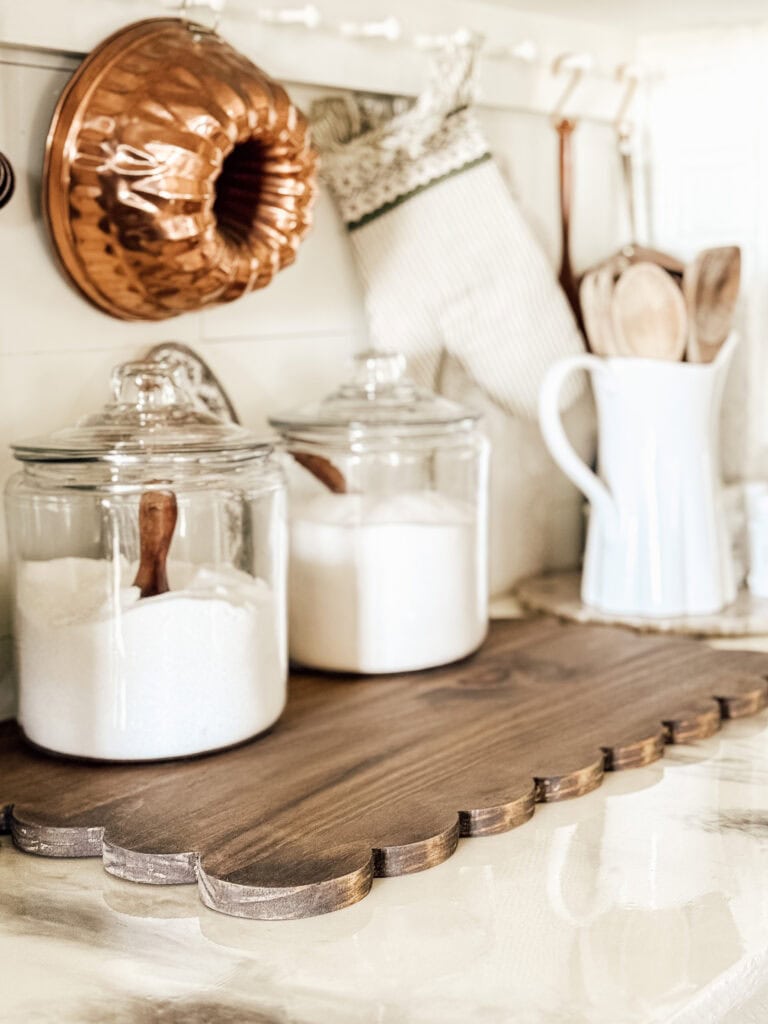
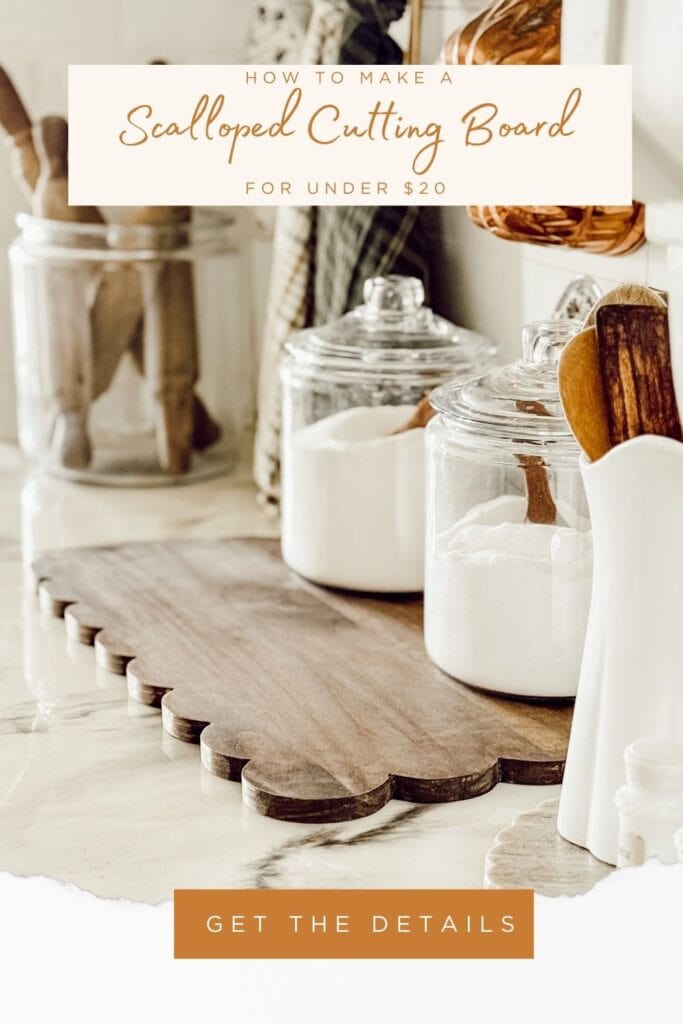
I absolutely love all of the scallops showing up in cottage home decor right now. From furniture details to trim and accessories, that soft, feminine scalloped edge feels both timeless and charming. I’ve been dreaming about the beautiful scalloped cutting board from Ballerina Farm for quite some time, but at nearly $300, it just isn’t in my budget anytime soon, if ever. Instead of giving up on the idea, I decided to make my own scalloped cutting board.
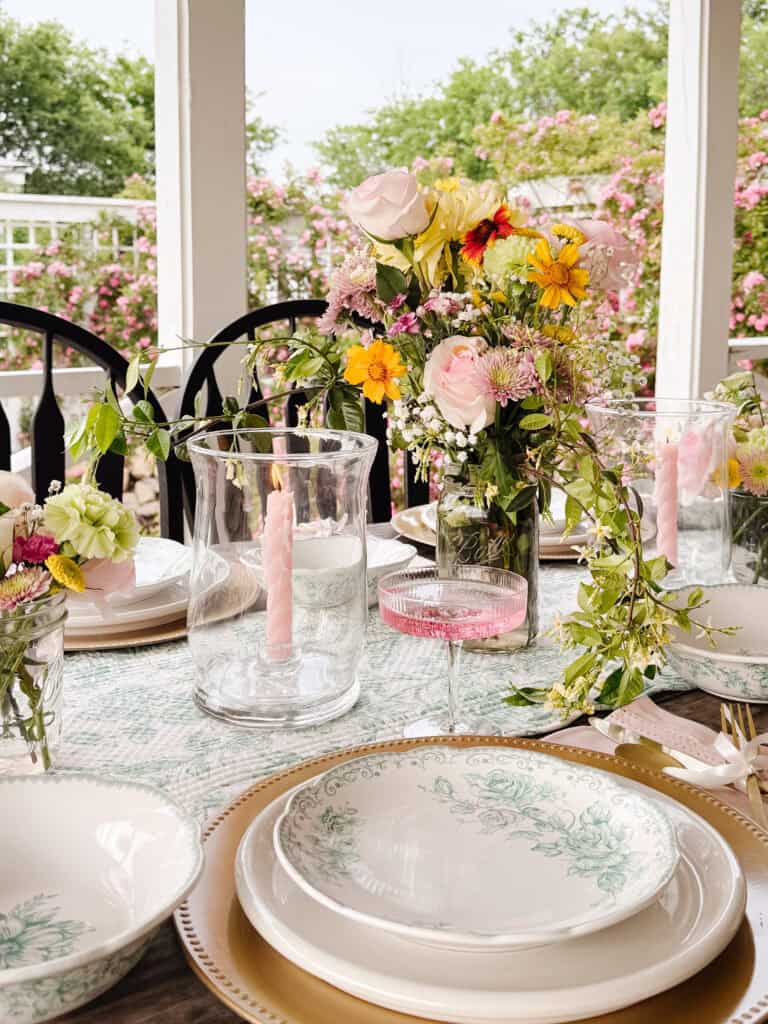
I designed the scalloped border myself and found a super affordable piece of wood that gives me the same look for a fraction of the price. With Skip’s help on a few power tools and just a few hours of time, this DIY project came in at under $20 for two boards. I couldn’t be happier with how they turned out. They look beautiful styled in the kitchen, layered on open shelving, or used as center pieces for entertaining.
This scalloped cutting board has quickly become one of my favorite handmade home décor projects, and I’m excited to walk you through how to make one yourself.
Supplies
For this project, you can choose materials based on whether you plan to use your board strictly for styling or as a functional cutting board.r this recipe
Pine wood or teak wood (food safe)
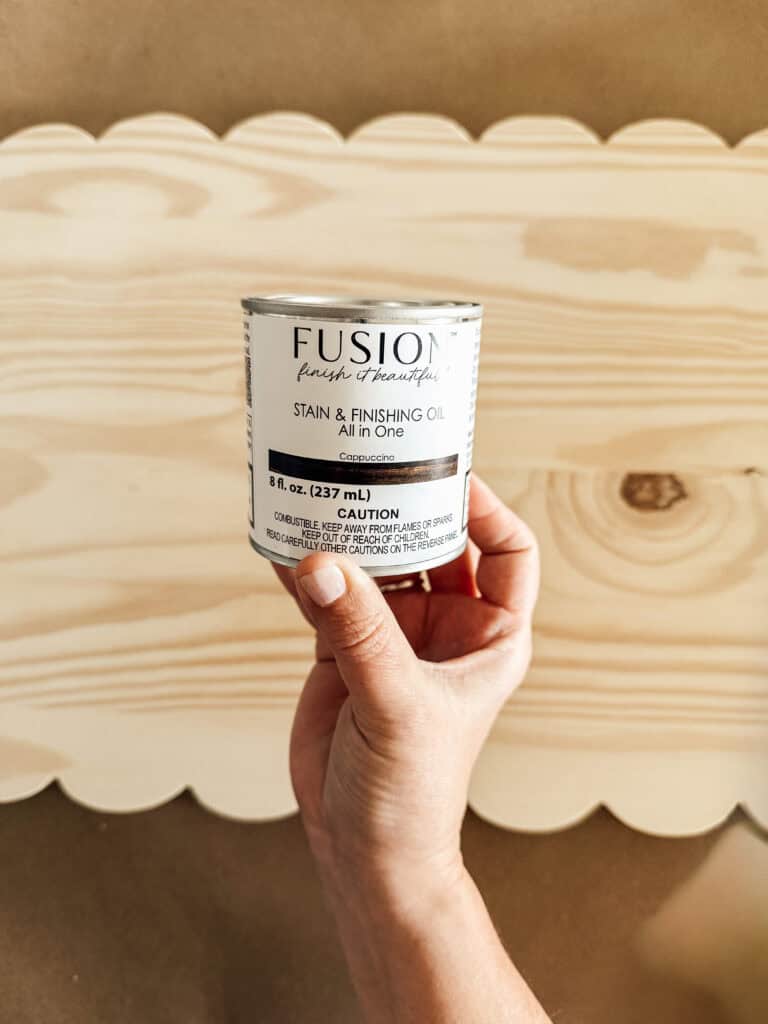
Fusion Mineral Paint Stain and Finishing Oil (Color Cappuccino)
Paintbrush
Soft cloth or paper towel
Painter’s paper or drop cloth
Beeswax or hemp oil sealer if making the board food safe (optional)
Jig saw
Drill
3/16 Drill Bit
Orbital sander
60 grit sandpaper
120 grit sandpaper
Free scalloped cutting board printable template
Pen or pencil
Shop the supplies
Food Safety Information
To make your scalloped cutting board food safe, choose a food safe wood such as teak and finish the board with a natural sealer like beeswax or hemp oil. Always follow the manufacturer’s curing times and recommended reapplication guidelines for the product you’re using to ensure the board is properly sealed, protected, and safe for everyday use. Proper care and maintenance are essential to ensure food safety. When in doubt, use the board for serving with parchment paper, serving dishes or as decorative home decor.
Why You’ll Love These
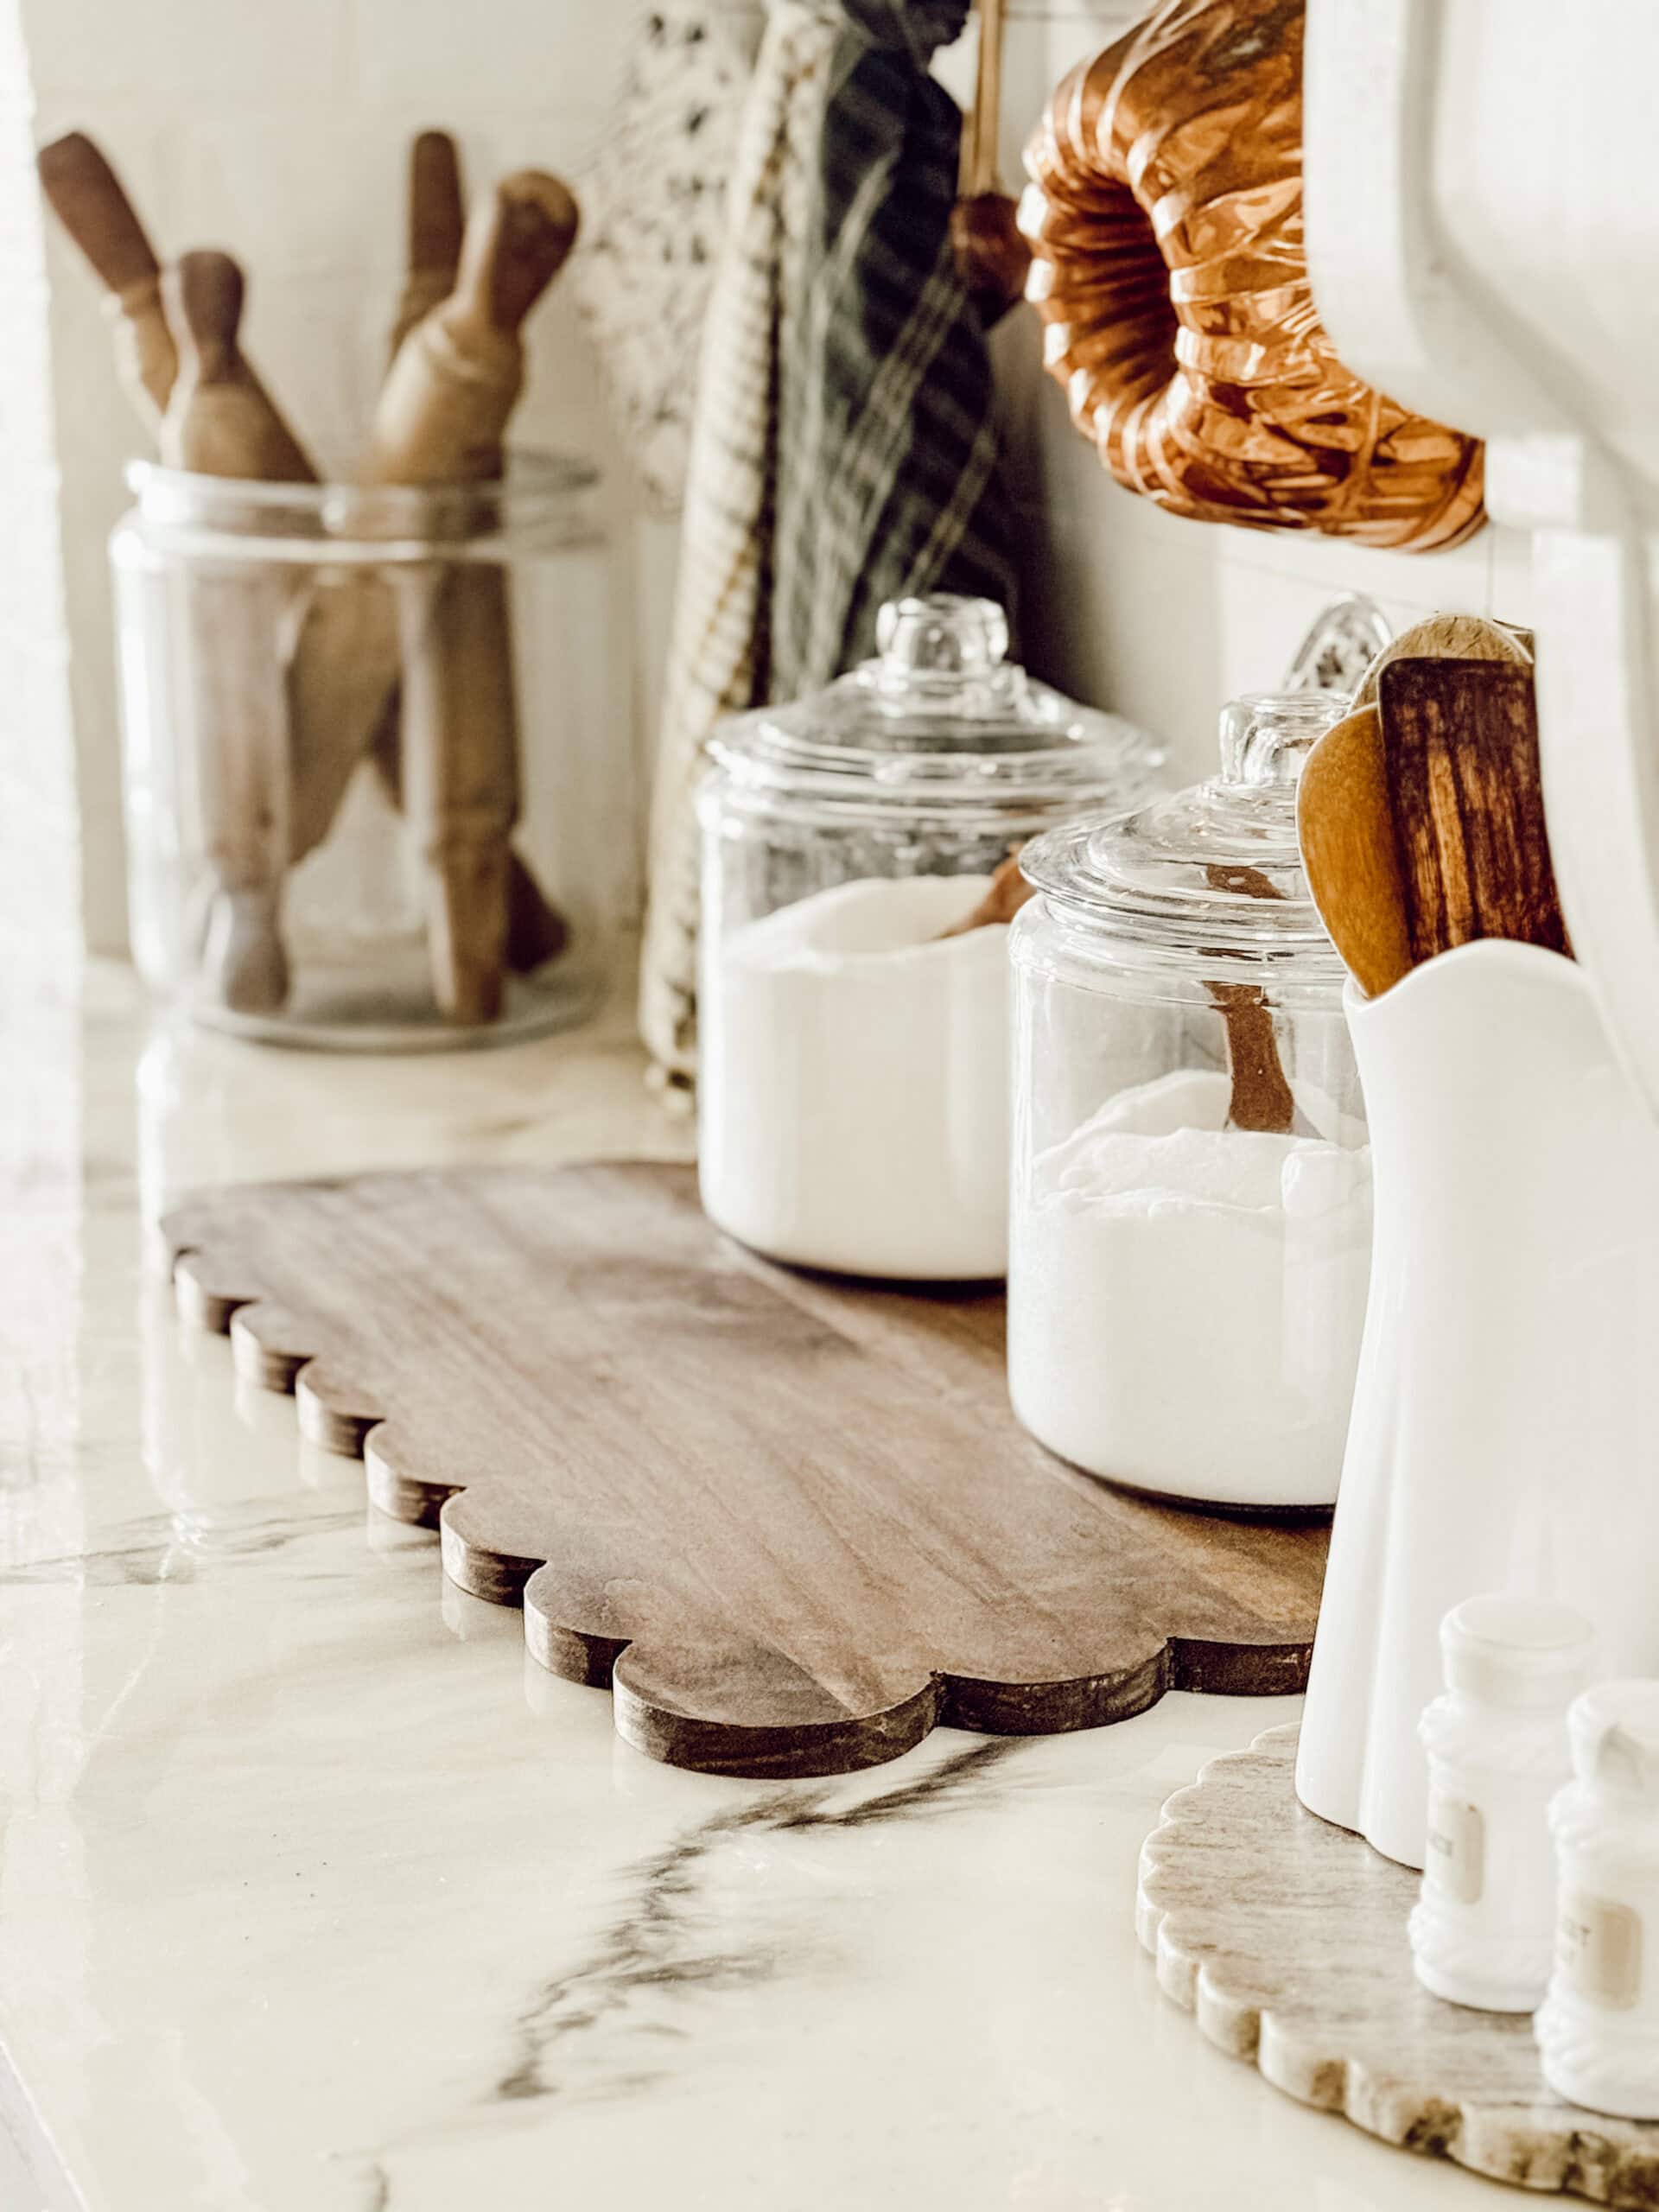
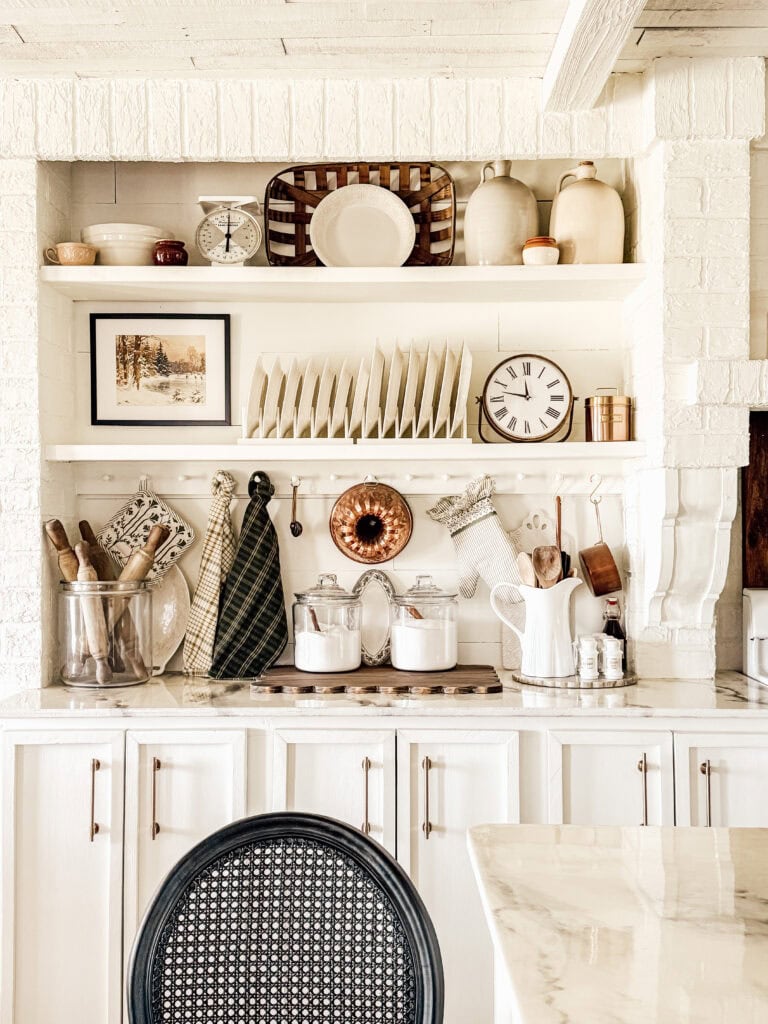
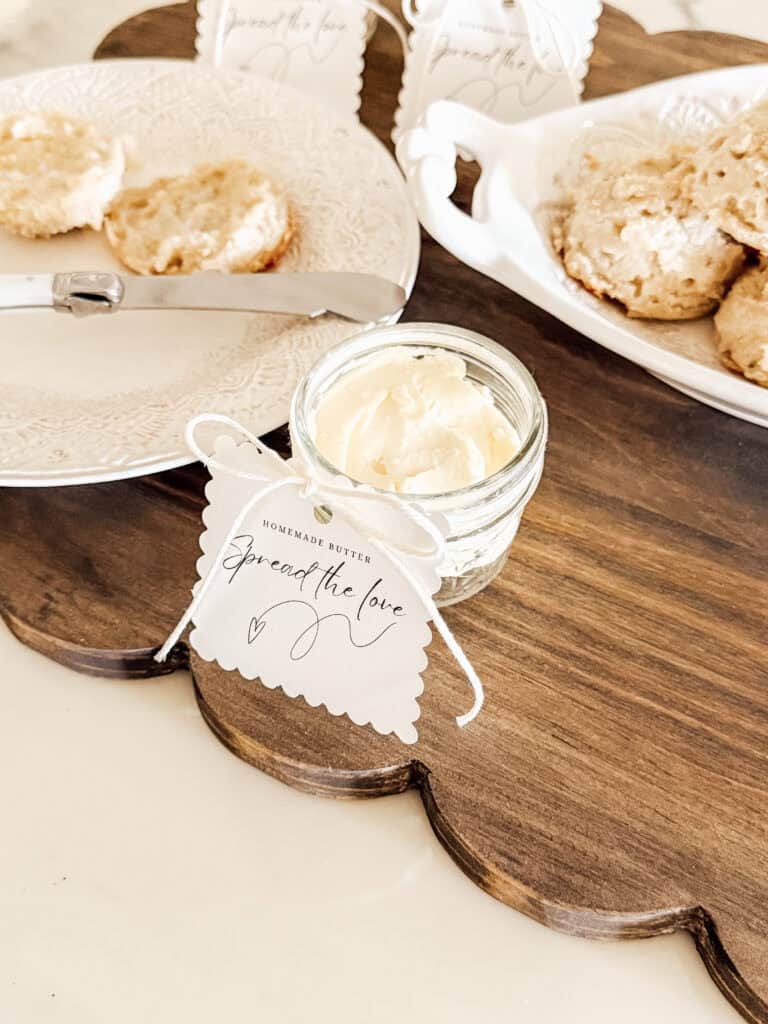
This scalloped cutting board is incredibly versatile. It works as a functional cutting board, a serving board, or a decorative accent in your kitchen. The scalloped edge and curved edges add a custom, high-end look that feels right at home in cottage-style spaces.
You’ll also love how budget friendly this project is. Creating two boards for under $20 makes it a great option for handmade gifts, seasonal styling, or updating your kitchen décor without overspending.
Best of all, this DIY project allows you to customize the size, stain color, and finish so it perfectly fits your home décor style.
Step-By-Step Instructions
Step 1: Cut Your Wood to Size
Begin by cutting your piece of wood to the desired length. For this scalloped cutting board DIY, we simply cut one long board in half, which gave us two cutting boards measuring approximately 16×24 inches. This size works beautifully for serving, styling, or everyday kitchen use and allows you to maximize one piece of wood.
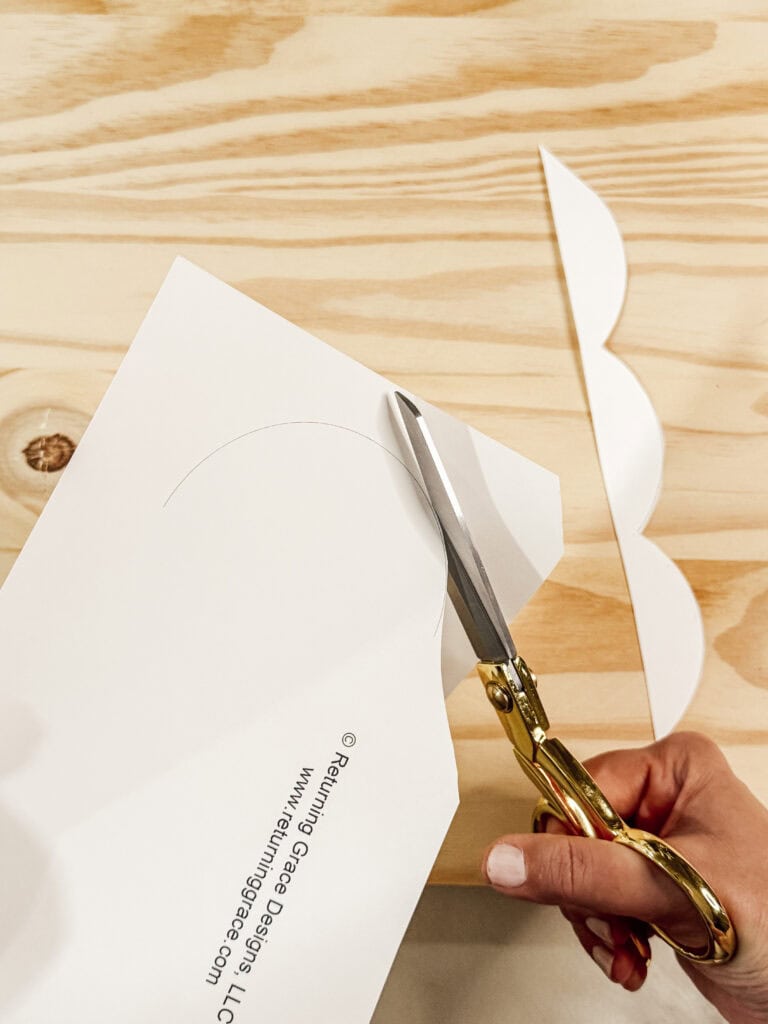
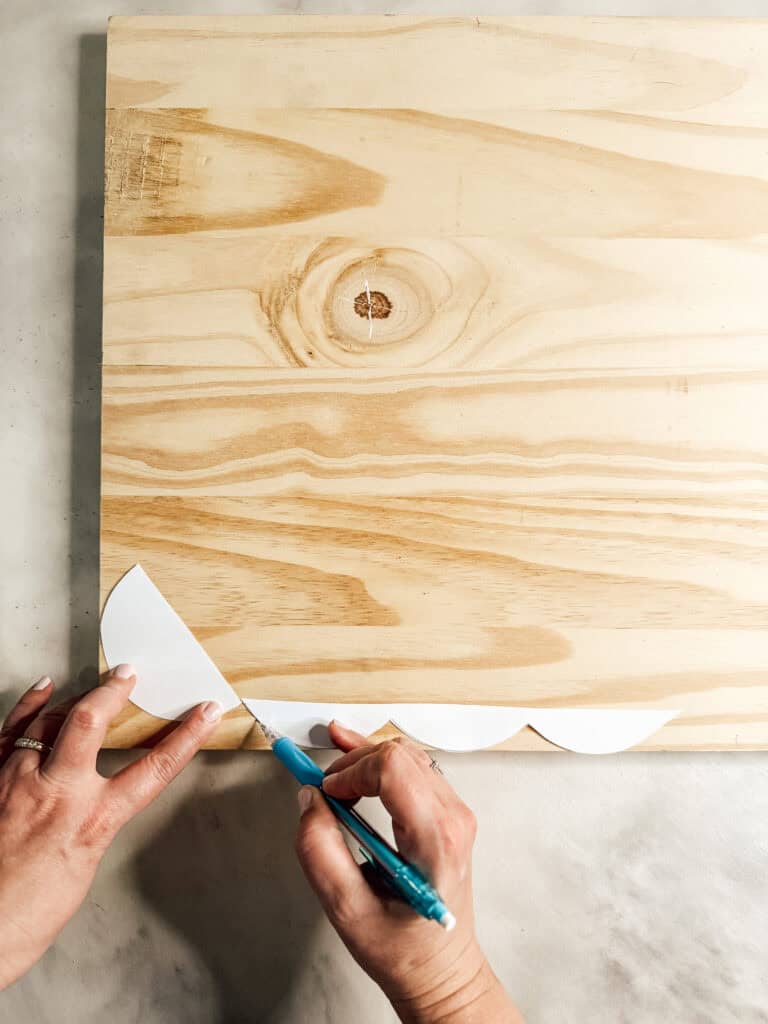
Step 2: Print and Cut the Scalloped Template
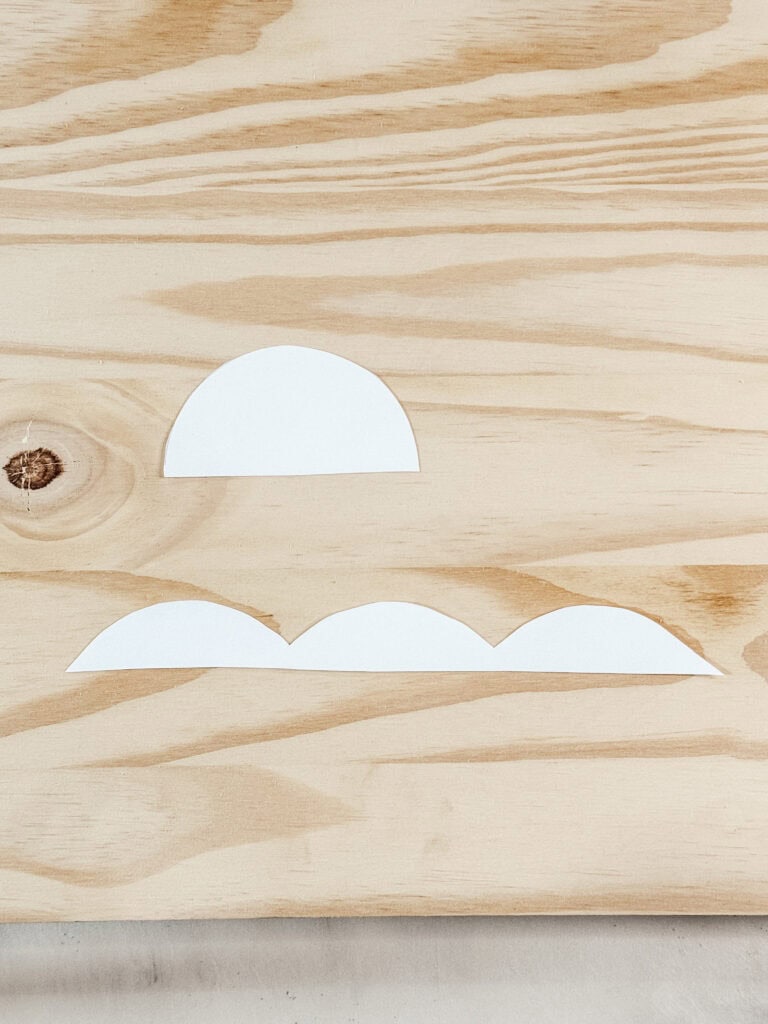
Print the free scalloped cutting board printable template and carefully cut out each section. The template includes three scalloped border pieces for the sides and a single rounded piece for the ends of the board. This step helps ensure consistent scallops across the entire board.
want to download the free printable template?
Subscribe to gain instant access to start your project!
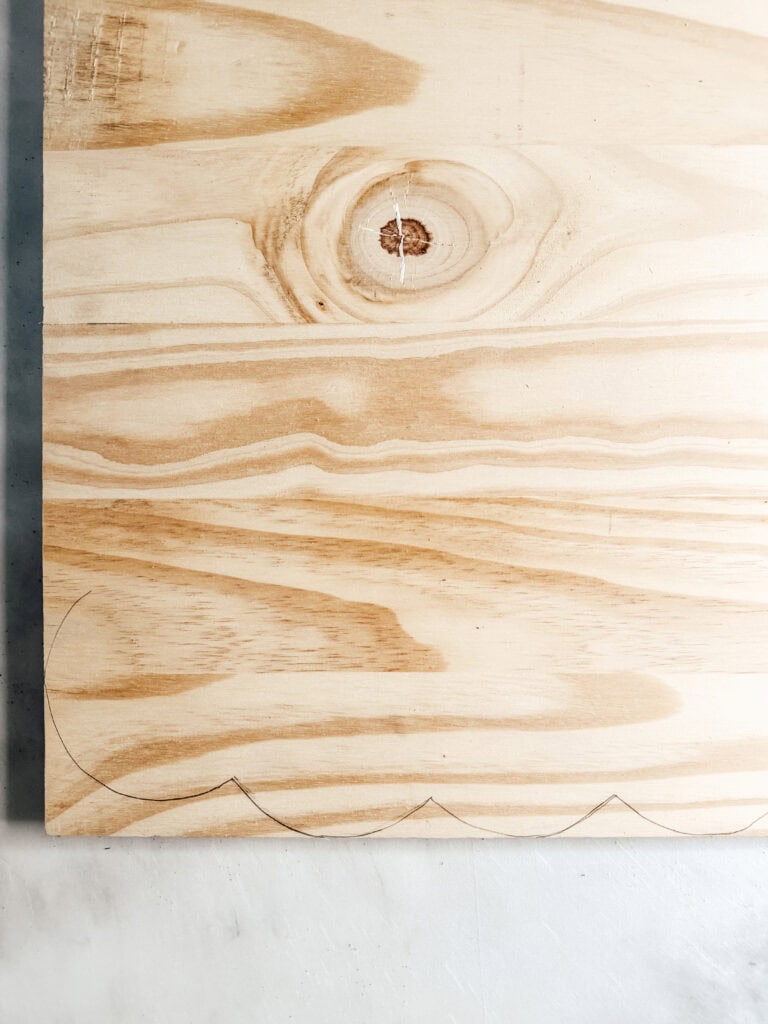
Using a pen or pencil, trace the template directly onto the board. Place the three scalloped sections evenly along each side to create a balanced scalloped edge. Use the rounded template piece on both ends to form smooth round ends. Take your time here so the scalloped border feels even and well-proportioned.
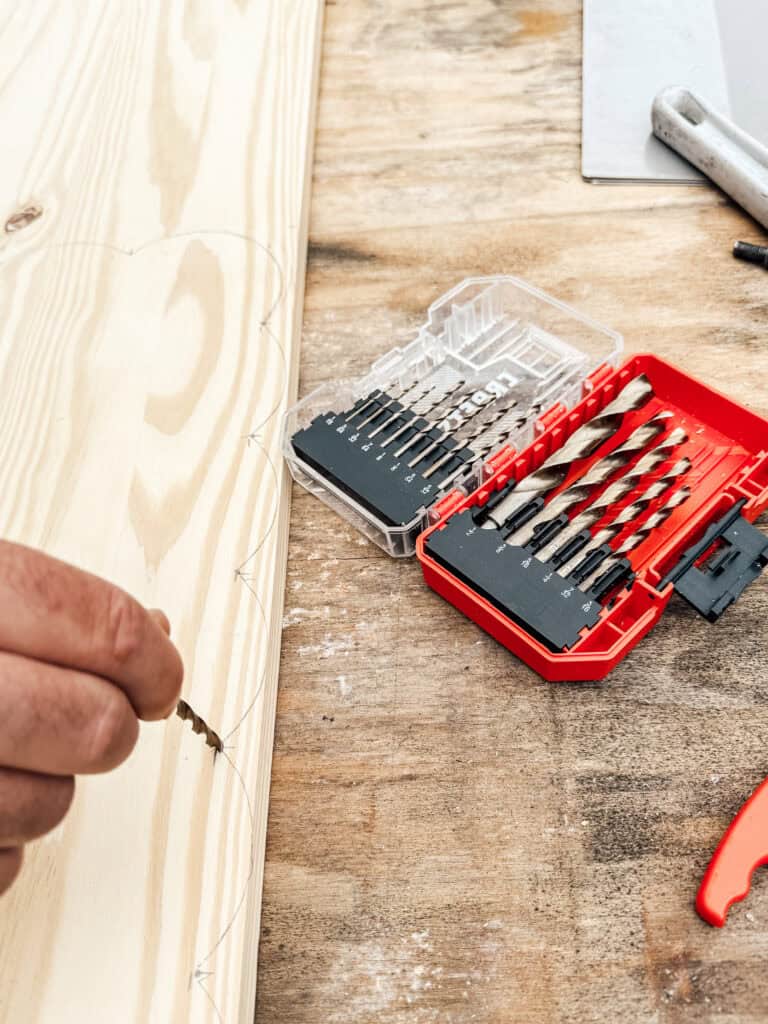
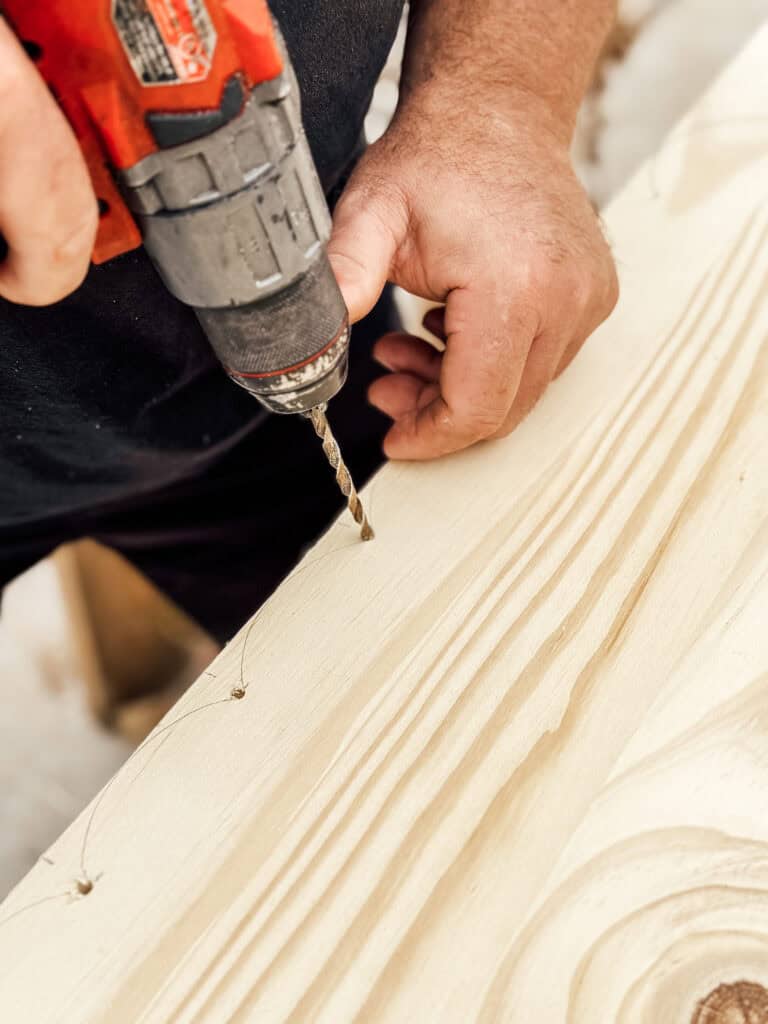
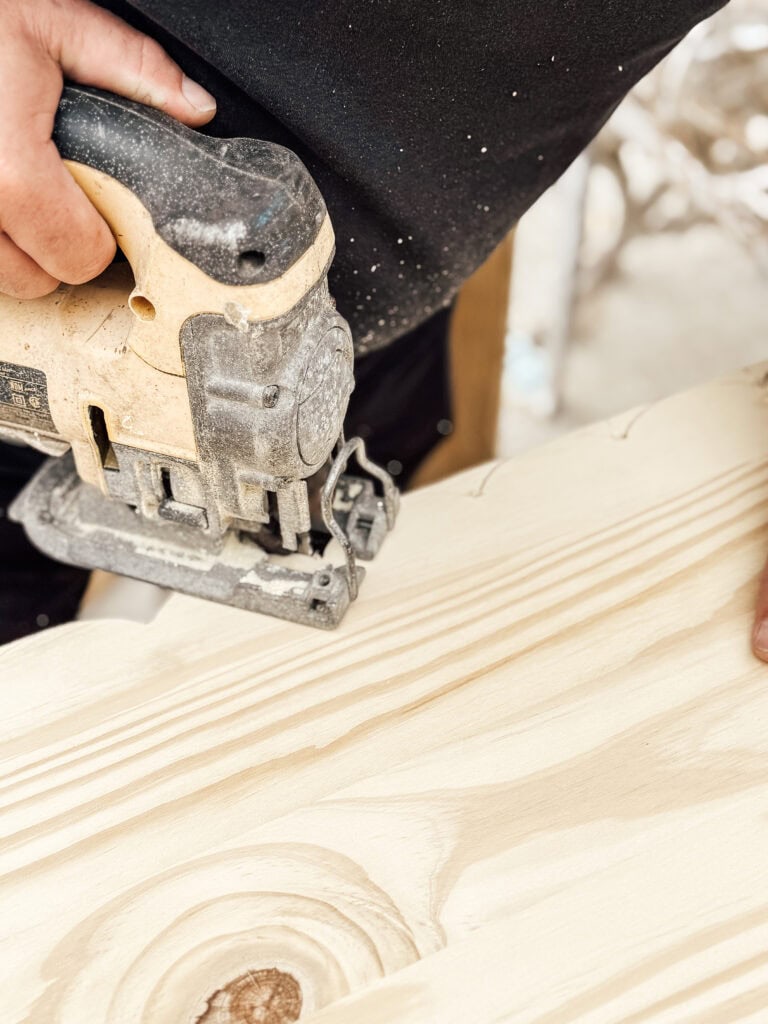
Step 4: Cut the Scalloped Edge
Start by drilling holes into the board at the point where the scallops meet to make cutting easier. Next, carefully cut out the traced scallop design using a jig saw. Move slowly along the curved edges, especially where the scallops dip inward.
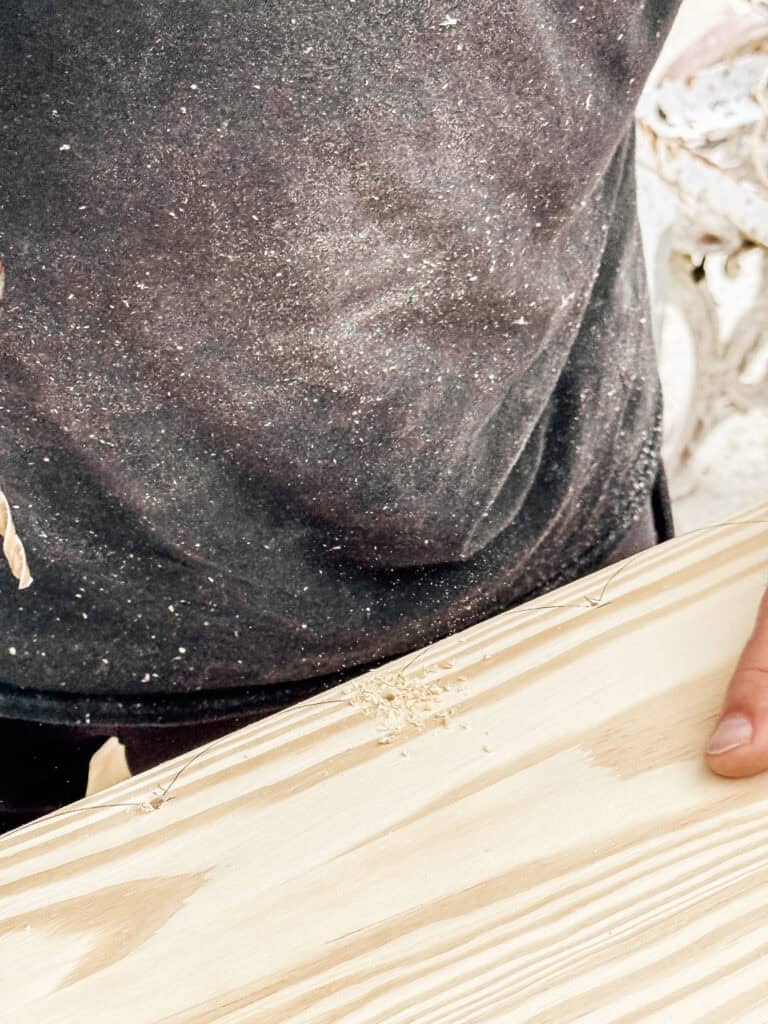
Step 5: Sand the Entire Board
Start by drilling holes into the board at the point where the scallops meet to make cutting easier. Next, carefully cut out the traced scallop design using a jig saw. Move slowly along the curved edges, especially where the scallops dip inward.
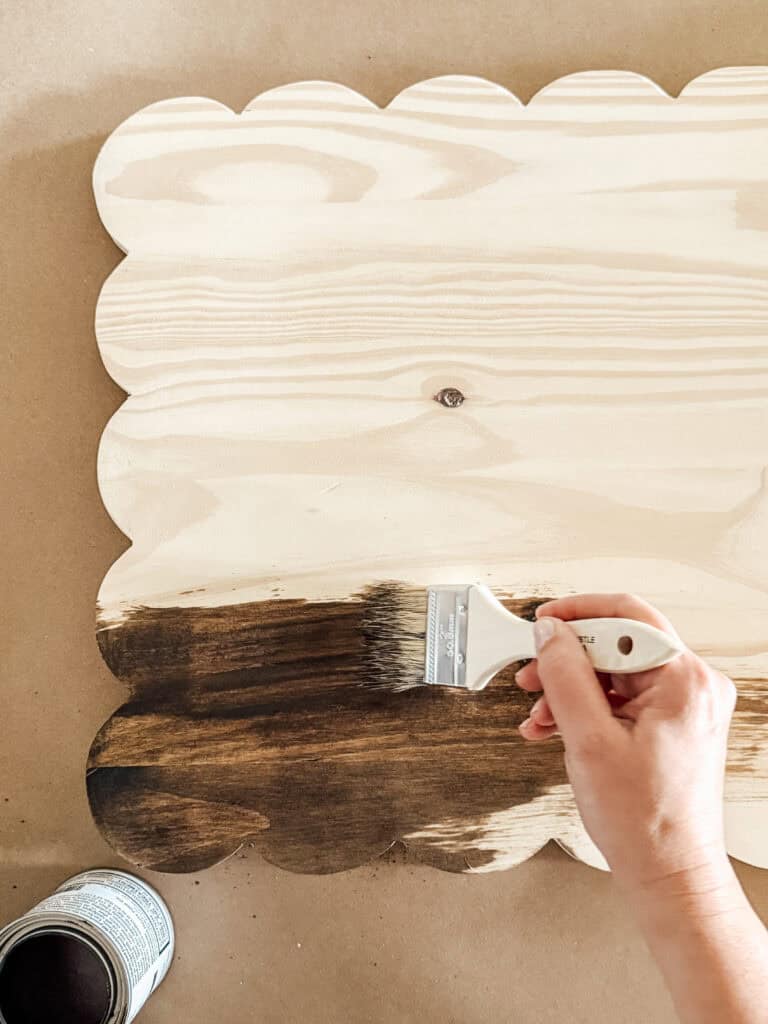
Step 6: Apply Stain or Sealer
Finish the board by applying stain or sealer. For this project, I used Fusion Mineral Paint Stain and Finishing Oil in the color Cappuccino to achieve a deep, rich brown finish. Next, wipe off the excess stain evenly using a soft cloth or paper towel. If you want your scalloped cutting board to be food safe, seal it with beeswax, hemp oil or a quality board wax and refer to manufacturers time for curing.
Subscribe to get all the latest projects delivered Right to youR Inbox!
Tips for Making a Scalloped Cutting Board
If this is your first time cutting curved edges with a jig saw, practice on a scrap piece of wood first. This helps build confidence and ensures smoother cuts on your final board.
Sand more than you think you need to. The scalloped border and round ends look best when they are extra smooth.
If you plan to add handles or attach pieces using pocket holes, make sure to plan that step before staining or sealing the entire board.
For food safe boards, reapply board wax or oil regularly to maintain the finish and protect the wood according to product recommendations.
Frequently Asked Questions
Can this scalloped cutting board be used for food prep? Yes, as long as you use a food safe wood like teak and finish it with beeswax, hemp oil, or board wax.
Is pine safe for cutting boards? Pine is best used for serving boards or decorative home décor pieces rather than heavy cutting.
Do I need advanced woodworking skills? No. This project is beginner friendly, especially with a little help on the power tools.
Can I change the scallop size? Absolutely. Adjust the template to create larger or smaller scalloped edges depending on your style.
Tips from My Experience
When sanding with a higher grit sandpaper, be especially cautious around the scalloped edges. It’s easy to over sand the curves, which can soften or distort the scalloped edge you worked so hard to create. I recommend using light pressure and checking your progress often to maintain crisp, defined curves.
If you plan to use your scalloped cutting board for serving food, adding a layer of parchment paper between the board and the food is a great extra step. This helps protect the surface of the board, prevents staining, and keeps your finish looking beautiful longer, especially when serving items that may release moisture or oils.
For a more natural, wood-forward look, consider using a lighter stain or simply sealing the board with beeswax or hemp oil. This allows more of the wood grain to show through and highlights the natural character of the piece. I chose a darker stain for this project and absolutely love the rich, moody finish, but it does hide some of the natural beauty of the wood. Both options are beautiful, so it really comes down to the look you want to achieve.
This scalloped cutting board is such a rewarding DIY project and a beautiful way to bring cottage charm into your kitchen. If you make one, I’d love to see it. Follow along on social media at @returninggrace, tag me in your project photos, or leave a comment and tell me how you styled yours.
Meet Stephanie
Hi, I’m Stephanie—a lifelong creative, homebody at heart, and the hands behind Returning Grace. I believe home should feel like your favorite place, and I’m passionate about helping you create spaces filled with warmth, character, and charm. From simple DIYs and seasonal crafts to cozy recipes and vintage-inspired decor, I share approachable ideas to make your home feel beautifully lived in. I love thrifting, styling old finds in fresh ways, and documenting our home remodeling adventures along the way.
I’m honored to have served as the 2024 American Farmhouse Style Brand Ambassador and to share my love for cottage farmhouse living with a community that values creativity, comfort, and meaningful design.