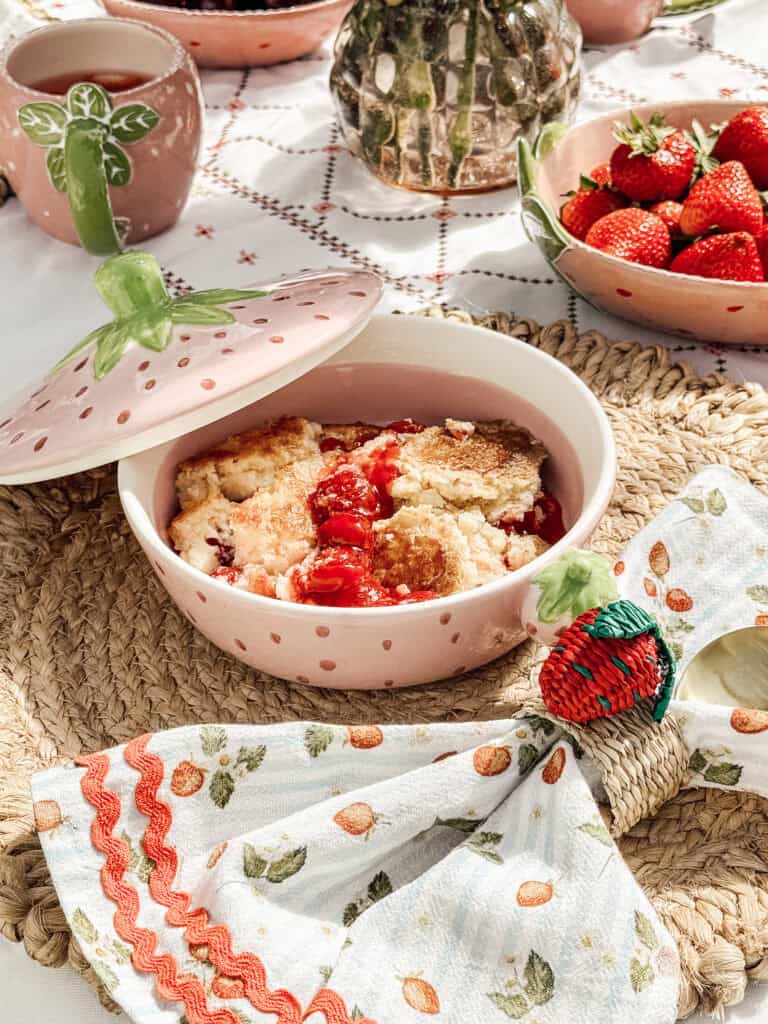
There’s something so comforting about an old-fashioned dessert that comes together with just a few simple ingredients. This Easy Cherry Cheesecake Dump Cake Recipe is one of those treasured recipes that reminds me of church potlucks, family gatherings, and summer evenings spent around the table with the people you love.
For my recent Strawberry & Cherry collaboration with Antique Farmhouse, I wanted a dessert that felt nostalgic, beautiful, and effortless. This cherry cheesecake dump cake checked every box. The sweet cherry filling bubbles beneath a rich cheesecake layer while the buttery vanilla cake topping bakes into a golden, crisp crust. It’s one of those desserts that looks impressive but couldn’t be easier to make.
Whether you’re hosting a summer barbecue, celebrating the holidays, or simply craving an easy dessert, this recipe is sure to become a favorite.
Why You’ll Love This Easy Cherry Cheesecake Dump Cake
If you’ve never made a dump cake before, you’re in for a treat! Unlike traditional cakes, there’s no complicated mixing or layering involved.
You’ll love this recipe because it’s:
- Ready for the oven in just 10 minutes
- Made with only 8 simple ingredients
- Rich, creamy, and bursting with cherry flavor
- Perfect for holidays, potlucks, and family dinners
- Delicious served warm with vanilla ice cream
- Beginner-friendly with almost no prep work
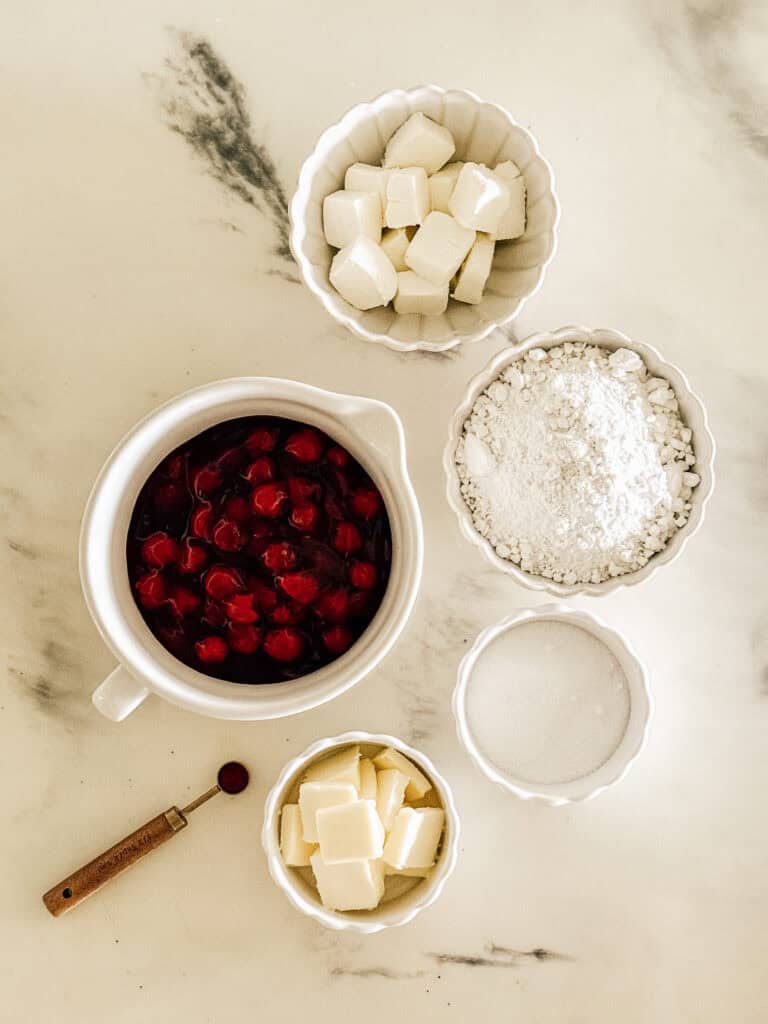
Ingredients
- 2 (20-ounce) cans cherry pie filling
- 1 (8-ounce) package cream cheese, softened
- 1 large egg
- ½ cup granulated sugar
- ½ teaspoon vanilla extract
- 1 (15.25-ounce) box vanilla cake mix
- ½ cup (1 stick) butter, sliced into thin pats
- Nonstick cooking spray
How to Make Cherry Cheesecake Dump Cake
This easy cherry cheesecake dump cake comes together in just a few simple steps.
Step 1: Prepare the Baking Dish
Preheat your oven to 350°F.
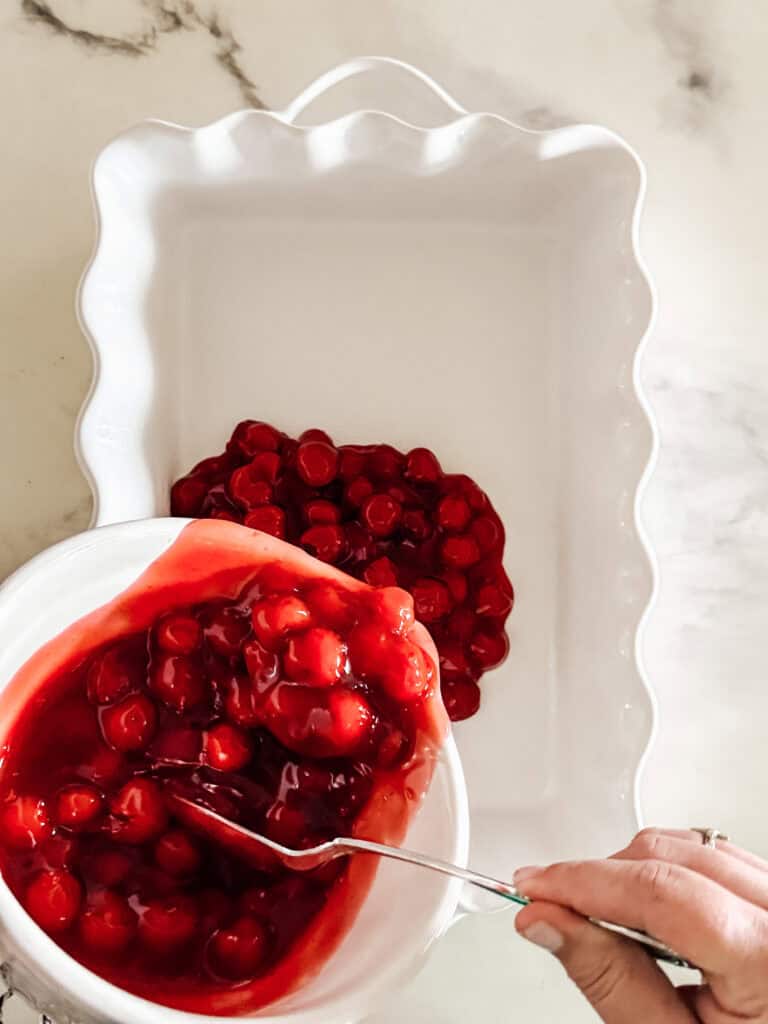
Lightly spray a 9×13-inch baking dish with nonstick cooking spray.
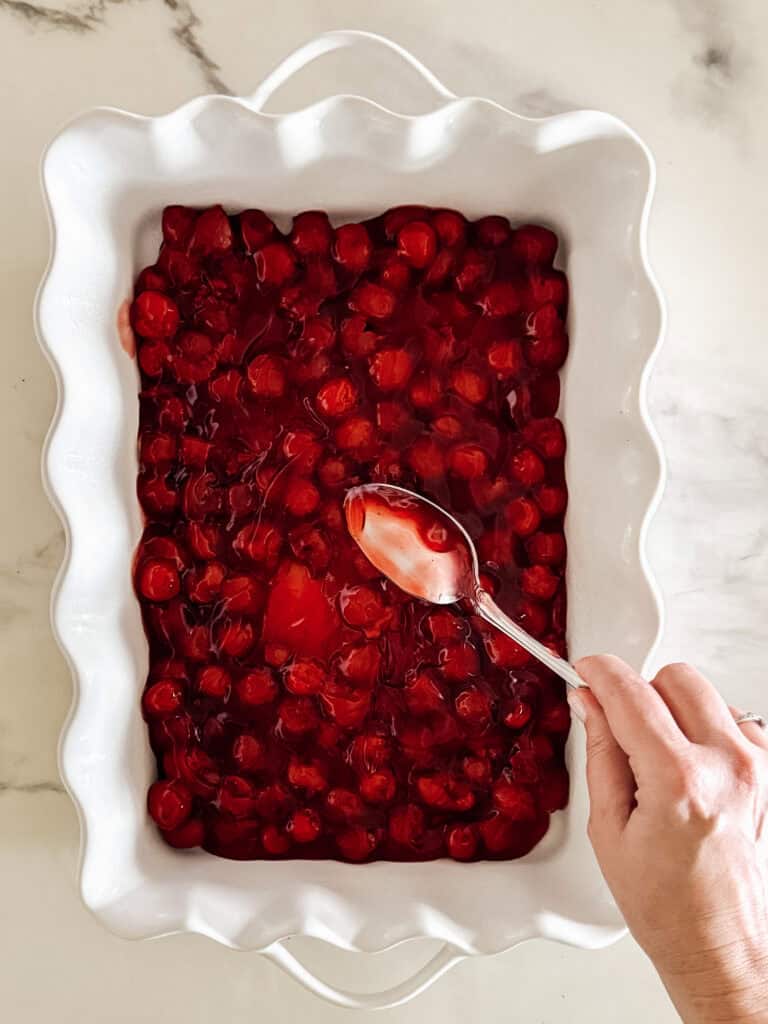
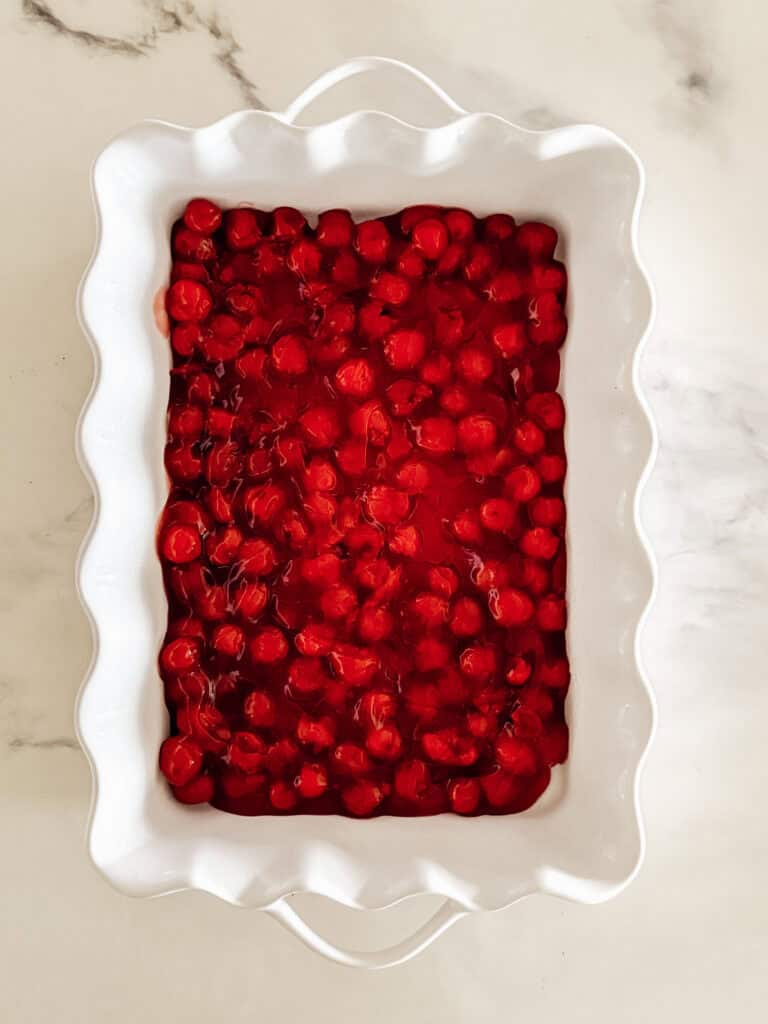
Spread both cans of cherry pie filling evenly over the bottom of the dish.
Step 2: Make the Cheesecake Filling
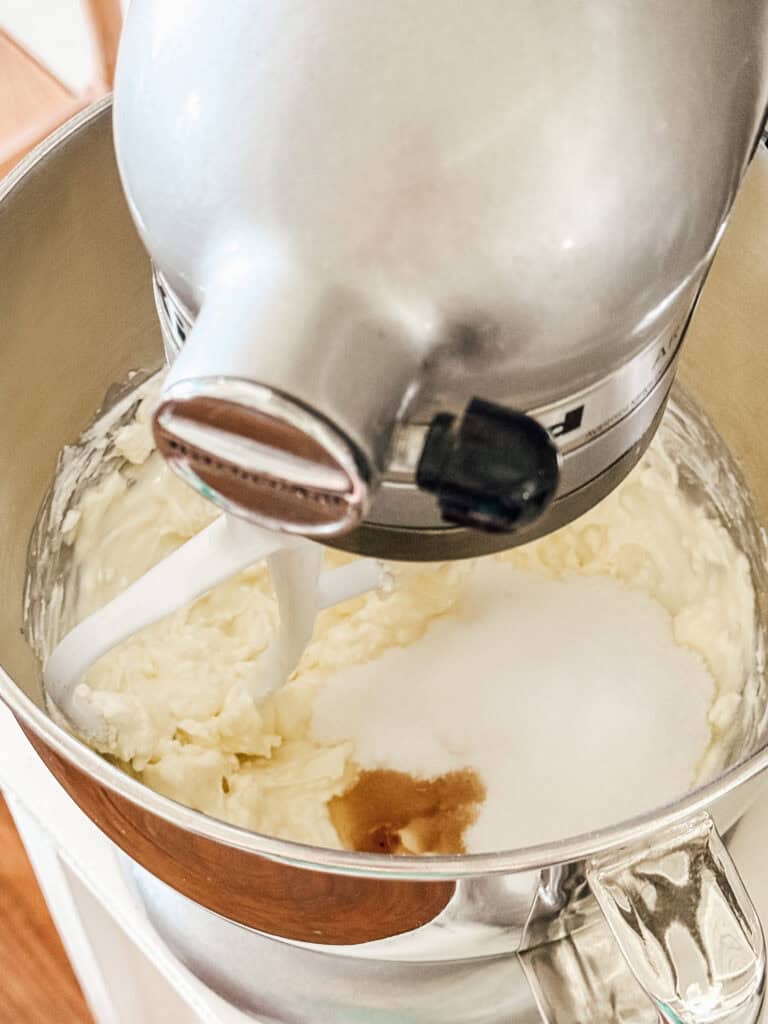
In a medium mixing bowl, combine:
- softened cream cheese
- egg
- sugar
- vanilla extract
Beat on medium speed until smooth and creamy.
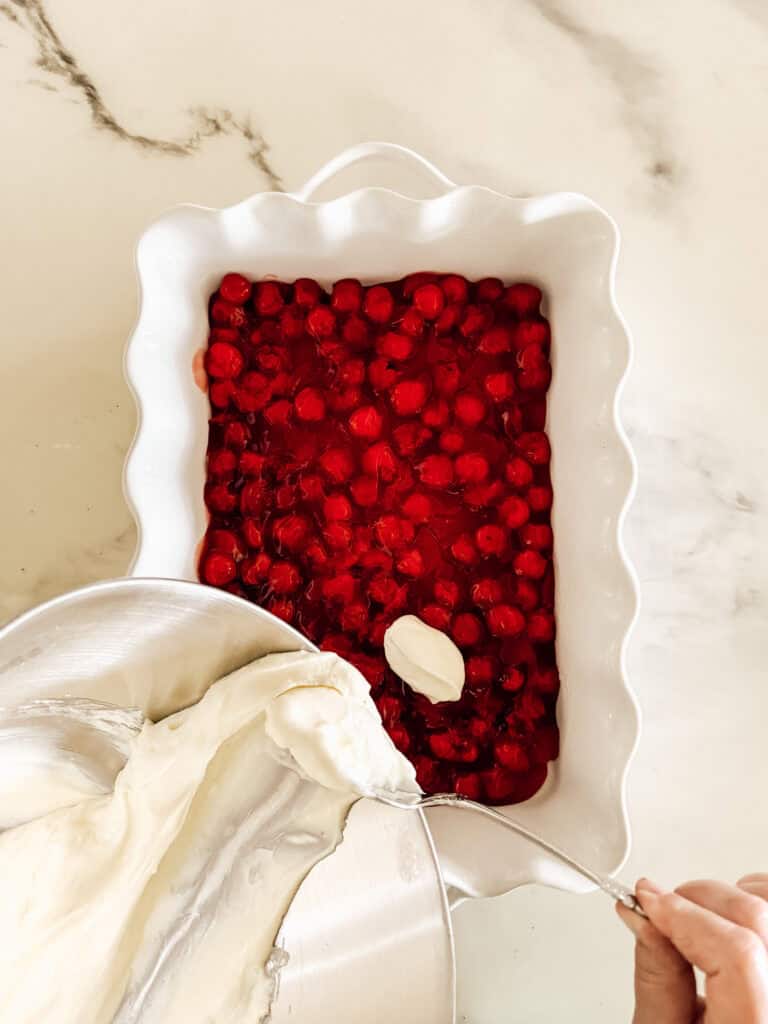
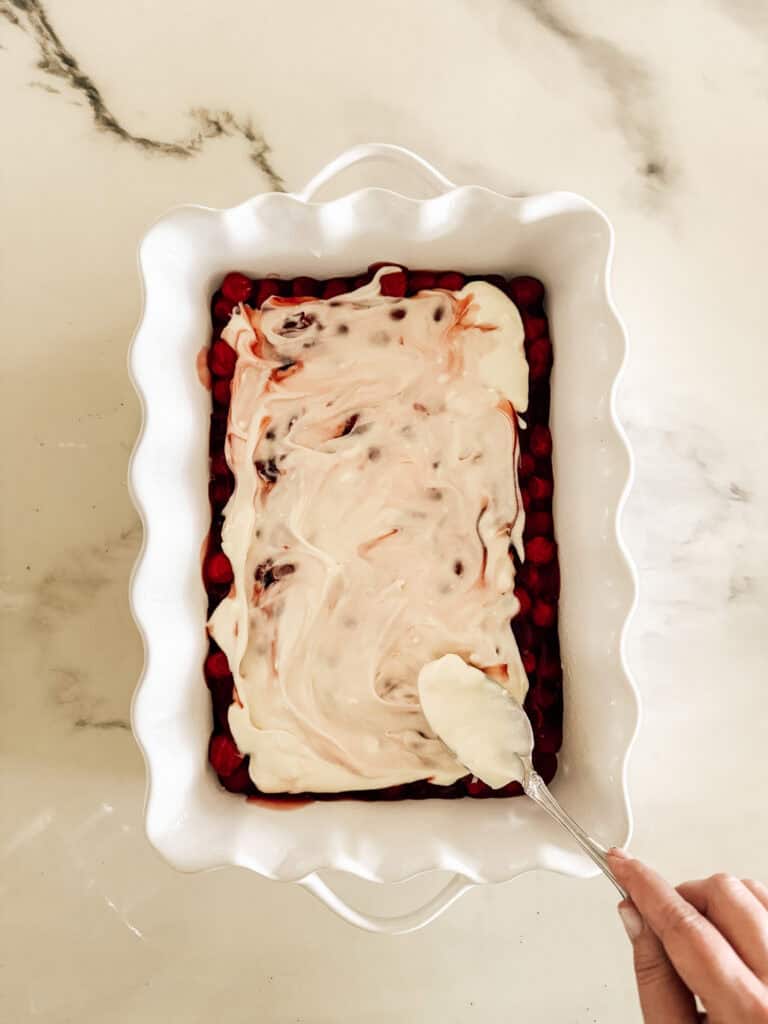
Drop spoonfuls of the cheesecake mixture evenly over the cherry pie filling.
Don’t worry if it isn’t perfectly spread—the cheesecake will melt beautifully into the cherries while baking.
Step 3: Add the Cake Mix
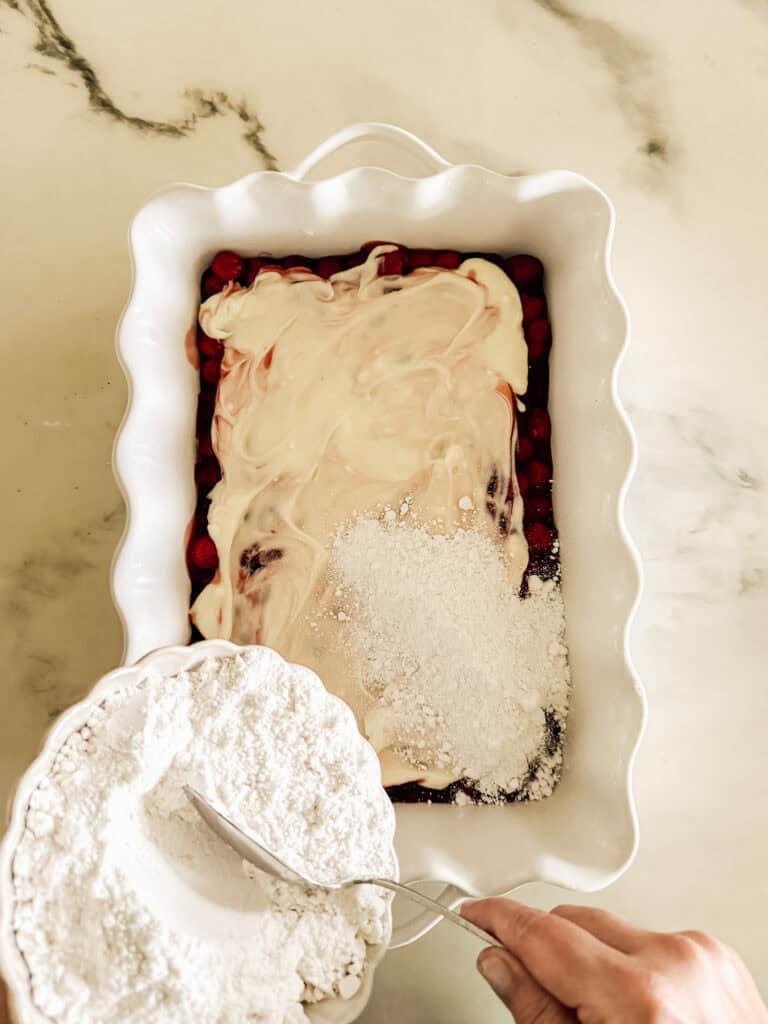
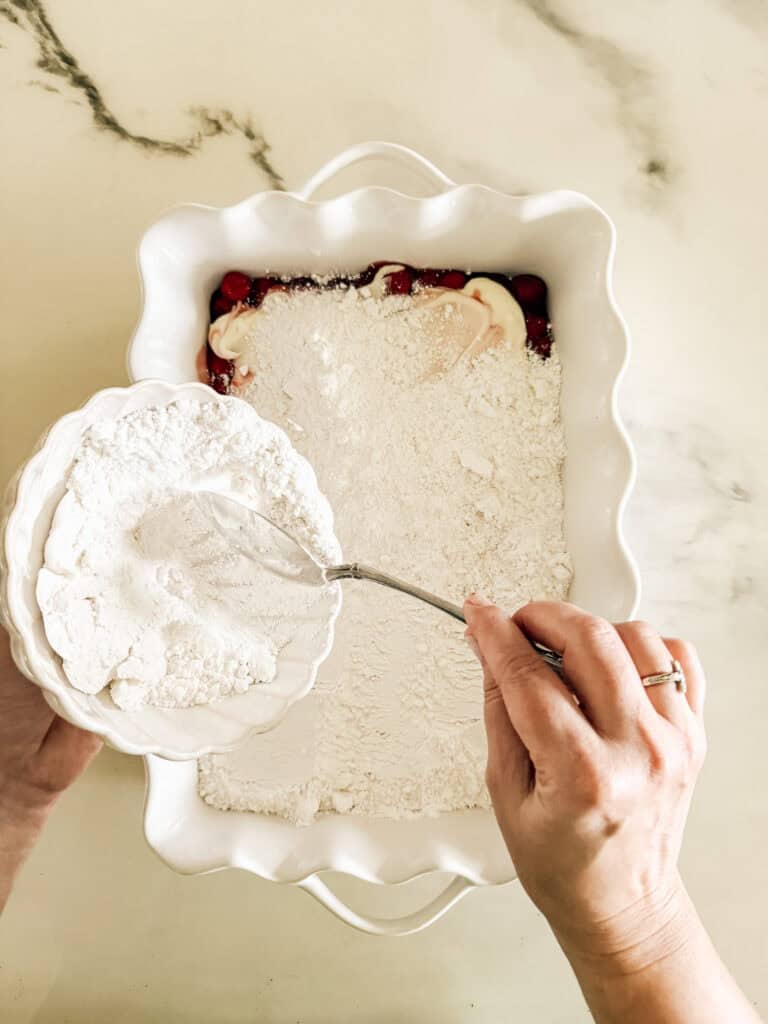
Evenly sprinkle the dry vanilla cake mix over the entire dessert.
Avoid stirring. The layers should remain separate.
Step 4: Add the Butter
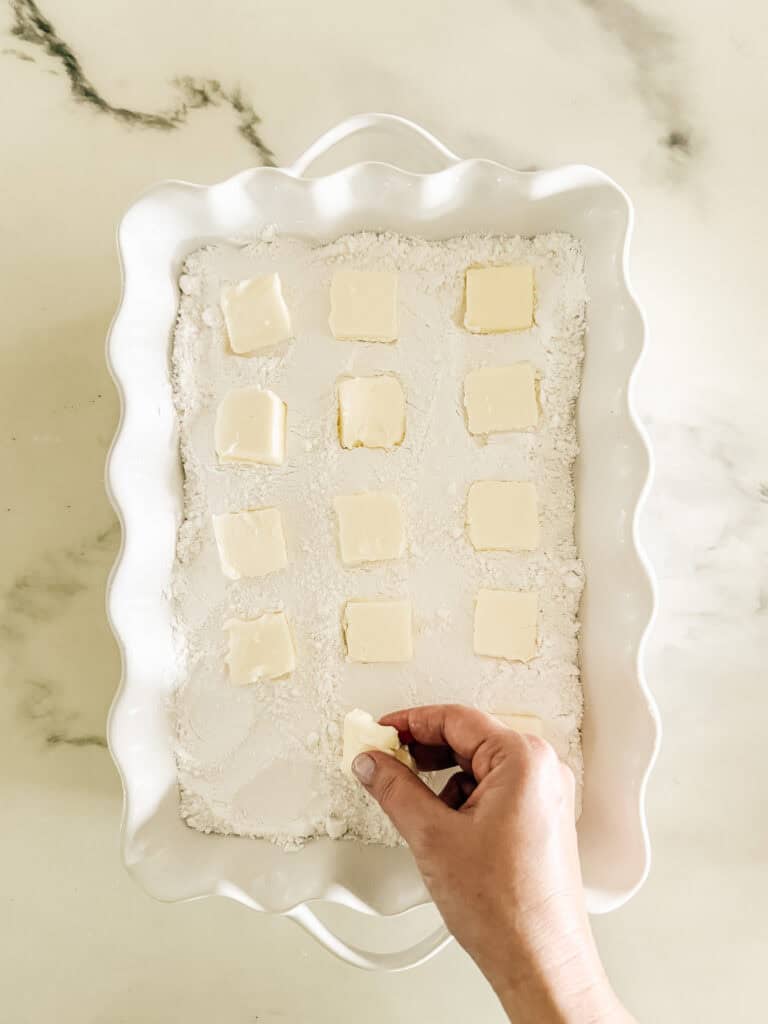
Slice one stick of butter into thin pats and place them evenly over the cake mix.
Try to cover as much of the surface as possible so the topping bakes evenly.
Step 5: Bake
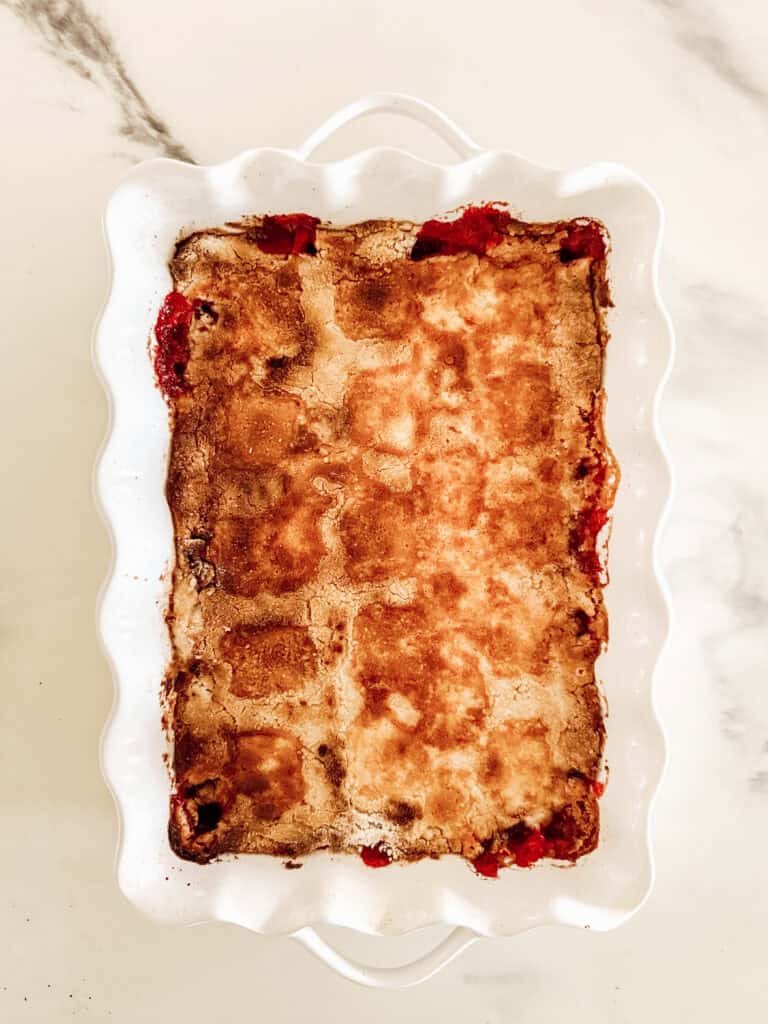
Bake for 35–45 minutes, or until:
- the top is golden brown
- the butter has melted into the cake mix
- the cherry filling is bubbling around the edges
Allow the dump cake to cool for about 15 minutes before serving.
Tips for the Best Cherry Cheesecake Dump Cake
Use softened cream cheese.
This helps create a smooth cheesecake layer without lumps.
Slice the butter thinly.
Even coverage ensures every bite has a buttery, crisp topping.
Don’t stir the layers.
The beauty of a dump cake is allowing each layer to bake into its own delicious texture.
Serve warm.
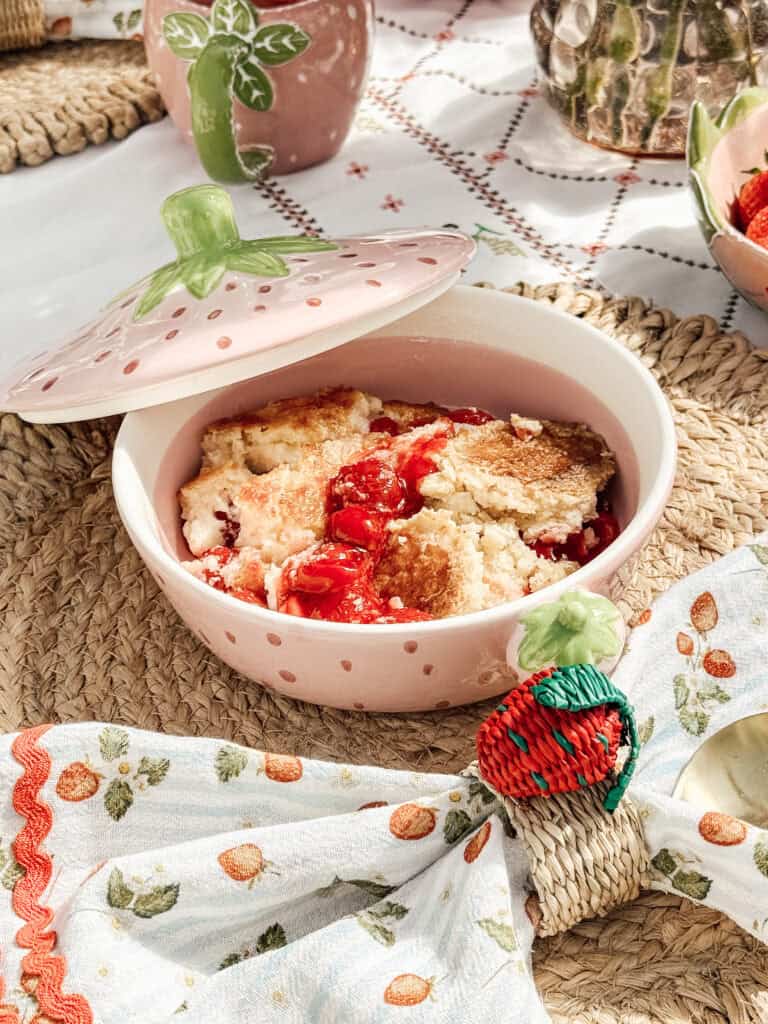
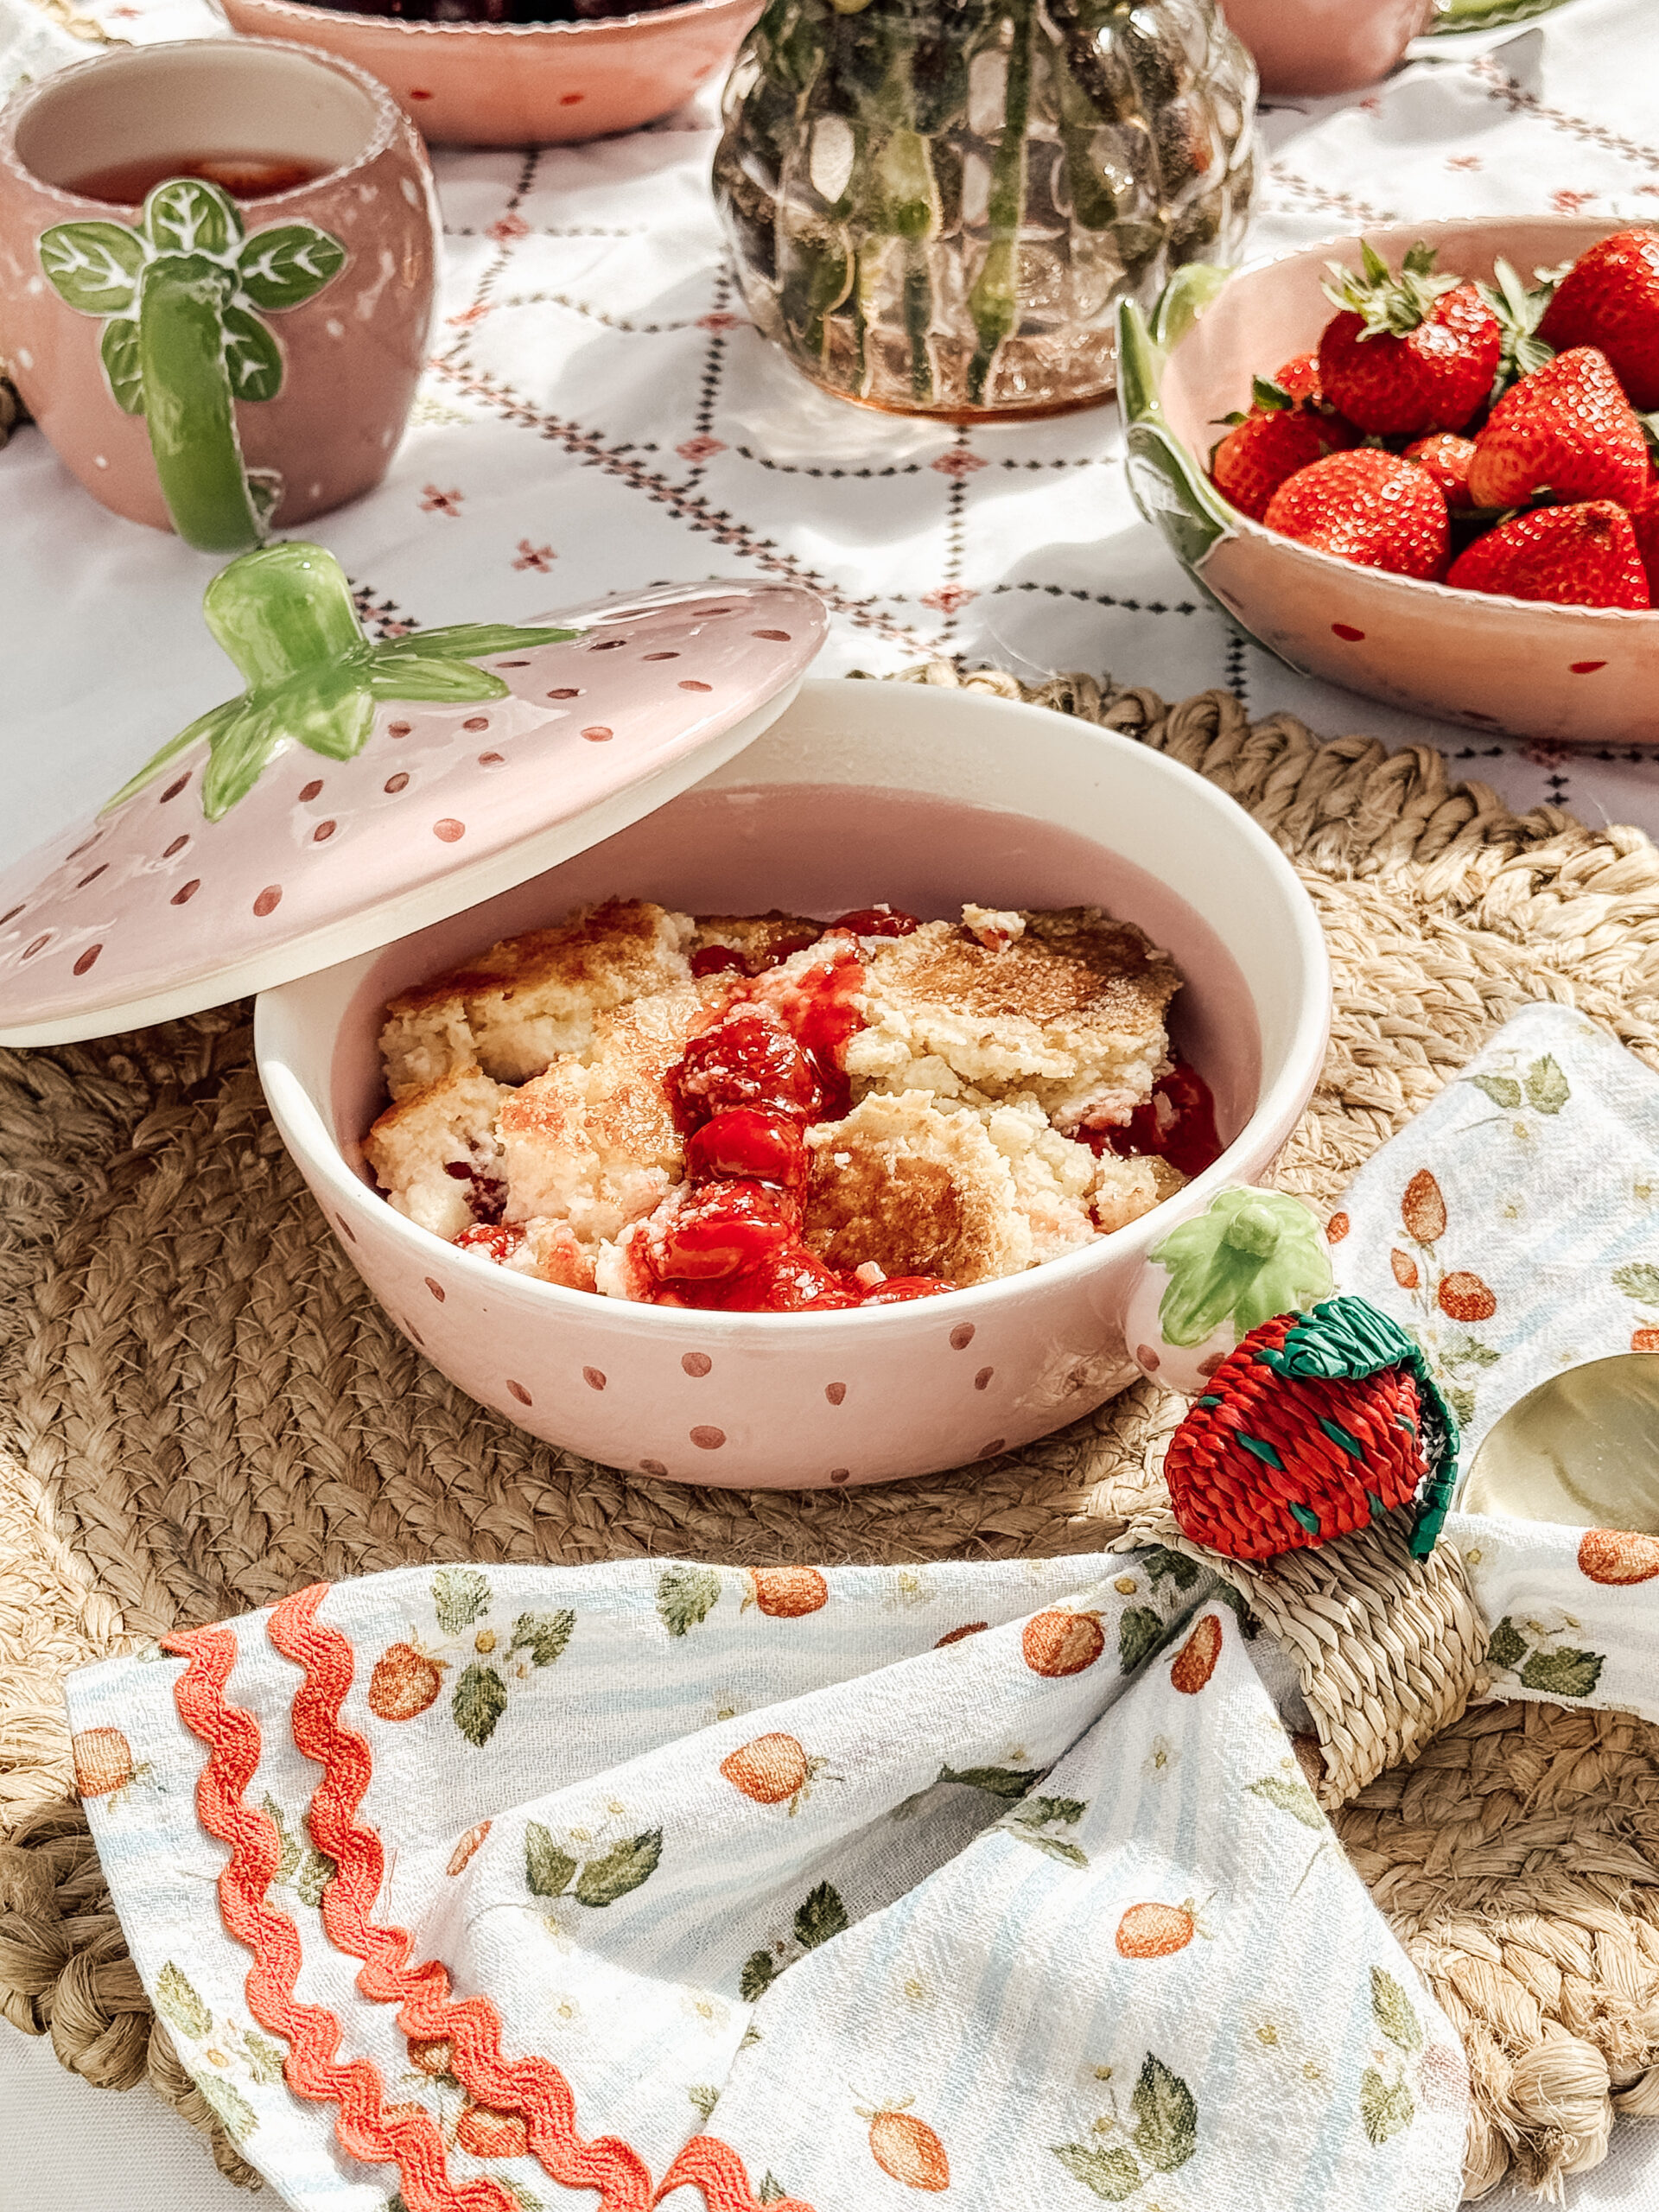
While it’s delicious at room temperature, this dessert is absolutely incredible served warm with vanilla ice cream or whipped cream.
Easy Variations
One of my favorite things about dump cakes is how easy they are to customize.
Try using:
- Strawberry pie filling
- Blueberry pie filling
- Peach pie filling
- Mixed berry pie filling
You can also substitute:
- Yellow cake mix
- Butter pecan cake mix
- White cake mix
What to Serve with Cherry Cheesecake Dump Cake
This dessert pairs wonderfully with:
- Vanilla ice cream
- Homemade whipped cream
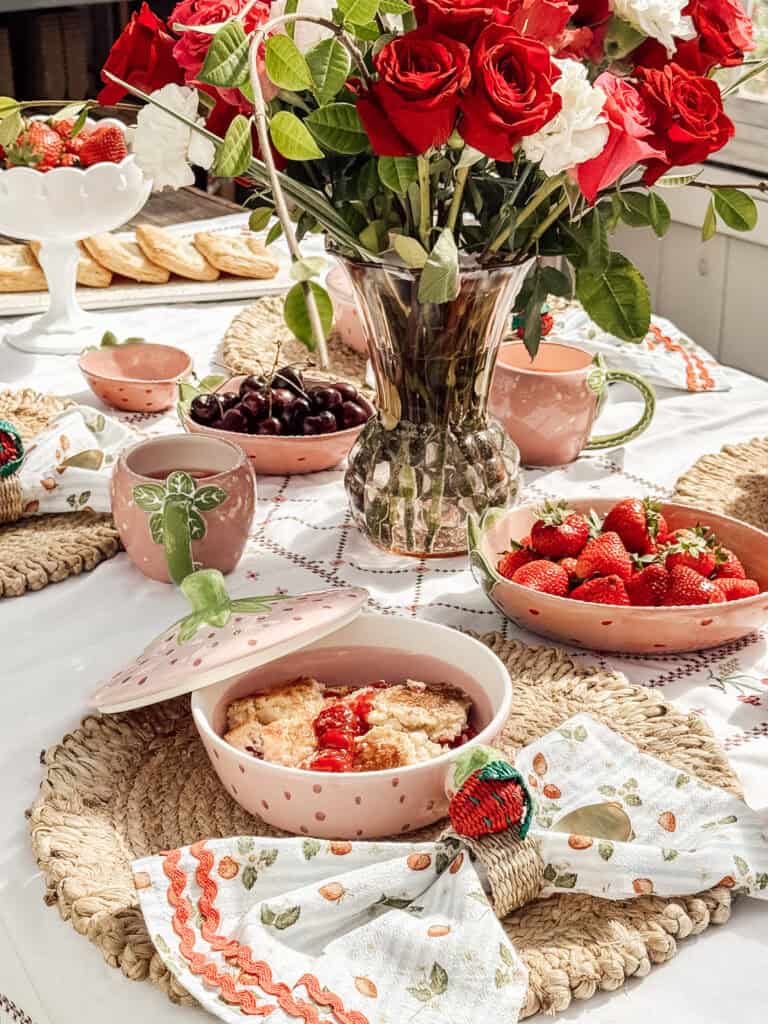
- Fresh strawberries
- Fresh cherries
- A dusting of powdered sugar
For a beautiful presentation, garnish each serving with fresh berries and a sprig of mint.
Perfect For
This easy dessert is perfect for:
- Summer cookouts
- Fourth of July celebrations
- Baby showers
- Bridal showers
- Potlucks
- Church gatherings
- Holiday dinners
- Family reunions
- Valentine’s Day
- Weekend baking
Frequently Asked Questions
Can I make cherry cheesecake dump cake ahead of time?
Yes! Prepare the dessert up to one day in advance and refrigerate after baking. Reheat individual servings in the microwave before serving.
Do I have to refrigerate leftovers?
Yes. Because of the cream cheese layer, leftovers should be covered and refrigerated for up to 4 days.
Can I freeze cherry cheesecake dump cake?
Absolutely. Let it cool completely, wrap tightly, and freeze for up to 3 months. Thaw overnight in the refrigerator before reheating.
Can I use homemade cherry pie filling?
Yes! Homemade cherry pie filling works beautifully in this recipe if you have fresh cherries in season.
Why is my cake mix still dry?
Sometimes a few small dry spots remain after baking. If needed, place a few additional pats of butter over those areas and continue baking for another 5–10 minutes.
Returning Grace Tip
I love serving this cherry cheesecake dump cake in a vintage milk glass bowl or an old ironstone baking dish. Add a few fresh cherries and strawberries around the serving platter for a simple, charming presentation that feels right at home for summer entertaining.
A Little Note from Stephanie
One of my favorite things about creating recipes is finding those simple desserts that bring people together without requiring hours in the kitchen. This cherry cheesecake dump cake is exactly that kind of recipe. It’s comforting, nostalgic, and incredibly easy to make, making it perfect for everything from casual family dinners to special celebrations.
I hope it becomes one of those recipes you reach for again and again whenever you need something delicious that’s sure to make everyone smile.
If you make this recipe, I’d love to see it! Be sure to tag @returninggrace on Instagram so I can share your beautiful creations.
Happy baking!

Subscribe to get all the latest projects delivered Right to youR Inbox!
Ingredients
- 2 20-ounce cans cherry pie filling
- 1 8-ounce cream cheese, softened
- 1 egg
- ½ cup granulated sugar
- ½ teaspoon vanilla extract
- 1 15.25-ounce vanilla cake mix
- ½ cup butter 1 stick, sliced
- Cooking spray
Instructions
- Preheat oven to 350°F.
- Spray a 9×13-inch baking dish with cooking spray.
- Spread cherry pie filling evenly in the bottom.
- Beat cream cheese, egg, sugar, and vanilla until smooth.
- Spoon dollops over the cherry filling.
- Sprinkle dry cake mix evenly over the top.
- Cover with thin slices of butter.
- Bake 35–45 minutes until golden brown and bubbling.
- Cool 15 minutes before serving.